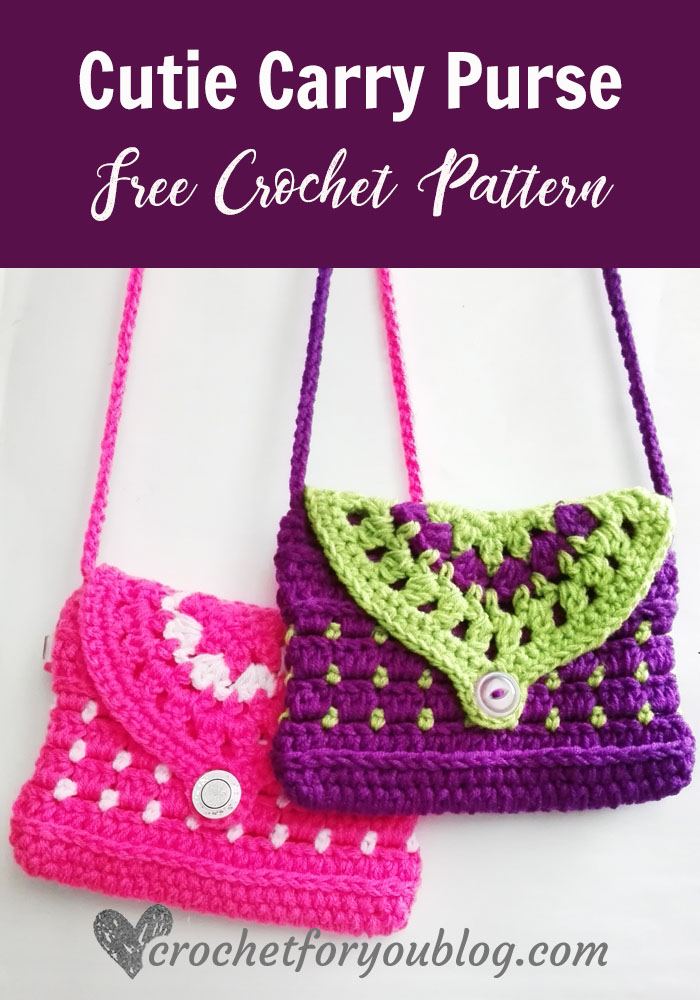
Free Crochet Cutie Carry Purse Pattern
Crochet Cutie Carry Purse Pattern by Crochet For You
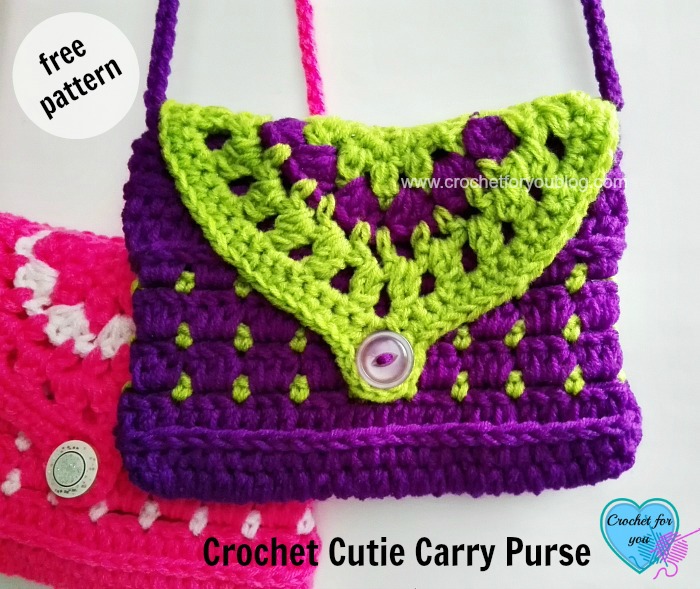
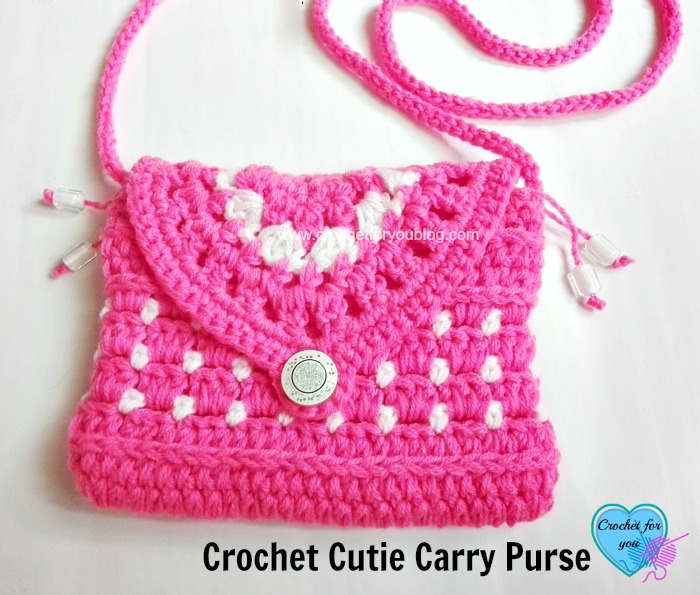
This Cutie Carry Purse would be great for girls. And perfectly fit to carry your phone and other small goodies when you go out. Many thanks to all crochet lovers, who suggest the name for this purse! 🙂
Disclosure: This post may contain affiliate links.
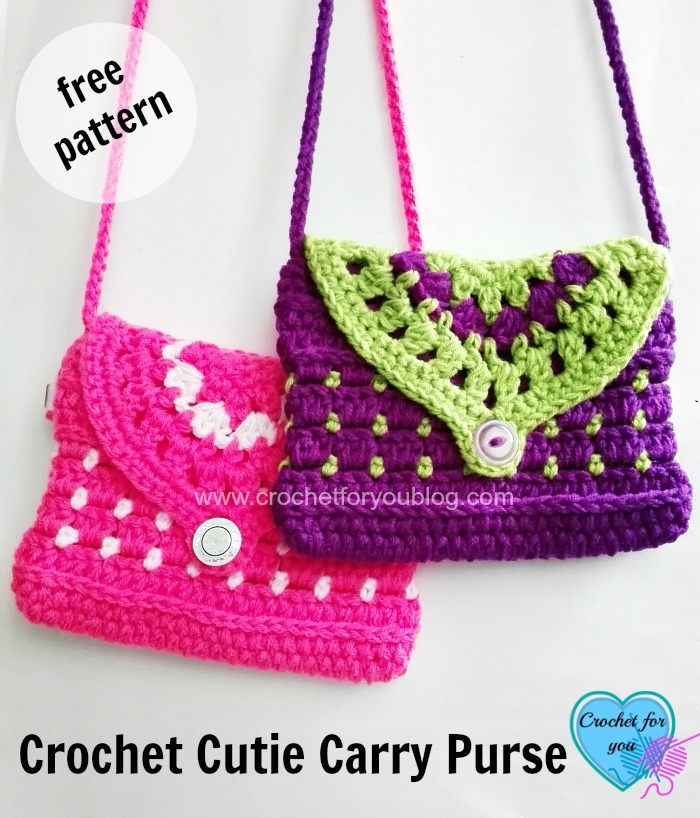
Don’t forget to add this pattern to Ravelry queue
Skill Level easy
Finished size 7.5″ wide and 5.5″ height
Materials
- (MC) Approx: 110 yards of worsted weight (220 yards total, for 2 strands of sport weight yarn).
- (C1) 50 yards of worsted weight (100 yards total, for 2 strands of sport weight yarn).
- 5.5mm crochet hook
- 1 button about 1″ diameter
- Stitch marker / Zipper about 8″ long / A piece of fabric big enough for lining the bag / Thread and needle / Scissors
- 4 Beads (if you like)
Gauge: 14 dc and 9 rows = 4” with 5.5mm crochet hook.
Abbreviations/stitches
- ch(s) = chain(s)
- hdc = half double crochet
- st = stitch
- sl st = slip stitch
- sk = skip
- ch – sp = chain space
- beg = beginning
- MC = Main Color
- C1 = Color 1
- * to ; = work instructions within brackets as many times as directed.
- [] = work instructions within brackets as many times as directed
Special stitches
- hdc in 3rd loop = Click here to see a tutorial by My Hobby Is Crochet
- dc2tog = [Yarn over, insert hook in next ch-sp, yo, pull up loop, yo, pull back through first 2 loops on hook, yo, insert hook in same ch-sp, yo, pull up loop, yo, pull back through first 2 loops on hook, yo, pull back through all loops on hook.
Crochet Cutie Carry Purse Pattern
Note: beg ch does not count as st in purse part. this part worked in the rounds.
ch 26 with (MC)
Round 1: 5 hdc in 3rd Ch, hdc in each of next Ch 22, 5 hdc in last ch, work on the opposite side of the foundation chain, hdc in next ch 22, sl st to first hdc. (54 sts total)
Round 2: ch 1, hdc in same st, hdc in each st around, sl st to first hdc. (54 sts total)
Round 3: ch 1, hdc in 3rd loop of same st, hdc in 3rd loop of each st around. (54 sts total)
Round 4: join (C1) in first st, ch 1, sc in same st, *ch 2, sk next 2 sts, sc in next st; repeat to* around, sl st to first sc. (18 ch-sp/18 sc sts)
Round 5: join (MC) in first ch-sp, ch 1, 3 hdc in each ch-sp around, sl st to first hdc. (54 sts total)
Round 6-9: repeat rows 4 and 5.
Round 10: With (MC), ch 1, hdc in 3rd loop of same st, hdc in 3rd loop of each st around. (54 sts total)
Round 11: ch 1, hdc in same st, hdc in each st around, sl st to first hdc. (54 sts total)
Round 12: ch 1, sc in 3rd loop of same st, sc in 3rd loop of each st around. (54 sts total)
Round 13-14: ch 1, sc in same st and sc in each st around. Fasten off and weave the ends. (54 sts total)
Flap
Note: beg ch does not count as st in flap part. this part worked in rows.
make a magic ring with (MC)
Row 1: ch 1, 3 sc in magic ring, ch 1, turn. (3 sts)
Row 2: 3 sc in each st across, ch 2, turn. (9 sts)
Row 3: 3 hdc in first st, [ch 1, sk next st, 2 hdc in next st] 3 times, ch 1, sk next st, 3 hdc in last st, turn. (12 sts)
Row 4: with (C1), ch 2, 4 hdc in first st, [ch 1, 3 hdc in ch-sp] 4 times, ch 1, 4 hdc in last st, turn. (20 sts)
Row 5: with (MC), ch 2, 3 hdc in first st, ch 2, hdc in next ch-sp, [ch 2, sk next st, hdc in next st, ch 2, sk next st, hdc in next ch-sp] 4 times, ch 2, 3 hdc in last st, ch 3, turn. (15 sts)
Row 6: 3 dc in first st, [ch 2, dc2tog in ch-sp (see special stitch)] 10 times, ch 2, 3 dc in last st, ch 1, turn. (10 dc2tog / 6 dc sts)
Row 7: sc in first st and next 2 sts, [2 sc in ch-sp, sc in next st] 5 times, sc in next ch-sp, ch 6, sc in same ch-sp, [sc in next st, 2 sc in ch-sp] 5 times, sc in last 3 sts, ch 1, turn. (38 sts)
Row 8: sc in each of next 19 sts, 6 sc in ch-sp, sc in each of next 19 sts. Do not fasten off, (44 sts)
Crochet one row of sc in straight side of the flap. 1 sc in first and last st in the straight side and 2 sc in other sts in the middle of the straight side of the flap. (26 sts total to match with one open side sts in the purse) Fasten off and weave the ends.
Strap
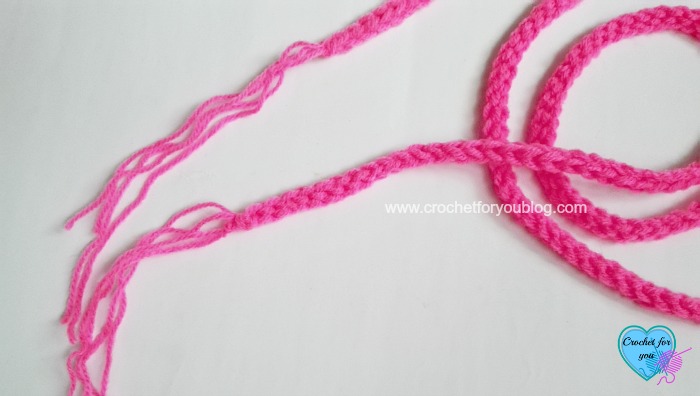
(MC) leaving 4-5” tail of yarn, ch 190 or crochet ch(s) until getting your desired length. Fasten off and cut the yarn leaving 4-5” tail.
Leaving again 4-5” length of the (MC) yarn, join yarn in the first ch of the chains we just crocheted, sl st to each ch across, fasten off and cut the yarn leaving 4-5” tail.
Finishing / assembly
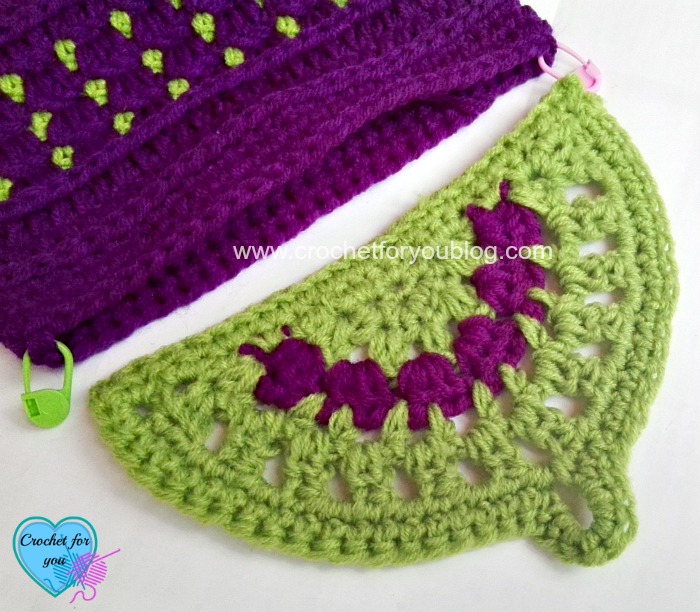
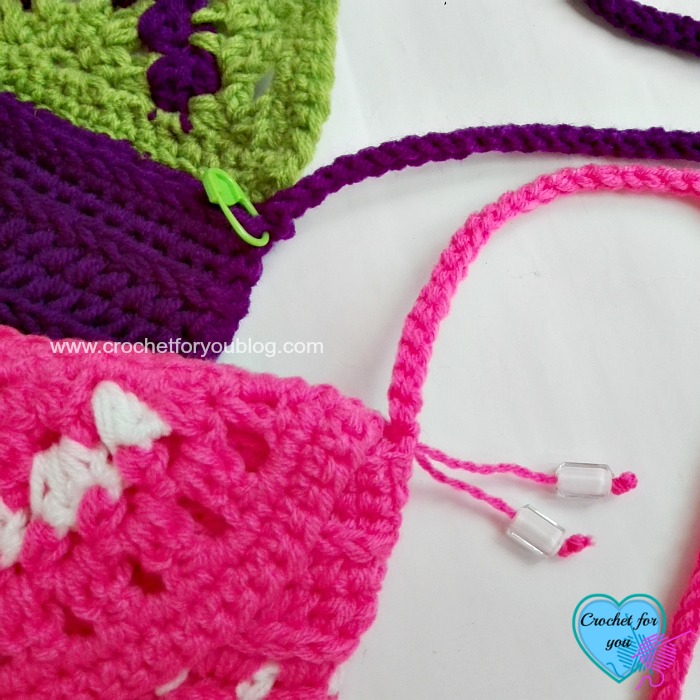
Mark each corner sts in the purse with the stitch marker. Mark one of the side corner st first, and count 26 sts forward and add another stitch marker 27th st in other side of the corner. Without that 2 marked sts, there should be 26 sts for each front and back side of the opening top of the purse. (see the below photo)
Attach the flap
You can sew the flap to the purse or join together with sl st (I use two methods for each purse). When attaching the flap leave marked 2 corner sts. 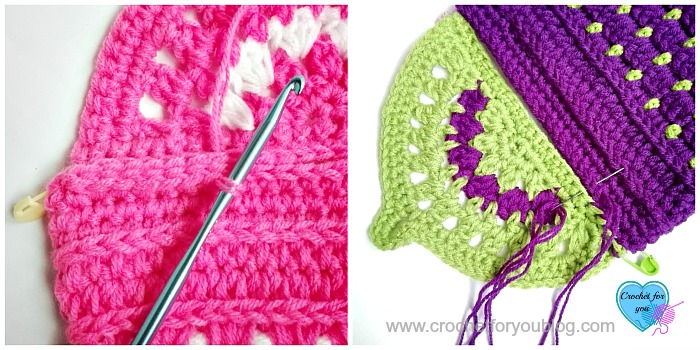
Tie the strap to the purse
Make a knot on marked sts in two sides of the purse using yarn tails of the strap. Instead of weaving the ends of those tails of the strap, I added 1 bead into each tail in pink color purse (make a knot at the end of tails to stop the beads). And I wove the ends without beads for the purple color purse. (You can see it in below photo)
Attach zipper and bag lining
See photo collage below. I sewed the zipper first and then lining to the purse. Click on Crochet Bag Liner tutorial by Dearest Debi to learn more about crochet bag lining.

Hope to see you soon with a new FREE pattern
Until then, Happy Crocheting!!
Share your finished projects of this pattern on Crochet For You FB page.
Happy hooking with Crochet For You!!
Let’s connect and share
Facebook | Pinterest | Twitter | Instagram
All contents include photography and patterns are copyrighted Crochet For You by Erangi Udeshika.
Do not copy, edit, distribute or republish patterns and images in this blog in part or whole as your own. Please, share a direct link to the pattern with others and anywhere else. You are welcome to make and sell finished items using my patterns.
Visit Copyright / Terms of use for more info. Thank you.




16 Comments
Mariana Mill
Thank you; Just love it.. I’m not sure that I will be putting in the zipper. Will have to analyze it first. Such a sweet lovely gift & quite pleasing to the eyes.
Laurie
This is very cute. I have a teen grand daughter who I’m sure will love it 🙂 Thanks so much for sharing!
Erangi Udeshika
Awesom! 🙂 Can’t wait to see your finished projects..
Wilma Maddox
Thank you for sharing. My great granddaughter will love this.
Jenny
These are adorable. Thanks for including all the tutorials!
Kristina & Millie
beautiful! Love the colors and the style of these purses! thanks for sharing the pattern with us!
Erangi Udeshika
Thank you! 😀
Pingback:
Pingback:
Pingback:
Ruth o
oh my goodness, I love it. I wish I had seen this pattern about three months ago because I made something similar but this is much nicer and it looks like the flap is especially WAY nicer. So now I’m going to make this one for the other grandaughters
Pingback:
Phillis Jacobs
I would love this pattern
Phillis Jacobs
nice
Erangi Udeshika
Thank you. 🙂
Brianna Quick
I wish you had pictures of step by step of the flap