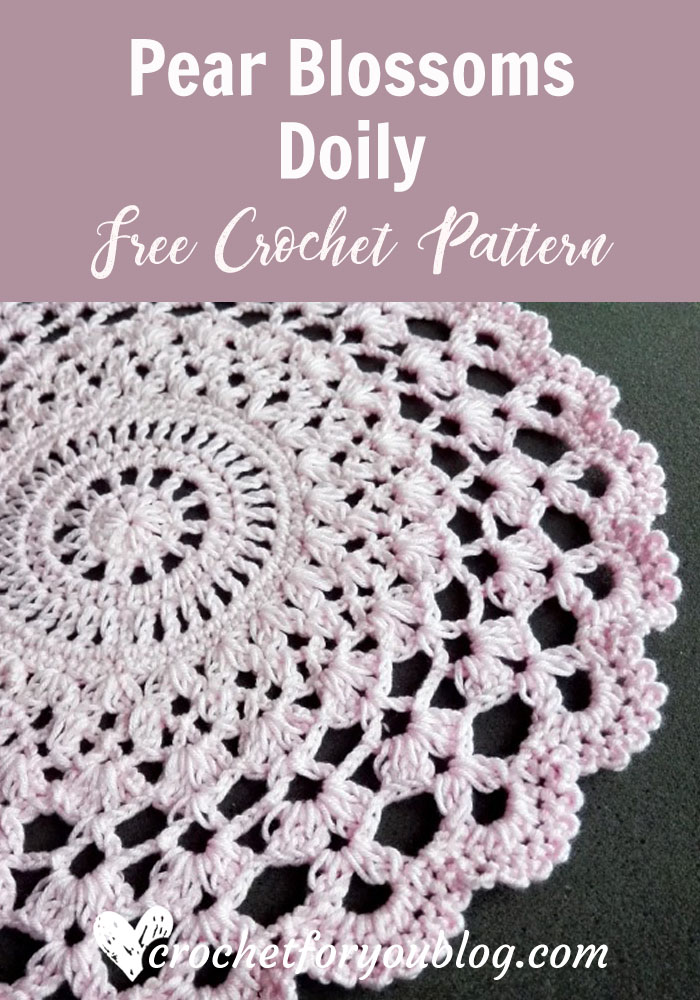
Free Crochet Pear Blossoms Doily Pattern
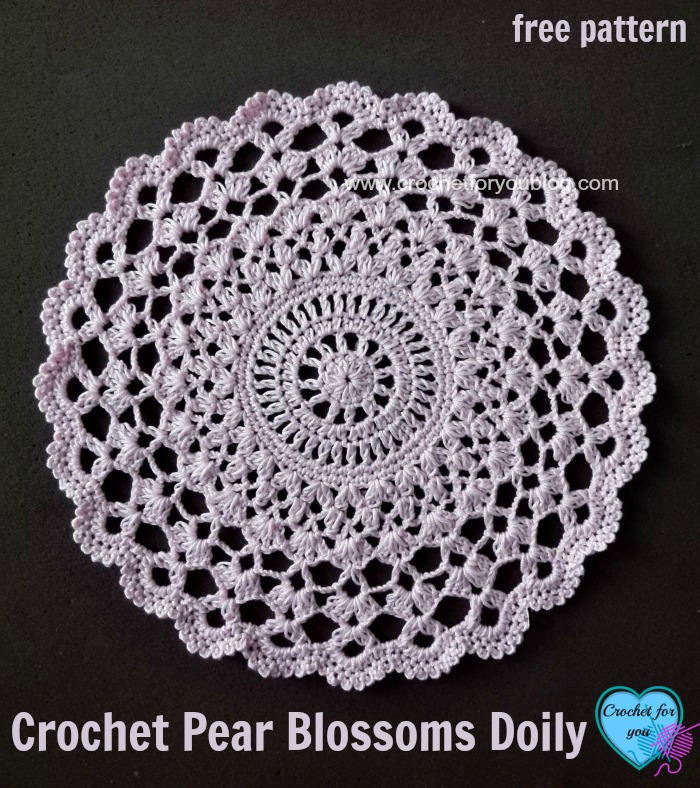
Crochet Pear Blossoms Doily Pattern by Crochet For You.
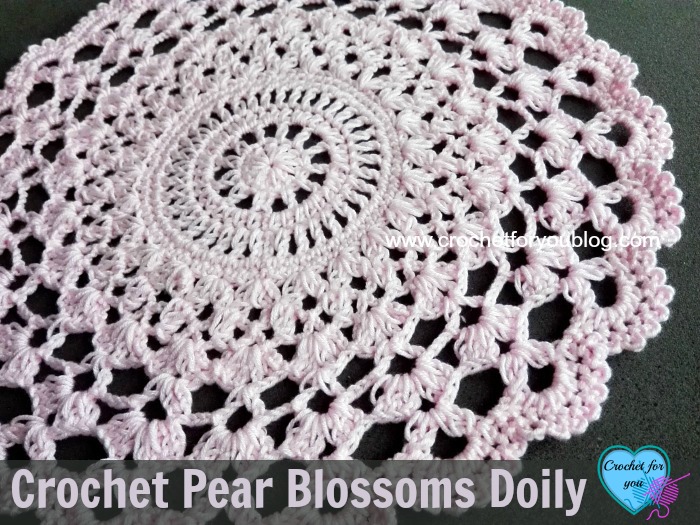
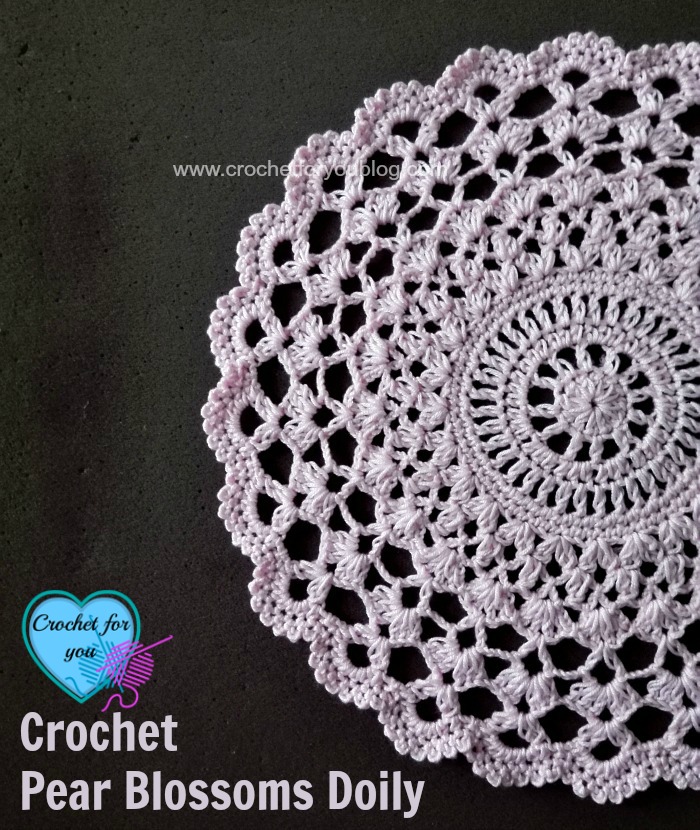
For the first time of this year, I made a doily pattern and thought you would like to see it and make this doily for your home. So I decided to share “Pear Blossoms Doily” pattern with you this week! This doily has a vintage look and little lacy touch. Crochet this doily pattern with any color you like.
Disclosure: This blog contains affiliate links.
Don’t forget to add this pattern to Ravelry queue
Skill level Intermediate
Finished size 12” diameter
Materials
- Cotton yarn sport weight (16 WPI / approx: 150 yards)
- 4mm crochet hook
- Tapestry needle for weave the end
Abbreviations / stitches
- ch = chain
- sl st = slip stitch
- st = stitch
- sc = single crochet
- hdc = half double crochet
- dc = double crochet
- ch-sp = chain-space
- beg = beginning
- *to* = repeat * to * the instructions.
- [ ] work instructions within brackets as many times as directed
Special stitches
- 2-dc bobble st = [Yarn over, insert hook in indicated st / ch-sp, yo, pull up loop, yo, pull back through first 2 loops on hook] , Yarn over, insert hook in same st / ch-sp, yo, pull up loop, yo, pull back through first 2 loops on hook, yo, pull back through all loops on hook.
- dc2tog = [Yarn over, insert hook in next stitch, yo, pull up a loop, yo, pull back through first 2 loops on hook] 2 times, yo, pull back through all loops on hook.
Gauge: 21 dc x 8.5 rows = 4” with 4mm crochet hook.
Note: beg ch does not count as st.
Crochet Pear Blossoms Doily Pattern
Make a magic ring
Round 1: ch 2, 12 dc into ring, sl st to first st. (12 sts)
Round 2: ch 2, dc in same st, *ch 2, dc in next st; repeat from * to end, the last ch 2 sl st to first st. (12 dc / ch 24)
Round 3: ch 1, hdc in same st, *2 hdc in ch-2 sp, hdc in next st; repeat from * to end, the last hdc 2 sl st to first st. (36 sts)
Round 4: ch 2, dc in same st, *ch 1, dc in next st; repeat *to end, last ch 1 sl st to first st. (36 dc / ch 36)
Round 5: ch 1, sc in same st, sc in each st and ch-1 sp around, sl st to first st. (72 sts)
Round 6: ch 1, sc in same st, sc in each st around, sl st to first st. (72 sts)
Round 7: ch 2, (2-dc bobble st see special stitches, ch 5, 2-dc bobble st) in same st, *sk next 2 sts, (2-dc bobble st, ch 5, 2-dc bobble st) in next st; repeat * to end, sl st to first st. (24 (2-dc bobble st, ch 5, 2-dc bobble st))
Round 8: sl st to next ch 3 of first ch 5, *ch 4, dc2tog see special stitches, ch 4, sl st to the center of next chain 5; repeat * to end, last ch 4 sl st to first ch 5 of the previous row. (24 dc2tog sts)
Round 9: sl st to next ch 2 of first ch 4, *ch 6, sl st to the center of next chain 4, ch 3, sl st to the center of next chain 4; repeat * to end, last ch 4 sl st to first ch 4 of the previous row. (24 ch-6 sp / 24 ch-3 sp)
Round 10: sl st to next ch 3 of first ch 6, ch 1, sc in same ch-6 sp, *(2 dc, ch 2, 2 dc) in next ch-3 sp, sc in next ch-6 sp; repeat * to end, last dc sl st to first sc. (24 (2 dc, ch 2, 2 dc))
Round 11: sl st until ch-2 sp, ch 2, (dc, ch 6, dc) in same ch-2 sp, *ch 3, (dc,ch 6, dc) in next ch-2 sp; repeat * to end, last ch 3 sl st to first dc. (24 (dc, ch 6, dc))
Round 12: sl st to first ch-6 sp, ch 2, (3 dc, ch 3, 3 dc) in same sp, *ch 1, (3 dc, ch 3, 3 dc) in next ch-6 sp; repeat * to end, the last ch 1 sl st to first dc. (24 (3 dc, ch 3, 3 dc))
Round 13: sl st until ch-3 sp, ch 2, (2-dc bobble st see special stitches, ch 6, 2-dc bobble st) in same sp, *ch 4, (2-dc bobble st, ch 6, 2-dc bobble st) in next ch-3 sp; repeat * to end, last ch 3 sl st to first bobble st. (24(2-dc bobble st, ch 6, 2-dc bobble st))
Round 14: ch 1, hdc in same st, 6 hdc in ch-6 sp, hdc in next st, ch 1, sl st to ch-4 sp, *ch 1, hdc in next st, 6 hdc in ch-6 sp, hdc in next st, ch 1, sl st to ch-4 sp; repeat * to end, last ch 1 sl st to first hdc. (192 hdc)
Round 15: *[ch 4, sl st to next st] 7 times, ch 1 sl st to next st; repeat * to end, last ch 1 sl st to first st of the previous row. Fasten off and weave the end.
Updated: Hope you enjoyed my Pear Blossoms Doily pattern!
Now you can try to make this beautiful Pear Blossoms Slouch, redesigned by Dorianna, owner of “The Lavender Chair”. Dorianna loved to turn Pear Blossoms Doily pattern into a hat and me happy about the idea when she asked me about it. I’m glad the way how it turned up to a slouch beanie!
Hope to see you soon with a new FREE pattern
Until then, Happy Crocheting!!
Share your finished projects of this pattern on Crochet For You FB page.
Happy hooking with Crochet For You!!
Let’s connect and share
Facebook | Pinterest | Twitter | Instagram
All contents include photography and patterns are copyrighted Crochet For You by Erangi Udeshika.
Do not copy, edit, distribute or republish patterns and images in this blog in part or whole as your own. Please, share a direct link to the pattern with others and anywhere else. You are welcome to make and sell finished items using my patterns.
Visit Copyright / Terms of use for more info. Thank you.





27 Comments
Jody
Beautiful!
Erangi Udeshika
Thanks!
Carol Seaba
Keep up the great work thanks so very much. I love making doilies of all sizes and shapes
Erangi Udeshika
Hi Carol, Thank you for the nice words and encouragement! 🙂
Maria Ines
Hermoso ….te felicito…..!!!
!
Erangi Udeshika
Thank you. 🙂
Sandra
I was doing fine until I hit row 10. I need some assistance. Am I missing something? 1 sc in a 6 sp chain for every other ch sp makes my doily curl into a ball. Is it suppose to be this way? If someone could help me, I would appreciate it. Thank you.
Jodi
I am having the exact same problem on row 10. It curls into a ball with only 12 (2dc, ch2, 2dc)… I must be missing something also??? Did you get an answer to fix it or a fix you did that works?? I love this little doily, and would really love to finish it.
Margy
I had the same problem, but have now solved it by adding a chain either side of each sc in the 6 ch spaces. Hope this helps you!
Carmen
Thank you for this lovely doily design – I love making doilies!!
Erangi Udeshika
Hi Carmen, Thank you, too. Love to see your finished projects! 🙂
Rosina Smith
What a pretty doily! And congratulations on your first doily design! I love pear blossoms in the spring ~ such a wonderful display after a long winter, and a declaration that spring has come once again. I’m going to find some pink & white variegated to make mine, since we get both colors here.
Thank you for the beautiful doily pattern!
Erangi Udeshika
Hi Rosina, Thank you so much for your nice words and encouragement!. Can’t wait to see your finished projects. And I hope to make more doily patterns.. 😀 I already have finished another one.. But I like to call it Mandala.. Let see what I can do with it. Thank you so much again!
Lisa
Such a pretty doily Erangi! Good job! Keep up the good work. : )
Erangi Udeshika
Hi Lisa, Thank you so much for your the nice comment. 🙂
Cille
Beautiful pattern, thank you.
Erangi Udeshika
So glad you like it. 🙂
Millie
simply beautiful Erangi! Thank you for sharing the pattern to your pear blossom doily!
Erangi Udeshika
Thanks Millie 🙂
Pingback:
Pingback:
CrochetByEllej
Thank you for this nice doily! (Big hug from Ukraine!)
Pingback:
Pingback:
Helen
This is such a gorgeous doily design. Very striking! Beautiful work. Tk u for sharing it with the rest of us. I don’t think I can do something like that but it is so beautiful to look at. Many tks.
Pingback:
Carole
Thank you for the pear blossom doily pattern love it and so easy