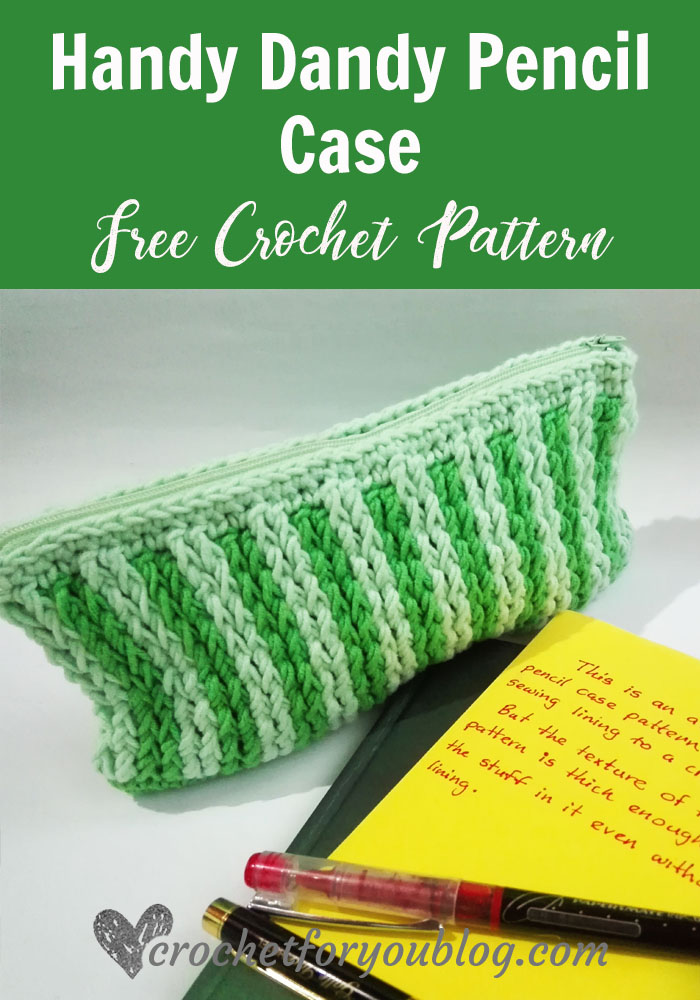
Handy Dandy Pencil Case Free Crochet Pattern
Handy Dandy Pencil Case pattern by Crochet For You.
I love textured crochet bags and purses and like to use different stitches and patterns. Like my Cutie Carry Purse, this pencil case or you can use it as a cosmetic bag has a great texture but no need a lining… 🙂
Disclosure This blog contains affiliate links.
Don’t forget to add this pattern to Ravelry queue
More about the pattern
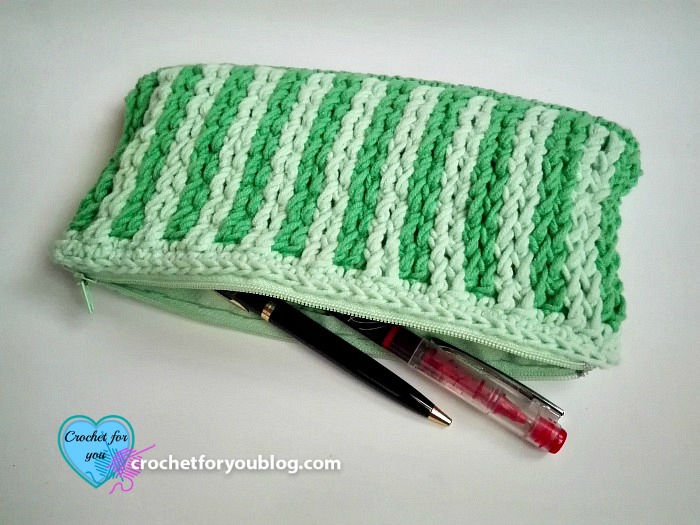
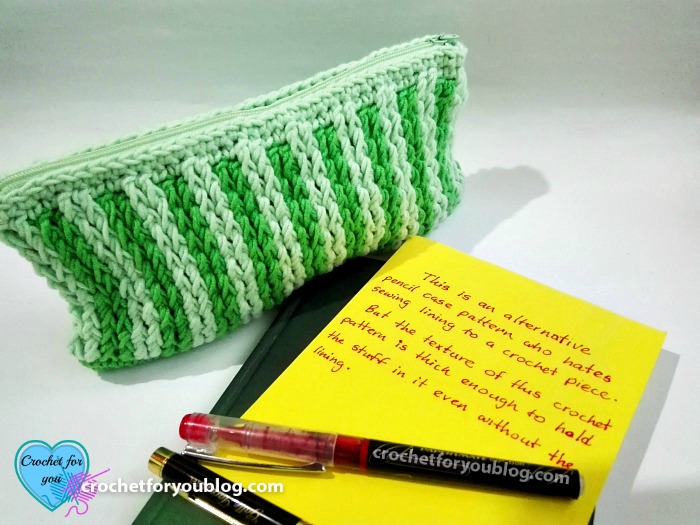
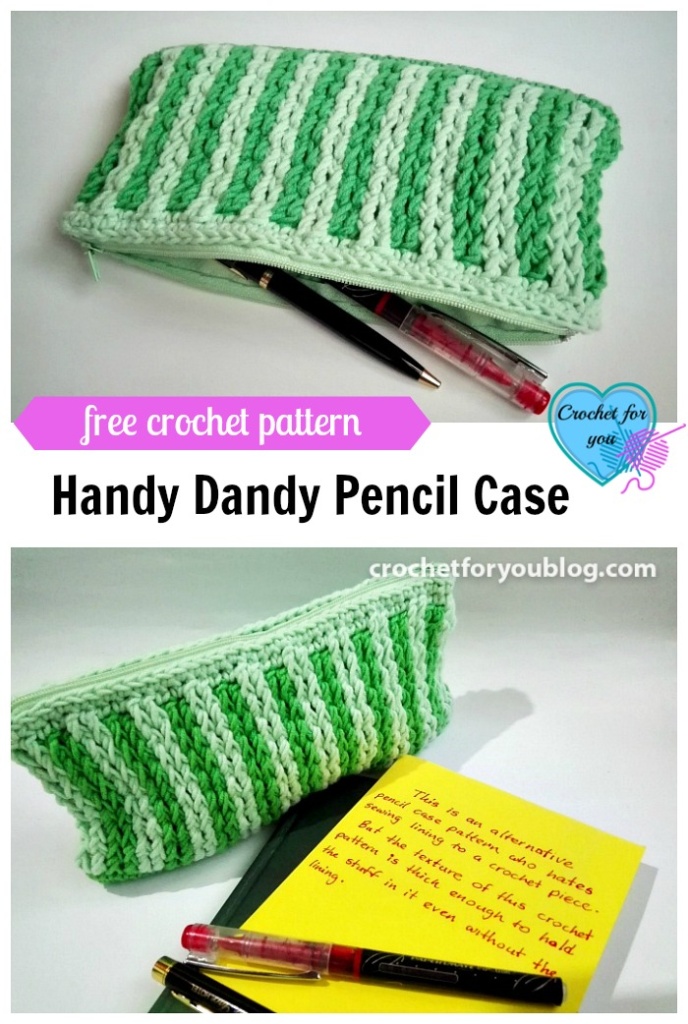
This is an alternative crochet pattern who hates sewing lining to a crochet project. But this pencil case (also, perfect to use as a cosmetic bag) is thick enough to hold the stuff in it even without the lining. The texture of the pattern also very interesting.
Skill level: Intermediate
Finished size: 4.5″ tall and 8.5″ wide
Materials (I used)
#4 – medium, worsted weight cotton blend yarn.
- (C1) approx: 50 yards.
- (C2) approx: 50 yards.
- H-8, 5mm crochet hook
- Zipper 9″ long / Thread and needle
- Stitch markers / Scissors
- Tapestry needle for weave ends.
Gauge: 15 hdc x 9 rows = 4″ with 5 H-8, 5mm crochet hook
Abbreviations:
- ch = chain
- sl st = slip stitch
- sc = single crochet
- hdc = half double crochet
- fpdc = front post double crochet
- sk = skip
- st(s) = stitch(s)
- *to = repeat * to the instructions.
- beg = beginning
- (C1) = Color 1
- (C2) = Color 2
Notes:
- beg ch(s) does not count as st.
- Color changes after 2 rounds.
- Carry on the other yarn when it needs.
- You may feel uncomfortable on 4 and 5 rounds until you grab the rhythm of the pattern.
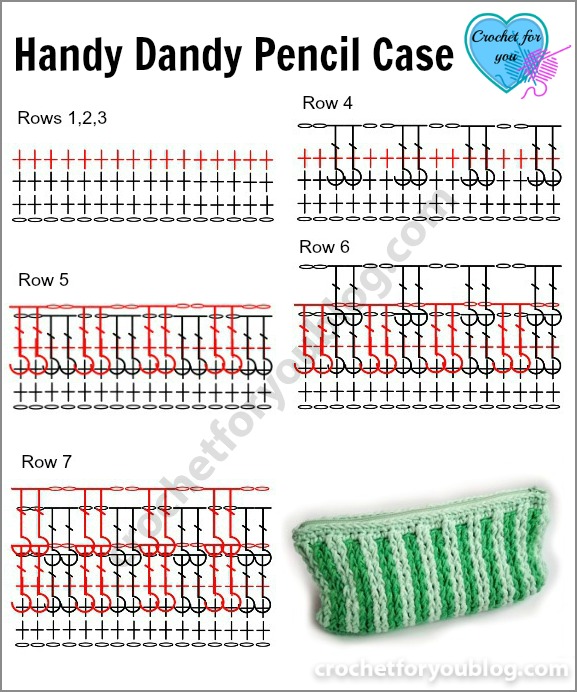
- I have created a chart for understanding the pattern clearly.
Handy Dandy Pencil Case Pattern
ch 36 with (C1)
Round 1: 5 sc in second ch from the hook, sc in each of next ch 33, 5 sc in last ch, work in opposite side of the foundation chains, sc in each st next ch 33, sl st to first sc. (76 sts)
Round 2: ch 1, sc in each st around, sl st to first st. (Add stitch marker on first st) (76 sts)
Round 3: (C2) repeat round 2.
Round 4: (C1) (in this round, every fpdc is working over the st from the previous round and into the st of round 2 below – see the chart below).
ch 2, fpdc in first st (marked stitch) and next st in round 2, *ch 2, sk next 2 sts, fpdc in next 2 sts; repeat *around, last ch 2 sl st to first fpdc. (38 fpdc sts)
Round 5: (C2) (in this round, every fpdc is working over the st from previous 2 rounds and into the st of round 2 below).
ch 4, sk next 2 fpdc, *fpdc in next 2 sts (remained sts on round 2), ch 2, sk next 2 fpdc; repeat * to around; last fpdc sl st to 2nd beg ch. (38 fpdc sts)
Round 6: (C1) (in this round, every fpdc is working over the st from the previous round and into the same colored (C1) fpdc of the round below). *ch 2, fpdc in next 2 fpdc (same colored below); repeat * to around, last ch 2 sl st to the first fpdc.
Round 7: (C2) (in this round, every fpdc is working over the st from the previous round and into the same colored (C2) fpdc of the round below). ch 4, *fpdc in next 2 fpdc (same colored below), ch 2; repeat * to around, last fpdc sl st to 2nd beg ch. (38 fpdc sts)
Round 8 to 20: repeat rounds 6 and 7.
Round 21: (C2) (in this round, every fpdc (remember only fpdc) is working over the st from the previous round and into the same colored (C2) fpdc of the round below and every sc in (C1) colored fpdc in round 20). ch 1, sc in first fpdc (C1 colored) and next fpdc (C1 colored), *fpdc in next 2 sts (same colored below (C2)), sc in next 2 fpdc (C1 colored); repeat * to around, sl st to first sc.
Round 20: (C2) ch 1, sc in first st and each st around, sl st to first sc. (76 sc total) Fasten off and weave the end.
Attach the zipper
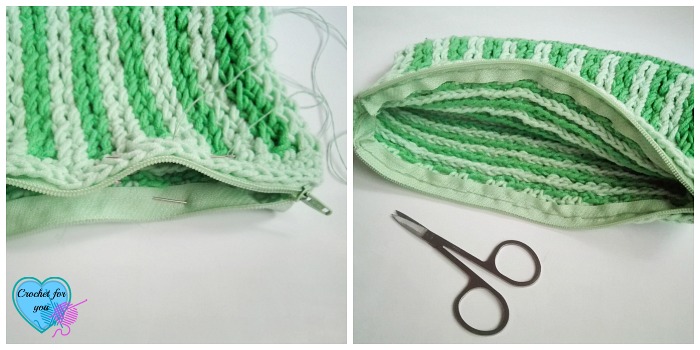
Open up the zipper. Pin one side of the zipper to the bag opening. Pin other side as well as and make sure that the zipper line up with the other side. I used back stitch to sew the zipper. (See the photo collage below)
Hope to see you soon with a new FREE pattern
Until then, Happy Crocheting!!
Share your finished projects of this pattern on Crochet For You FB page.
Happy hooking with Crochet For You!!
Let’s connect and share
Facebook | Pinterest | Twitter | Instagram
All contents include photography and patterns are copyrighted Crochet For You by Erangi Udeshika.
Do not copy, edit, distribute or republish patterns and images in this blog in part or whole as your own. Please, share a direct link to the pattern with others and anywhere else. You are welcome to make and sell finished items using my patterns.
Visit Copyright / Terms of use for more info. Thank you.



4 Comments
Alana hale
I don’t know what a stitch marker is can you please tell me what it is I crochet blankets and I would love to make this but I’m not sure what you mean by a stitch marker please email me and let me know please and thank you I hope to hear from you soon
Erangi Udeshika
Hi Alana, stitch markers used to mark specific stitches that make sure to where to start or end the round and mark the position where you attaching something. Also, you can use them to hold the loop that you’re working, when you keep your WIP projects a while. 🙂 There lots of cute markers made of plastic, but you can use your safety pins and piece of yarn to make a knot where you want.
Kijankowo
Hello, thank you for the pattern.
This is my pencil case: https://kijankowo.blogspot.com/2017/05/kosmetyczka-szydekowa.html.
Erangi Udeshika
You are welcome! I like your pencil case. Beautiful colors.