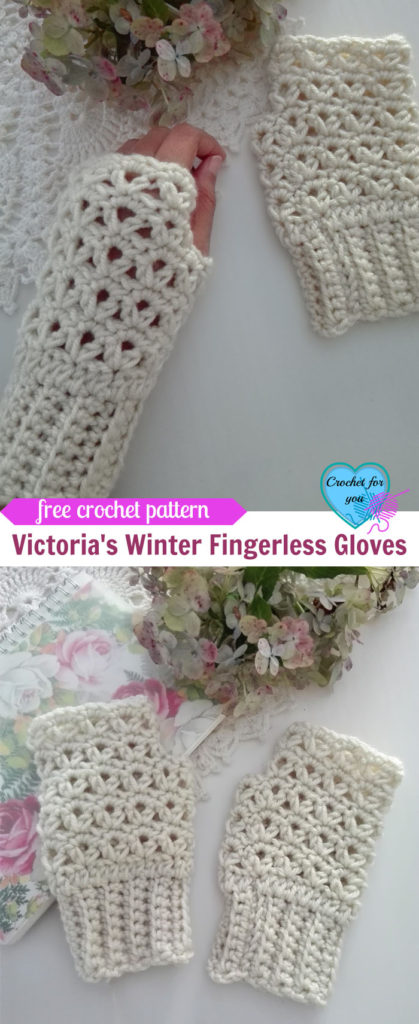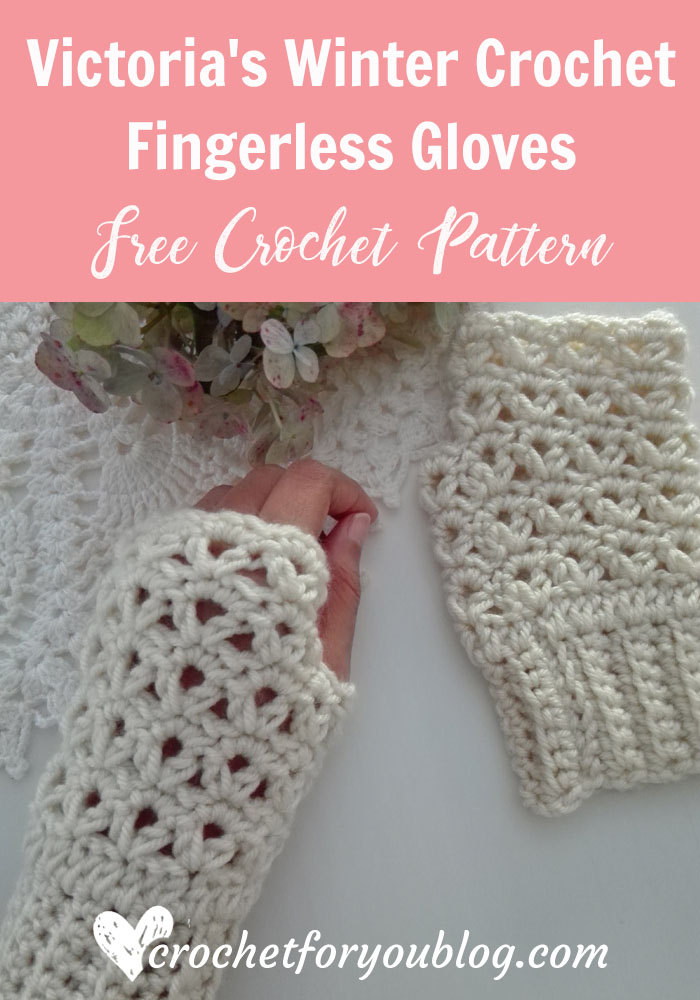
Victoria’s Winter Crochet Fingerless Gloves Free Pattern
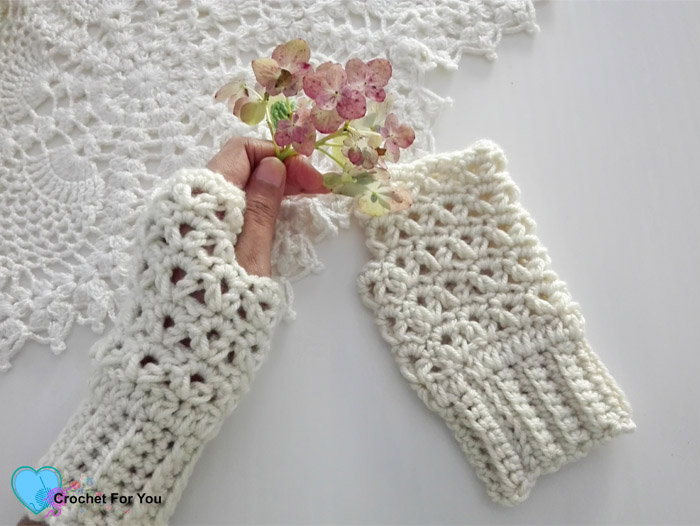
Victoria’s Winter Crochet Fingerless Gloves Pattern by Crochet For You.
Hi everyone, So excited to show you how to crochet these Victoria’s Winter Crochet Fingerless Gloves! 🙂
I’m totally in love with designing more fingerless gloves after making Winter’s Cerise Fingerless gloves. So here is another try for easy, simple and quick gloves pattern.
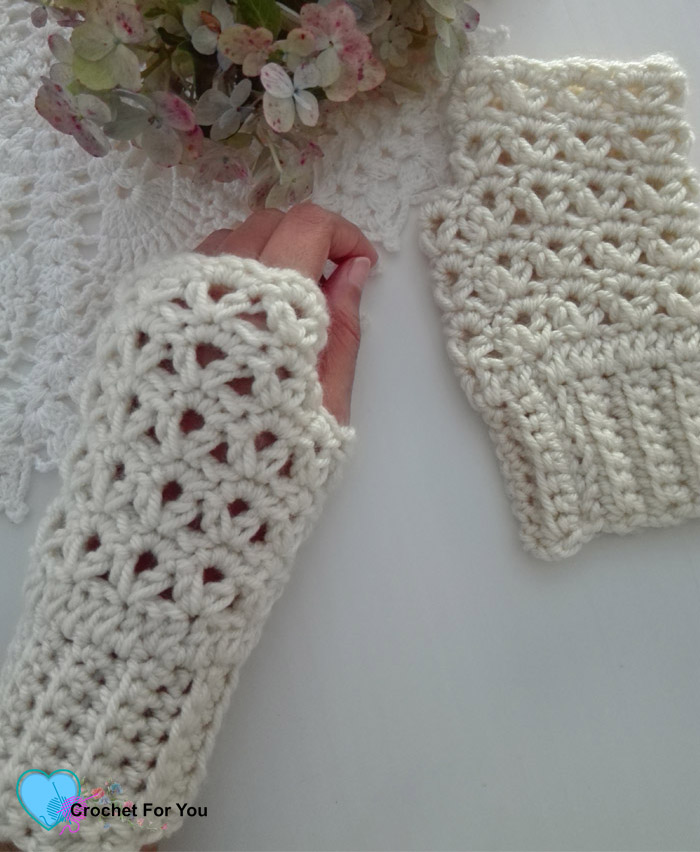
This pattern is also great stash buster project. It’s easy, simple and quick gloves pattern with openwork texture.
Disclosure This blog contain affiliate links.
Add this pattern to Ravelry queue
Save on Pinterest
Skill level: Easy
Finished size (fitted): 6” tall and 6” circumference above the thumb. (This pattern can be adjusted to any size)
Materials:
#4 – Medium / Worsted weight yarns (Approx: 80 yards)
(I used)
- 1 skein of Deborah Norville Everyday Soft Worsted – Cream (Amazon affiliate)
- I-9, 5.5mm crochet hook
- Tapestry needle for weaving ends.
Gauge: 12 sc x 15 rows = 4” with 5.5mm crochet hook.
Abbreviations:
- ch = chain
- sl st = slip stitch
- sc = single crochet
- hdc = half double crochet
- BLO = back loop only
- st = stitch
- sk = skip
- *to = repeat * to the instructions.
- beg = beginning
- RS = Right Side
Special stitches:
- V-st = (hdc, ch 2, hdc) in indicated st.
Notes:
- This fingerless gloves pattern can be adjusted to any size.
- There are 2 parts in the pattern.
- Crochet multiple of 2 rows for the part 1 to get your desired circumference of the cuff.
- Part 1: work in rows and join 2 short sides together to make a cuff.
- Part 2: work on the long side of the cuff.
- beg ch does not count as st.
Victoria’s Winter Crochet Fingerless Gloves Pattern
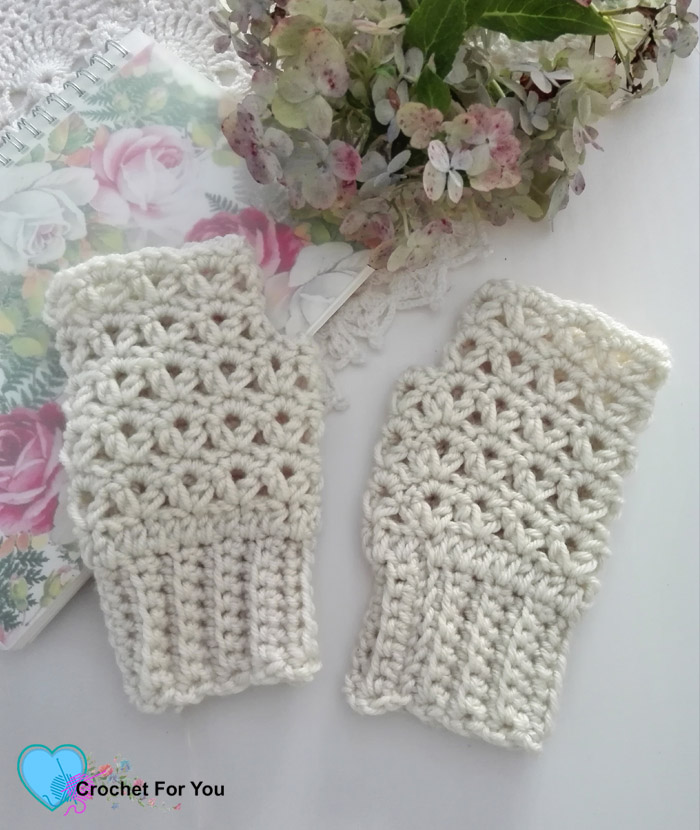
(Make 2)
Part 1 (Get your desired circumference by crocheting multiple of 2 rows for the part one)
Leaving 6” long tail of the yarn, crochet ch 9.
Row 1: sc in 2nd ch from the hook, sc in each st across, turn. (8 sts)
Row 2: ch 1, (working in BLO) sc in each st across, turn. (8 sts)
Row 3 to 20: repeat row 2.
Insert the yarn tail through the tapestry needle. Place two short sides together sew with the tapestry needle.
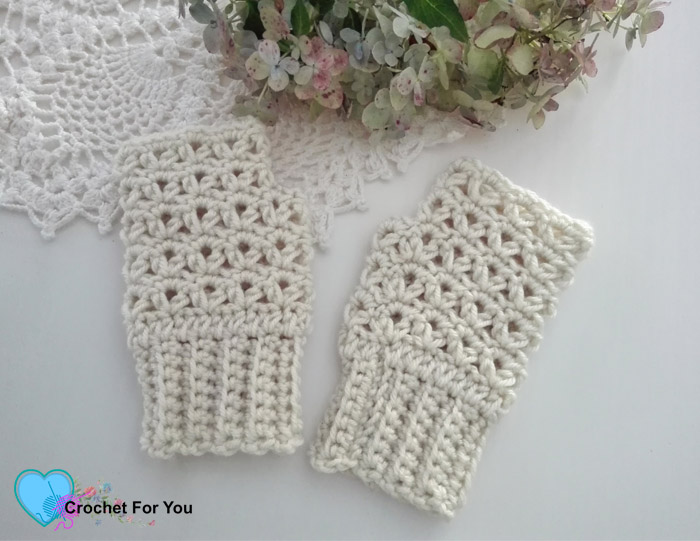
Part 2 (work in long side of part 1)
Round 1: (RS) ch 1, hdc in first st, *2 hdc in next st, 1 hdc in next st; repeat * to around, sl st to the first hdc. (30 sts)
Round 2: ch 1, v-st (see special stitch) in first st, *sk next 2 sts, v-st in next st; repeat * to around, sl st to the first hdc of first v-st. (10 v-sts)
Round 3: ch 1, *3 sc in ch-2 space of v-st; repeat * to around, sl st to the first sc. (30 sts)
Round 4: sl st to the next st, ch 1, v-st in same st, *sk next 2 sts, v-st in next st; repeat * to around, sl st to the first hdc of first v-st. (10 v-sts)
Round 5 to 7: repeat round 3 and 4.
Round 8: ch 1, v-st in first st, *sk next 2 sts, v-st in next st; repeat * to around until last 6 sts remain, sl st to the first hdc of first v-st. (8 v-sts)
Round 9: ch 1, *3 sc in ch-2 space of v-st; repeat * to around, sl st to the first sc. (24 sts)
Round 10: repeat rounds 4. (8 v-sts)
Round 11: repeat round 3. (24 sts). Fasten off and weave the ends.
Hope to see you soon with a new FREE pattern ?
Until then, Happy Crocheting!!
Share your finished projects of this pattern on Crochet For You FB page.
Happy hooking with Crochet For You!!
Let’s connect and share
Facebook| Pinterest | Twitter | Instagram
All contents include photography and patterns are copyrighted Crochet For You by Erangi Udeshika.
Do not copy, edit, distribute or republish patterns and images in this blog in part or whole as your own. Please, share a direct link to the pattern with others and anywhere else. You are welcome to make and sell finished items using my patterns.
Visit Copyright / Terms of use for more info. Thank you.
