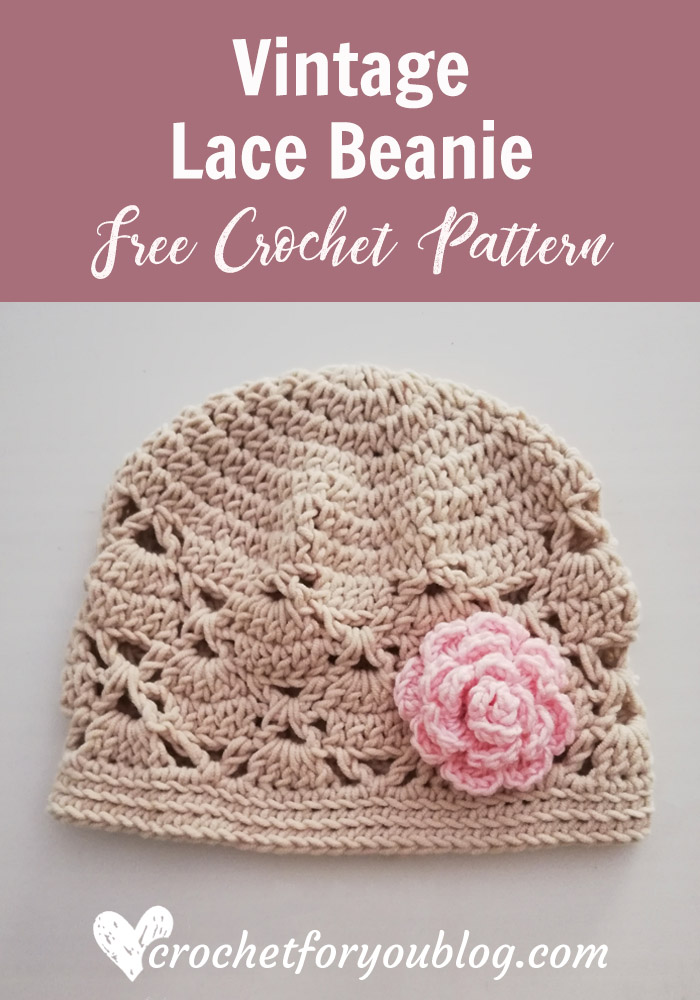
Crochet Vintage Lace Beanie Free Pattern
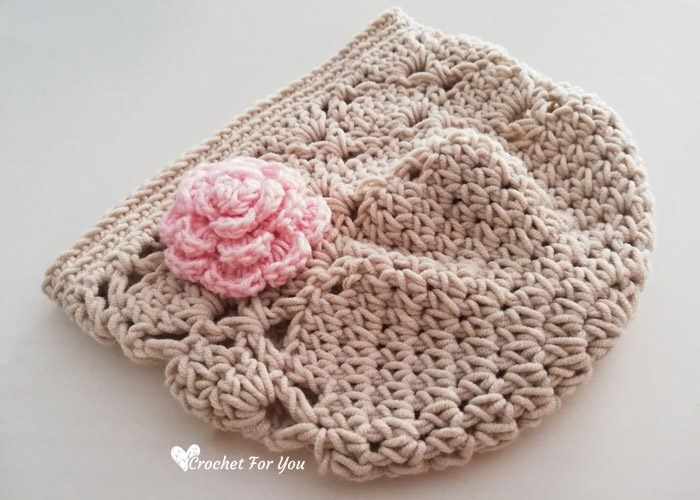
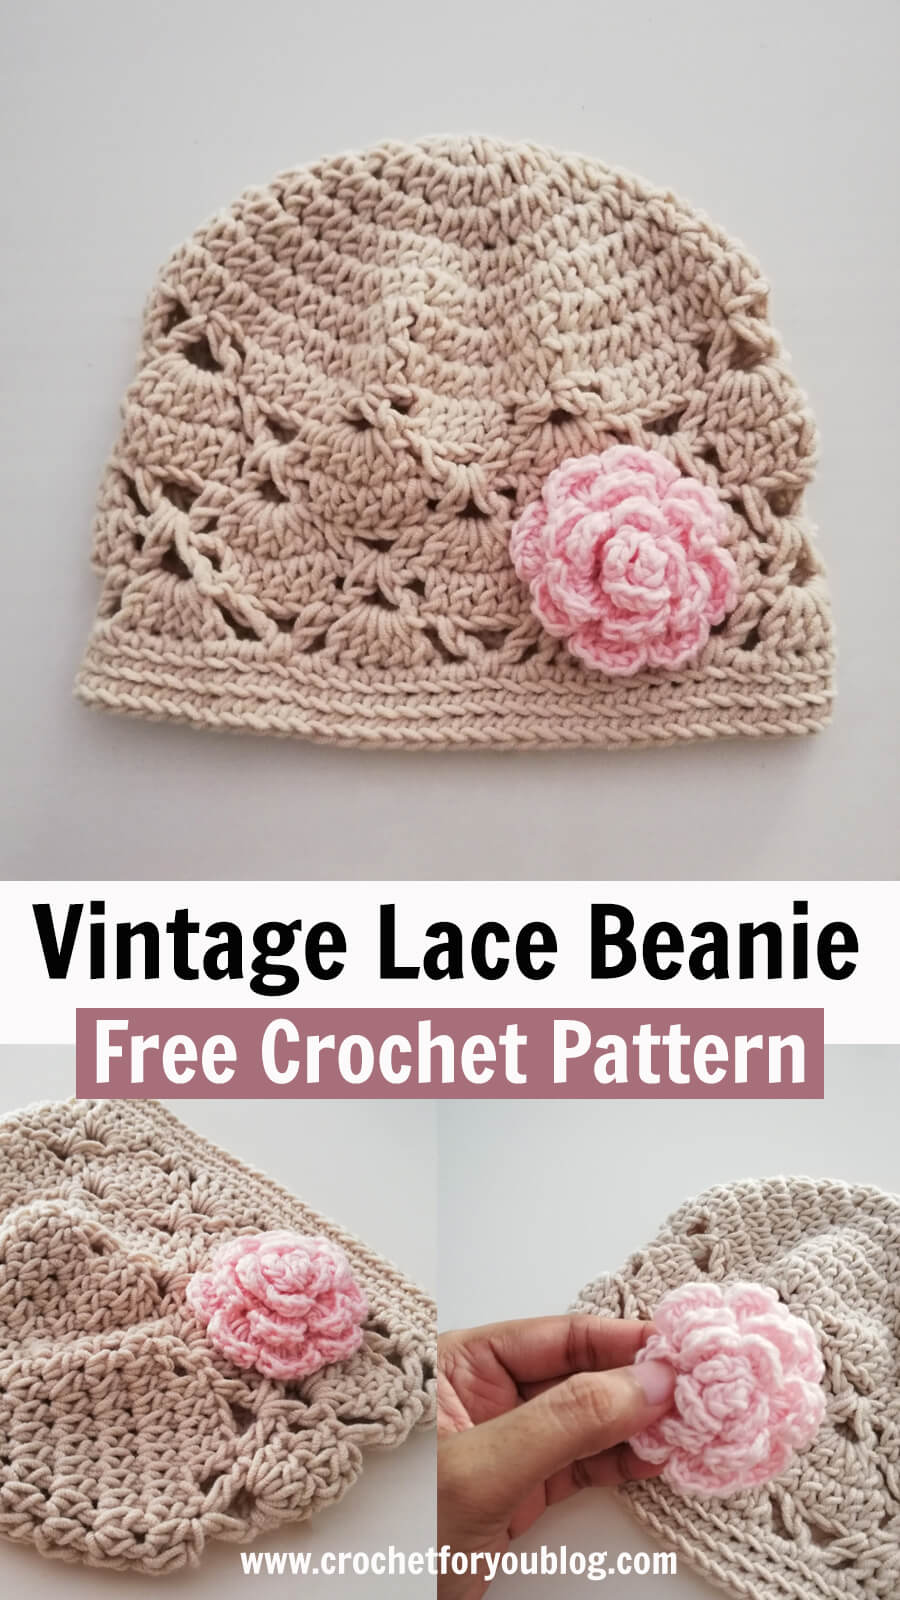
Crochet Vintage Lace Beanie Pattern by Crochet For You.
Happy Wednesday! Here is the third pattern of Easy & Lace Crochet Pattern Series. Every Wednesday of this month including today I share easy and lace crochet patterns. These all patterns come with open lace stitches and easy to crochet.
Updated: Check other Easy & Lace crochet patterns of this series.
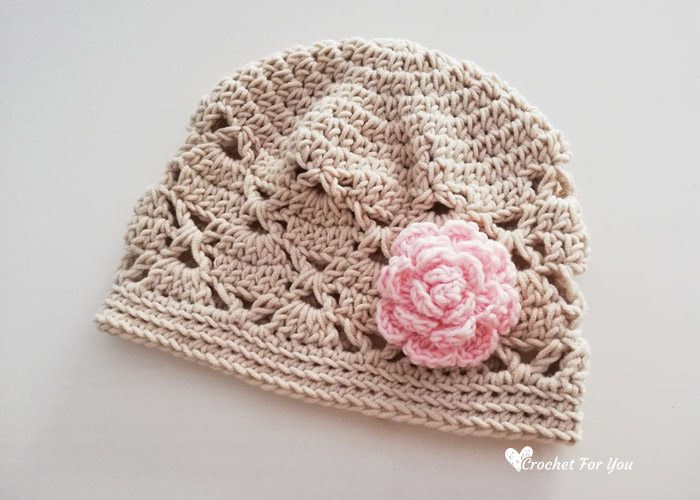
This Crochet Vintage Lace Beanie made in toddler size. Follow the hat sizing guide-How to Crochet Hat in Any Size to make this hat in any size.
Disclosure This post contains affiliate links.
Add this pattern to Ravelry queue
Save on Pinterest
Skill level: easy
Finished size (1-3 toddler)
- Hat height = 6.5”
- Hat circumference = 16”
Materials: #4-Medium / Worsted yarn (Approx: 150 yards)
(I used)
- Beige color yarn (Approx: 150 yards)
- Small amount of pink color yarn (20 yards)
- I-9 / 5.5mm crochet hook
- Tapestry needle for weaving ends.
Gauge: 13 hdc x 9 rows = 4″ with I-9 / 5.5mm crochet hook.
Abbreviations
- ch = chain
- sl st = slip stitch
- sc = single crochet
- hdc = half double crochet
- dc = double crochet
- BL = back loop
- ch-sp = chain space
- st = stitch
- sk = skip
- beg = beginning
- *to ; = repeat * to the instructions.
Special stitches
- V-st = (dc, ch 3, dc) in indicated st.
- 2-dc cluster = yo, insert hook in first st of 5 dc, yo, pull back through st, yo, pull back through 2 loops on the hook, yo, insert hook in fifth st of 5 dc, yo, pull back through st, yo, pull back through 2 loops on the hook, yo, pull through all 3 loops on hook.
Notes: if you want to make this beanie in larger or smaller sizes, Follow the hat sizing guide-How to Crochet Hat in Any Size to make this hat in any size. (For other sizes: after you get the closest number to the size of the crown width you want. Continue the body part until you reach the hat height you need.)
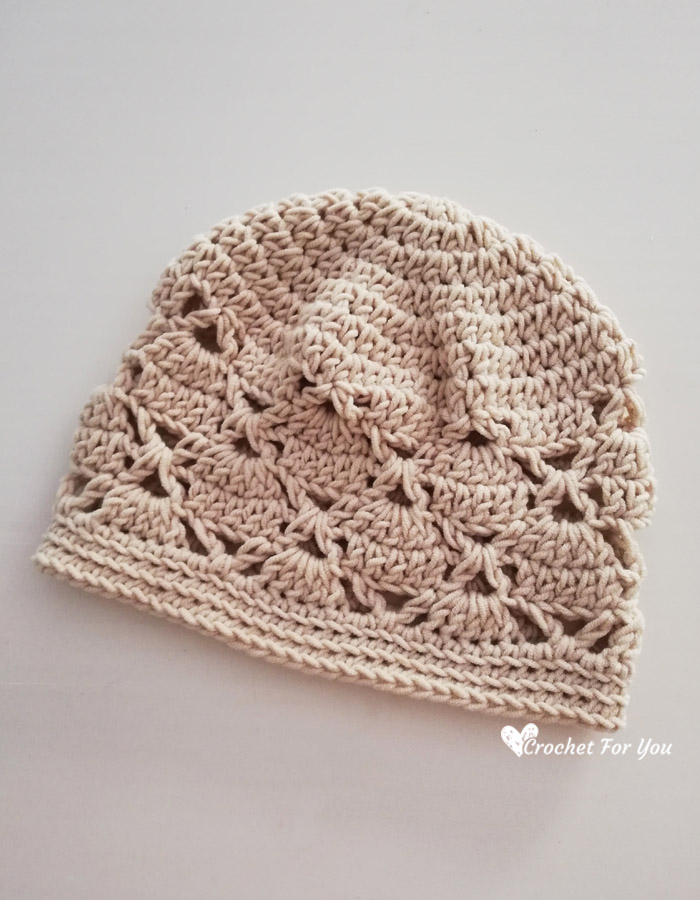
Crochet Vintage Lace Beanie Pattern
(crown)
Make an adjustable/magic ring.
Round 1: ch 1 (does not count as st), 10 hdc into the ring, sl st to the first st. (10 hdc)
Round 2: ch 1 (does not count as st), 2 hdc in each st around, sl st to the first st. (20 hdc)
Round 3: ch 1 (does not count as st), 2 hdc in first st, *hdc in next st, 2 hdc in next st; repeat * to around, sl st to the first st. (30 hdc)
Round 4: ch 1 (does not count as st), 2 hdc in first st, *hdc in each of next 2 st, 2 hdc in next st; repeat * to around, sl st to the first st. (40 hdc)
Round 5: ch 1 (does not count as st), 2 hdc in first st, *hdc in each of next 3 st, 2 hdc in next st; repeat * to around, sl st to the first st. (50 hdc)
Round 6: ch 1 (does not count as st), 2 hdc in first st, *hdc in each of next 4 st, 2 hdc in next st; repeat * to around, sl st to the first st. (60 hdc)
Round 7: ch 1 (does not count as st), 2 hdc in first st, *hdc in each of next 5 st, 2 hdc in next st; repeat * to around, sl st to the first st. (70 hdc) (For other sizes: after you get the closest number to the size of the crown width you want. Continue the body part until you reach the hat height you need. Follow the hat sizing guide-How to Crochet Hat in Any Size )
(body)
Round 8: ch 3 (count as dc), dc in each of next 4 st, *sk next 2 sts, V-st (see special stitches) in next st, sk next 2 sts, dc in each of next 5 st; repeat *to around, after crocheting last V-st, sl st to the beg ch 3 top. (7 5-dc blocks/7 V st)
Round 9: ch 3, sk next 3 sts, dc in next st, *ch 2, 5 dc in ch-sp of V-st, ch 2, 2-dc cluster (see special stitches); repeat * to around, after crocheting last ch 2, sl st to the first dc. (7 2-dc cluster/7 5-dc)
Round 10: ch 6 (count as dc and ch 3), dc in first st, *sk next ch-sp, dc in each of next 5 dc, sk next ch-sp, V-st in next cluster (working in between the post of the sts of cluster); repeat * to around, after crocheting last dc of 5, sl st to the beg ch 3 top. (7 5-dc blocks / 7 V st)
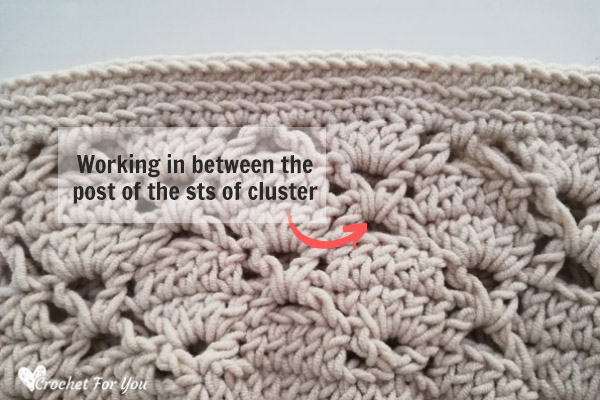
Round 11: ch 3 (count as dc), 4 dc in ch-sp of V-st, *ch 2, 2-dc cluster-see special stitches, ch 2, 5 dc in ch-sp of V-st; repeat * to around, after crocheting last ch 2, sl st to the beg ch 3 top. (7 2-dc cluster/7 5-dc)
Round 12: ch 3 (count as dc), dc in each of next 4 dc, *sk next ch-sp, V-st in next cluster (I crocheted post), sk next ch-sp, dc in each of next 5 dc; repeat * to around, after crocheting last V-st, sl st to the beg ch 3 top. (7 5-dc blocks / 7 V-st)
Round 13: repeat rounds 9. For larger sizes repeat rounds 9 to 12 continuously to get the hat height you want.
Edging
Round 14: ch 1, sc in first st, *2 sc in ch-sp, sc in each of next 5 st, 2 sc in ch-sp, sc in cluster st; repeat * to around, sl st to the first st. (70 sts)
Round 15: ch 1, sc in BL of each st around, sl st to the first st. (70 sts)
Round 16: repeat round 15. Fasten off and weave the end. (70 sts)
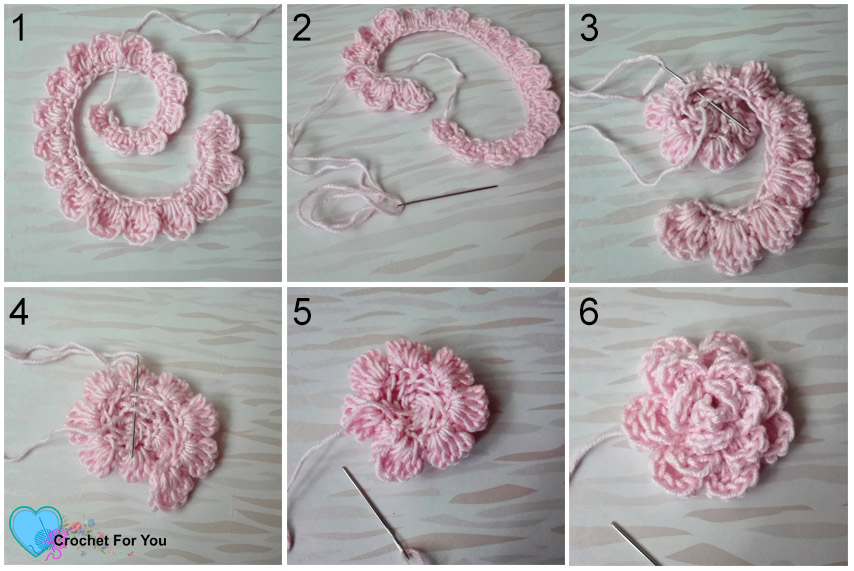
Rose Flower
Ch 44
Row 1: sl st to 6th ch from the hook, *ch 3, sk next ch, sl st to next ch; repeat * to end, turn. (20 ch-3 sp)
Row 2: sl st to ch-3 sp, [ch 2, 4 dc into the same ch-3 sp, ch 2, sl st to same sp, ch 1, sl st to next ch-3 sp] 7 times, [ch 2, 3 dc into the same ch-3 sp, ch 2, sl st to same sp, ch 1, sl st to next ch-3 sp] 7 times, [ch 1, 2 hdc into the same ch-3 sp, ch 1, sl st to same sp, ch 1, sl st to next ch-3 sp] 5 times, ch 1, 2 hdc into same sp, ch 1, sl st to same sp, fasten off. Cut the yarn leaving 20” long yarn tail.
With the tapestry needle, sew the flower while curling. Start from you finished side with the yarn tail. (see photo below) Add a few more stitches back and forth to secure. And attach the flower to the beanie. Cut the yarn and weave the end.
Hope to see you soon with a new FREE pattern
Until then, Happy Crocheting!!
Share your finished projects of this pattern on Crochet For You FB page.
Happy hooking with Crochet For You!!
Let’s connect and share
Facebook | Pinterest | Twitter | Instagram
All contents include photography and patterns are copyrighted Crochet For You by Erangi Udeshika.
Do not copy, edit, distribute or republish patterns and images in this blog in part or whole as your own. Please, share a direct link to the pattern with others and anywhere else. You are welcome to make and sell finished items using my patterns.
Visit Copyright / Terms of use for more info.
Thank you.


7 Comments
Cynthia
I love the hat do you think that you will make an adult size?
Thank you,
Cynthia
Gitte
I get lost after the first Round 10. It goes back to Round 6, but in the picture, it does not look like there 2 rounds like 6 and 7 in there. It makes the hat look funny too. Am I missing something in the way the pattern reads?
The hat looks so cute, I would love to finish it.
Thanks,
Gitte
Erangi Udeshika
Hi Gitte, looks like some rounds had mixed up when publishing the pattern. I fixed and updated. Thank you so much for letting me know about it. 🙂
Renata
I absolutely love these beanies, but I can’t follow the written pattern I only understand drawings (the lines and dots), I wish all patterns would come like that (or with the drawing as well).
Anyone know where to get a pattern like that?
Sarah Walker
I love this pattern for the lace effect but I’m worried about increasing the size for my granddaughters, 4 & 6 years old. Is there a stated multiple of the pattern for the lace section. I understand the increases for the crown but I am not experienced enough to work out the lace pattern for increases. Any help would be appreciated.
Sarah
Erangi Udeshika
Hi Sarah, when you increase the crown size of the hat the lace part also increasing automatically. Start the crown with 10 stitches and increase the crown to get your desired size.