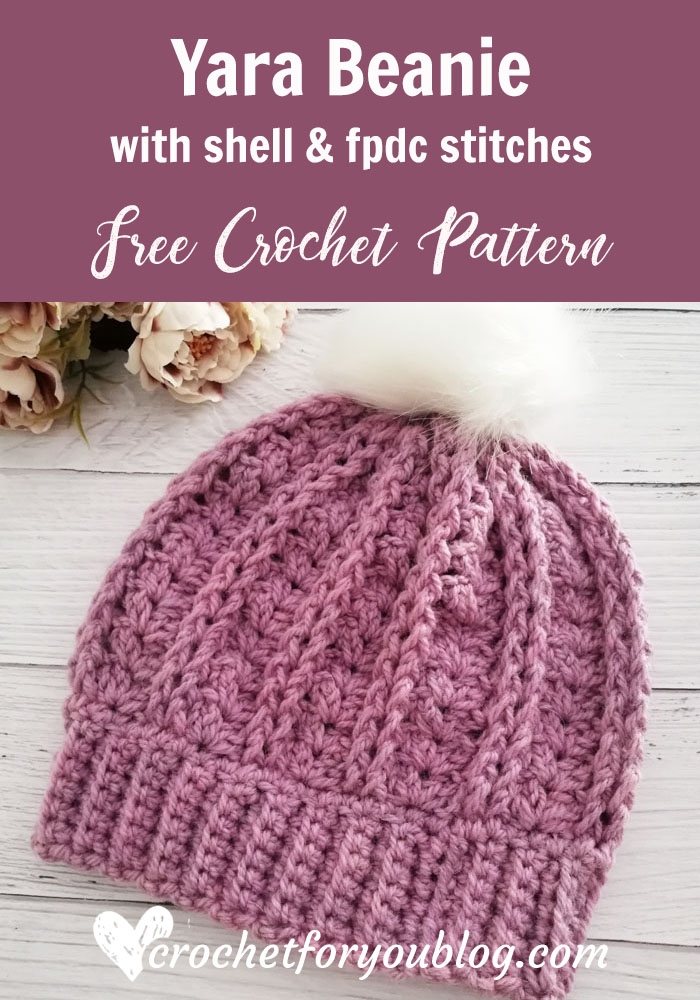
Crochet Yara Beanie Free Pattern
Crochet Yara Beanie Pattern by Crochet For You
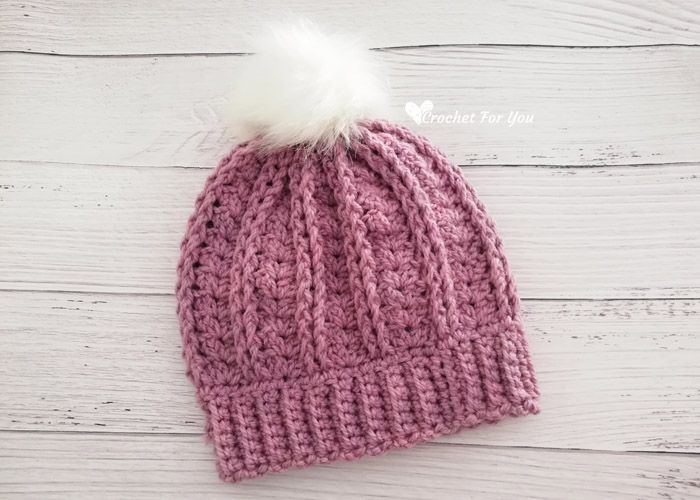
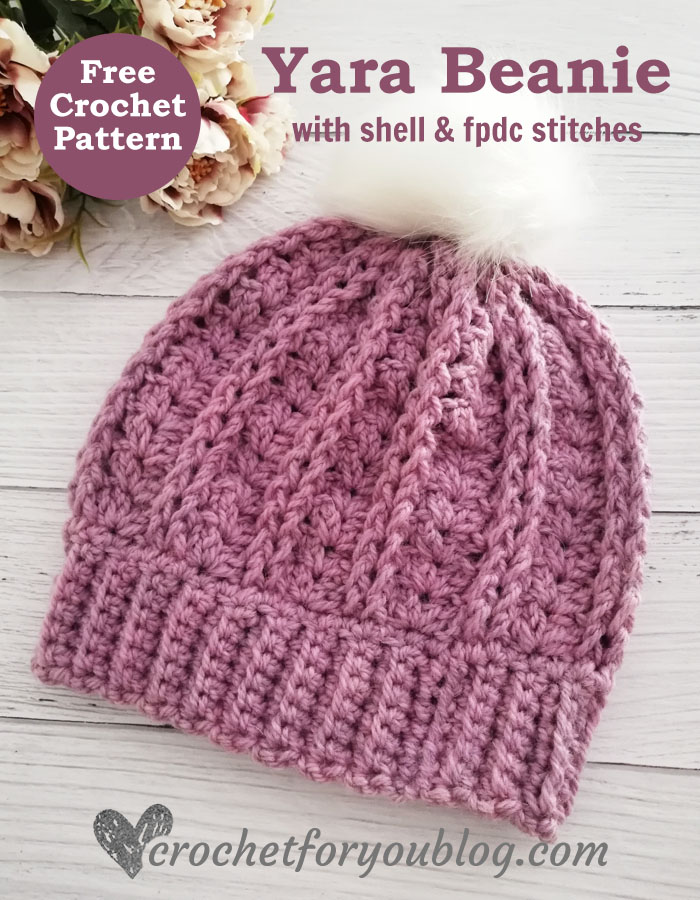
This is a quick and easy beanie pattern to try if you know how to crochet single crochet, double crochet and front post double crochet stitches. The texture of this beanie creates using crochet shell and front post double crochet.
I wanted to make a simple and cozy look texture for winter and early spring. This pattern also great for beginners to crochet . This hat in child size but you can adjust to any size.
Disclosure This blog contain affiliate links.
Add this pattern to Ravelry queue
Save on Pinterest
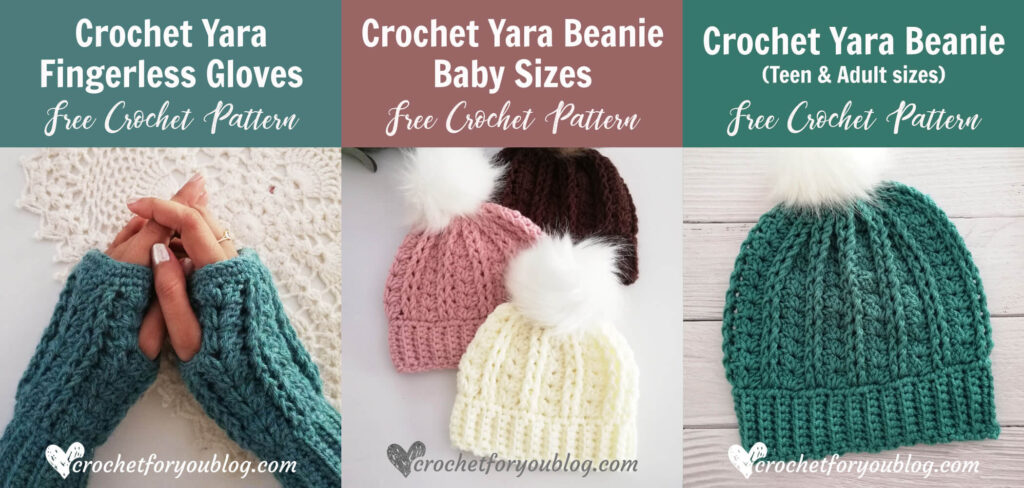
You may like to try other Yara crochet patterns
Yara Fingerless Gloves
Yara Baby Beanie
Yara Beanie (teen & adult)
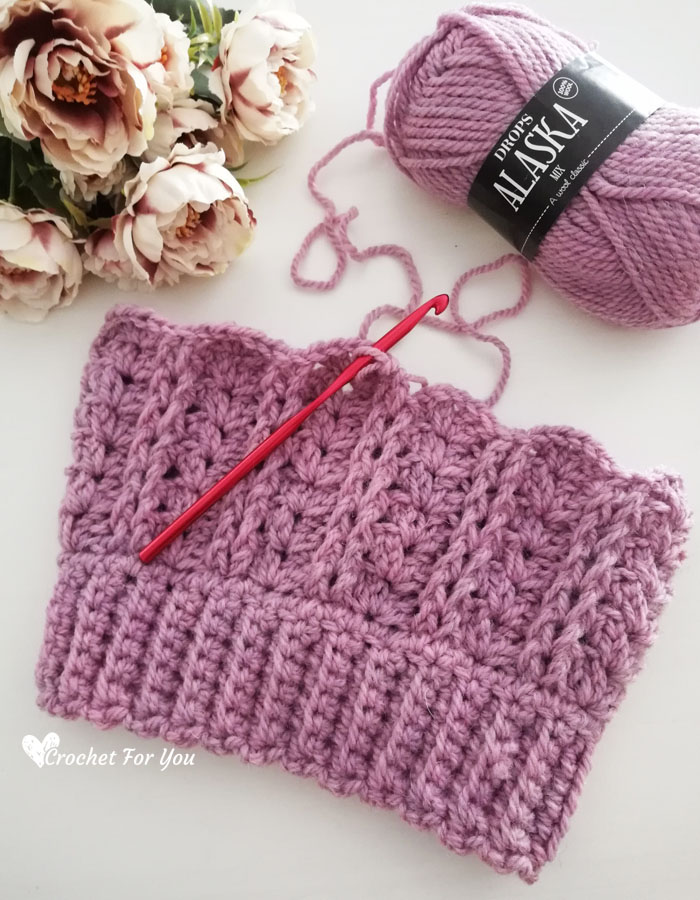
This beanie made with 2 skeins of Drops Alaska – Gray Pink. This gorgeous yarn comes with lots of lovely colors so you can try with other colors to go with your outfit or make it more seasonal.
Skill Level: Intermediate
Finished size: Child (can be adjusted to any size see note section)
– Hat circumference = 18-19″
– Hat height = 8.5″
Materials: 4-Medium / Worsted / 100% Wool / Approx: 140 yards
(I used)
– 2 skeins Drops Alaska – Gray Pink (No:40) (Amazon affiliate)
– US I-9 5.5mm crochet hook
– Tapestry needle for weaving ends
– Scissors
– pompom
Gauge: 14 hdc x 9 rows = 4×4″ with I-9, 5.5mm crochet hook.
Abbreviations/special stitches (US Term)
- ch – chain
- sl st – slip stitch
- sc – single crochet
- dc – double crochet
- fpdc – front post double crochet
- BL – back loop
- st(s) – stitch(s)
- sk – skip
- *to – repeat * to the instructions.
- beg – beginning
- shell st – (2 dc, ch 1, 2 dc) in indicated st.
Notes:
- This hat can be adjusted to any size.
- Crochet multiple of 5 rows for the band part to get your desired circumference.
- beg ch does not count as an st.
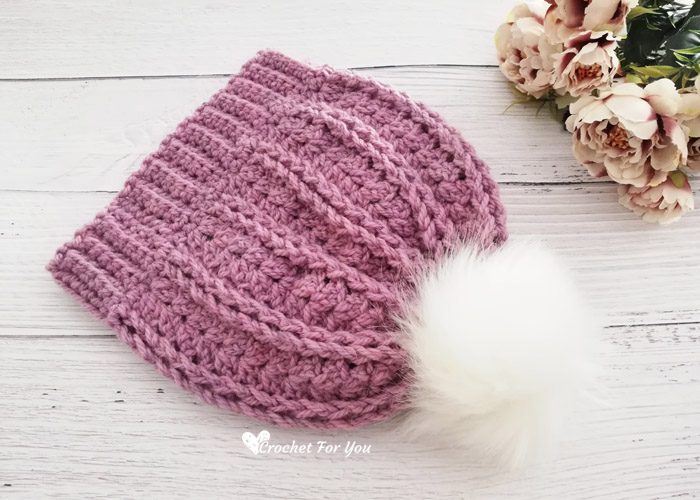
Crochet Yara Beanie Pattern
Ribbed band
(I crocheted 55 rows only for the ribbed band,16″ length but stretch about 18-19″) Be careful to get right length to the ribbed band first if you use any other yarns. To get your desired circumference, crochet multiple of 5 rows for the band.
Leaving 6” long tail, crochet ch 8.
Row 1: sc in 2nd ch from the hook, sc in each st across, turn. (7 sts)
Row 2: ch 1, sc in first st, sc in BL of each of next 5 st, sc in last st, turn. (7 sts)
Row 3 to 55: repeat row 2.
(Insert the yarn tail through the tapestry needle, place two short sides together and sew with the tapestry needle.)
Body of the Hat (Work in the long side of the band)
Round 1: ch 1, sc in first st and each st around, sl st to the first st. (55 sts)
Round 2: ch 1, fpdc in first st and next st, *sk next st, shell st in next st, sk next st, fpdc in each of next 2 st; repeat * to around, sl st to the first fpdc. (22 fpdc / 11 shells)
Round 3: ch 1, fpdc in first st and next st, *shell st in next chain space of the previous shell, fpdc in each of next 2 fpdc; repeat * to around, sl st to the first fpdc. (22 fpdc / 11 shells)
Round 4 to 10: repeat round 3.
Round 11: ch 1, fpdc in first st and next st, *3 dc in next chain space of the previous shell, fpdc in each of next 2 fpdc; repeat * to around, sl st to the first fpdc. (22 fpdc / 33 dc)
Round 12: ch 1, fpdc in first st and next st, *3 dc in 2nd dc of previous 3 dc, fpdc in each of next 2 fpdc; repeat * to around, sl st to the first fpdc. (22 fpdc / 33 dc)
Round 13: ch 1, fpdc in first st and next st, *sc in 2nd dc of previous 3 dc, fpdc in each of next 2 fpdc; repeat * to around, sl st to the first fpdc. (22 fpdc / 11 sc)
Round 14: ch 1, fpdc in first st and next st, *sk next sc, fpdc in each of next 2 fpdc; repeat * to around, sl st to the first fpdc. (22 fpdc)
Round 15: ch 1, fpdc in first st, *sk next fpdc, fpdc in next fpdc; repeat * to around, sl st to the first fpdc. (11 fpdc) Fasten off and weave the end. Cut the yarn leaving about 6 inches long yarn tail.
Finishing (Close top of the hat)
Turn the hat inside out first. Insert the yarn tail through the tapestry needle and weave through spaces between fpdc in last round. Pull the yarn tightly and close the top of the hat with few more stitches. Lastly, attach pom-pom.
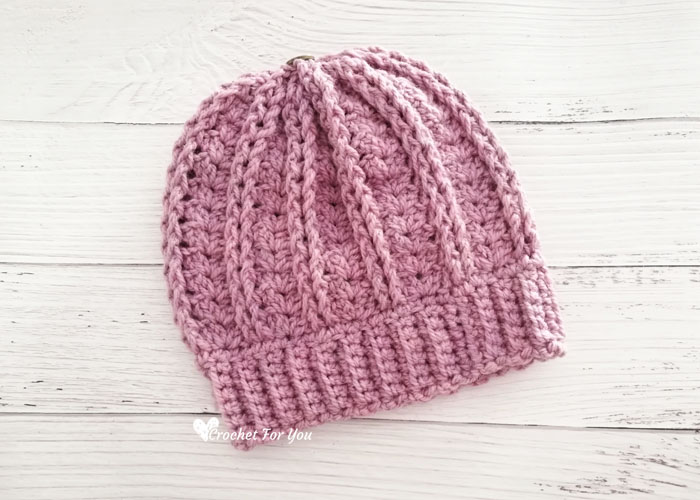
Hope to see you soon with a new FREE pattern
Until then, Happy Crocheting!!
Share your finished projects of this pattern on Crochet For You FB page.
Happy hooking with Crochet For You!!
Let’s connect and share
Facebook | Pinterest | Twitter | Instagram
All contents include photography and patterns are copyrighted Crochet For You by Erangi Udeshika.
Do not copy, edit, distribute or republish patterns and images in this blog in part or whole as your own. Please, share a direct link to the pattern with others and anywhere else. You are welcome to make and sell finished items using my patterns.
Visit Copyright / Terms of use for more info.
Thank you.



8 Comments
Julie
That is just beautiful, I LOVE the texture of the stitches. Pinning so I can find this again when I NEED it!! Thank you.
Julia
Hi. It’s a lovely pattern but I’m really confused with round 3. So you do the fpdc in the previous 2 fpdc but then where do you do the shell stitch? Is it in the gap that was made by skipping a stitch after the fpdc? Thank you.
Erangi Udeshika
Hi Juliya, after making fpdc in each of next 2 st, make a shell st in chain space between located in center of the shell in previous row. If you look at the work in progress image in the post you can see the shell always worked in center of the previous shell (chain space).
Marilyn Myers
Love the pattern. I’m making a blanket with shell stitch and this will go perfectly. On row 2 of the ribbed band, should it be 5 stitches in the BL instead of 6. Row 1 is a total of 7 stitches. Thank you in advance for your help.
Erangi Udeshika
Hi Merilyn, thank you so much for letting me know about it. Fixed and updated the pattern. 🙂
Emma
Hi, I love the look of this hat, I’m going to give it a go! I’d like to make it for an adult, how do I continue with the pattern past round 15 to get the right hat height? Do I start again from round 2?
Emma x
Erangi Udeshika
Hi Emma, you need to start from the band part and get your desired circumference by crocheting multiple of 5 rows for the band part. For Adult size Beanie you can follow the pattern in this link >> https://www.crochetforyoublog.com/2020/03/crochet-yara-beanie-teen-adult/
Laurie Sweet
Love this pattern! However I only have a cell phone. Is there a way to print this pattern for my own use?