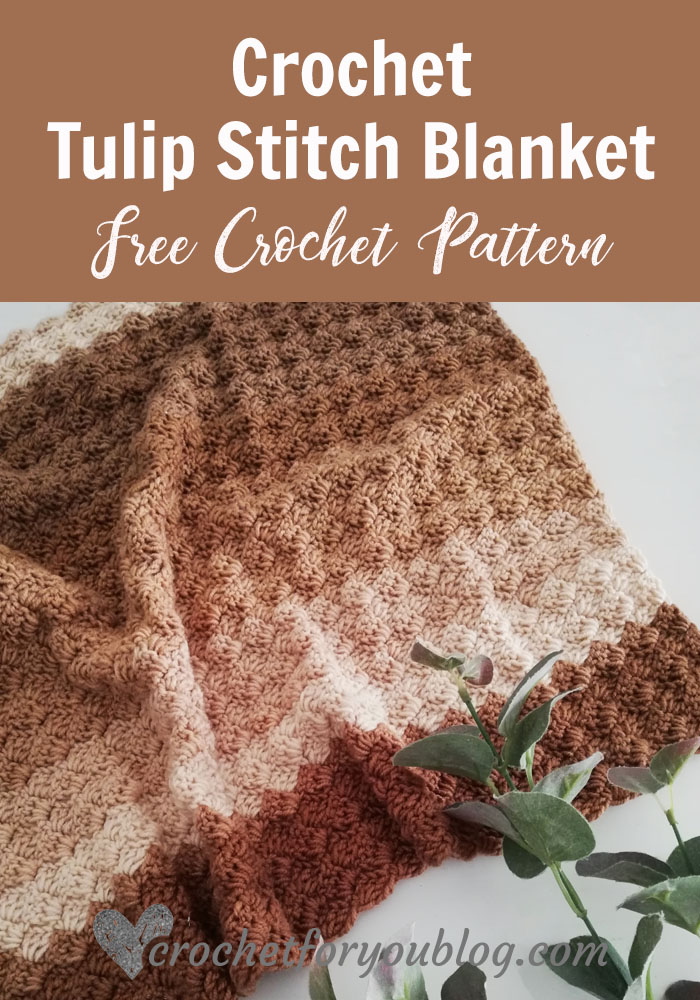
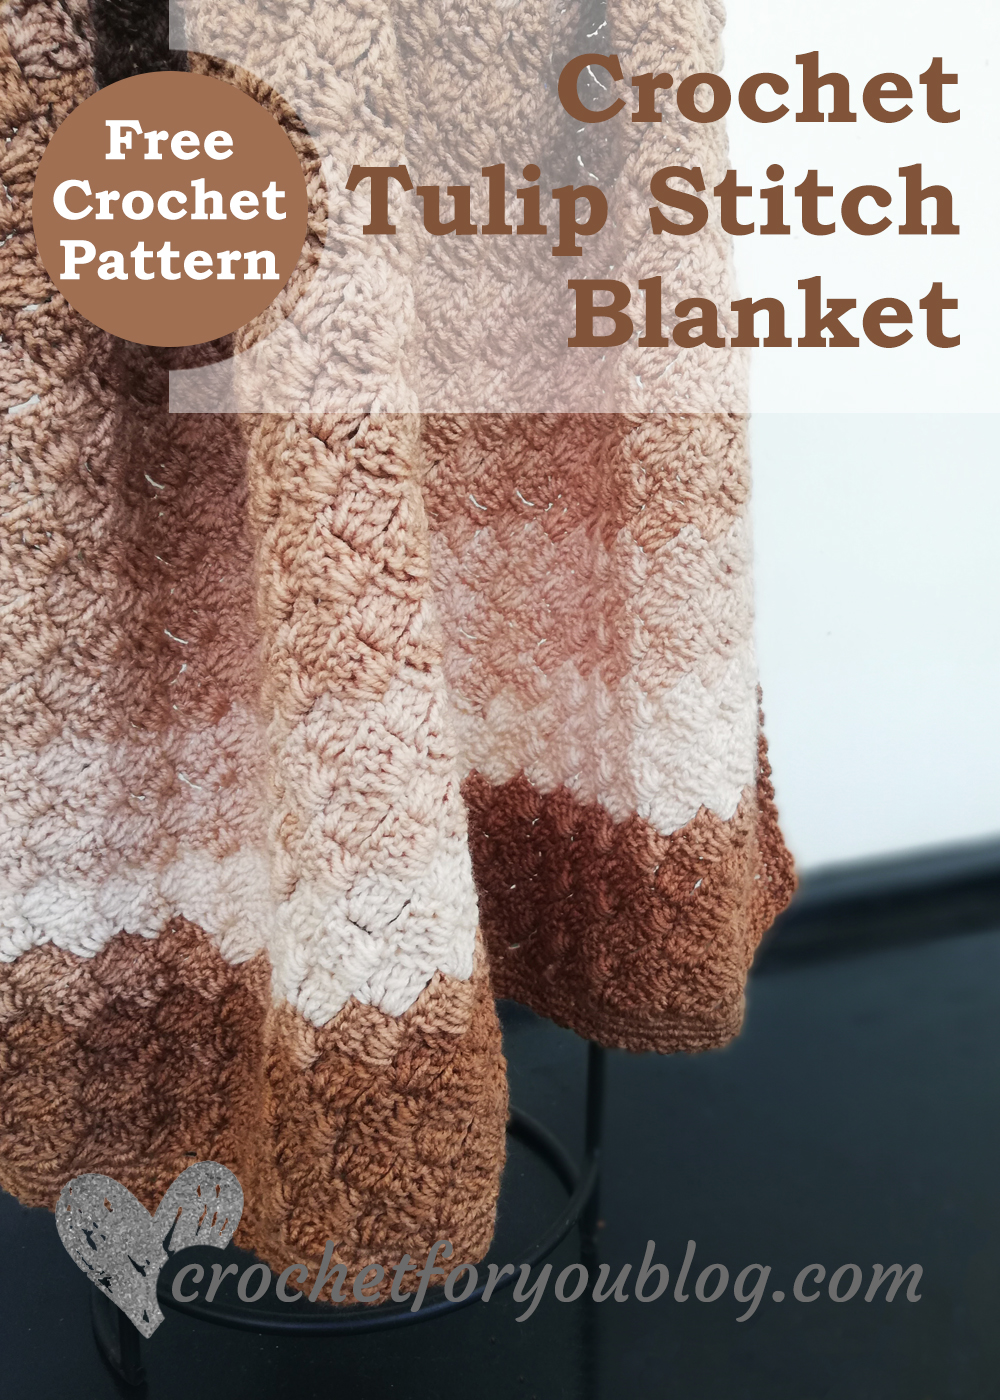
Crochet Tulip Stitch Blanket Free Pattern
Crochet Tulip Stitch Blanket Pattern by Crochet For You
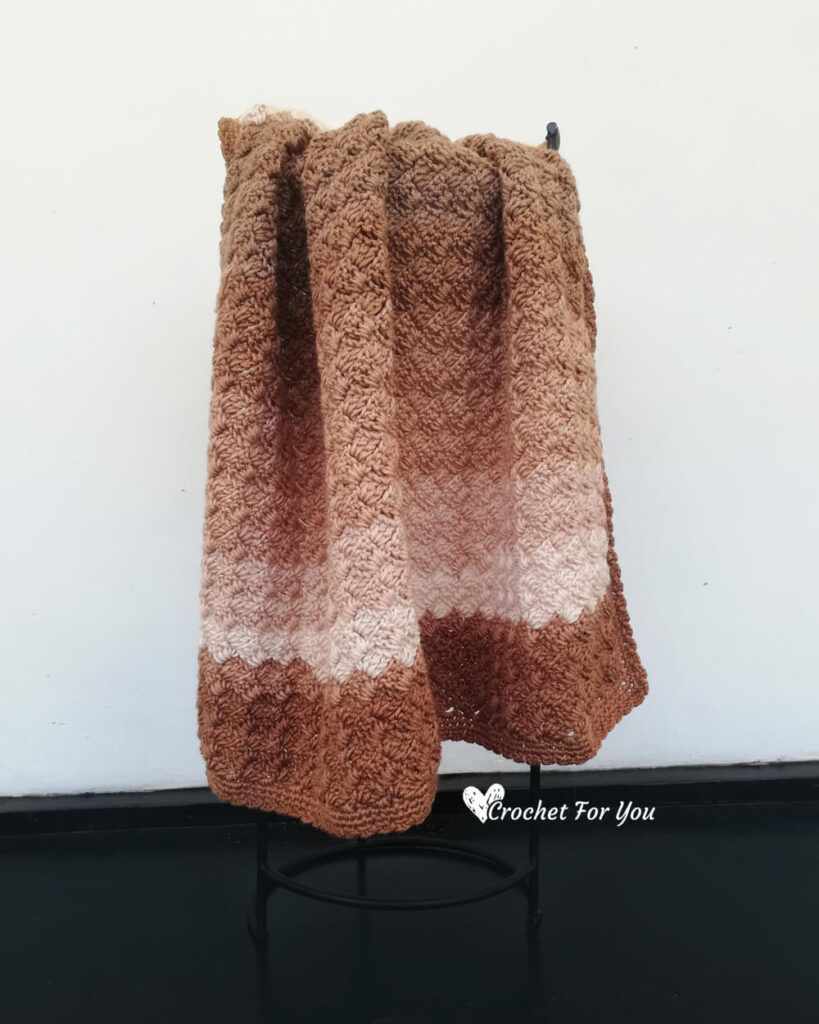
If you like easy to remember with one row repeating crochet patterns this blanket is for you. The self-striping yarn makes you feel more relaxed because no need to worry about changing colors.
Add this pattern to Ravelry queue
Save on Pinterest
Simple texture + self Striping yarn
This blanket made using tulip stitch. Crochet tulip stitch perfect for crocheting blankets. The reason why I love this stitch is it has a nice & simple texture, no holes and both sides have the same texture and easy to crochet with one row repeating. When you select self striping yarn you have more freedom to relax.
The yarn changes the colors itself so you only have to focus into the pattern you are working without worrying about changing colors. And also you can avoid lots of weaving ends.
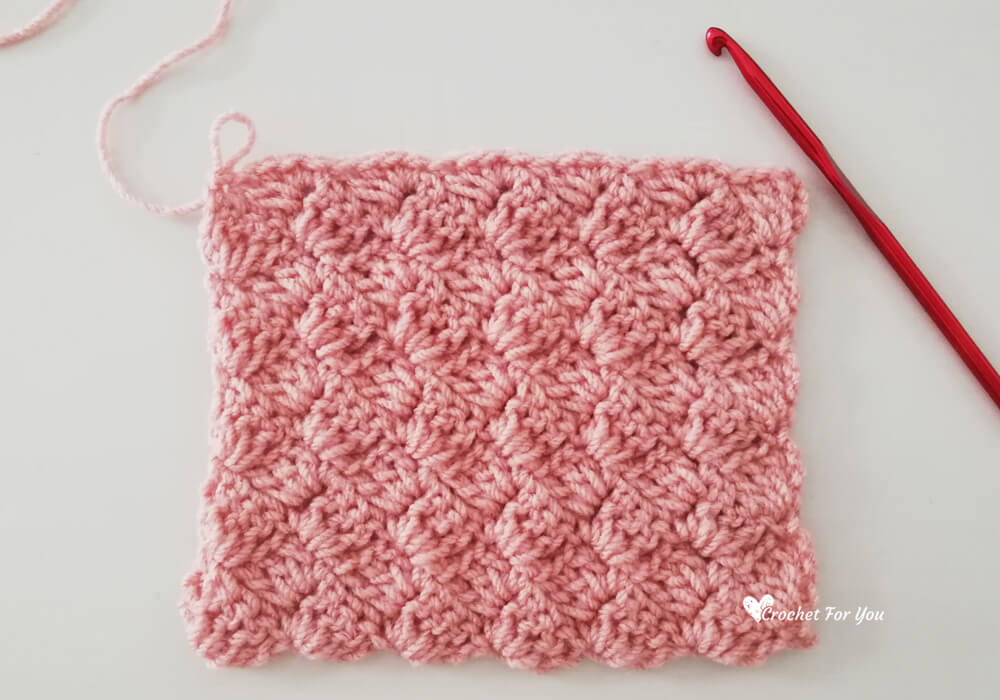
See How to Crochet Tulip Stitch with step by step photo tutorial
The yarn
This is a free size blanket so you can use any weight of yarn and the recommended crochet hook. Gauge is not very important.
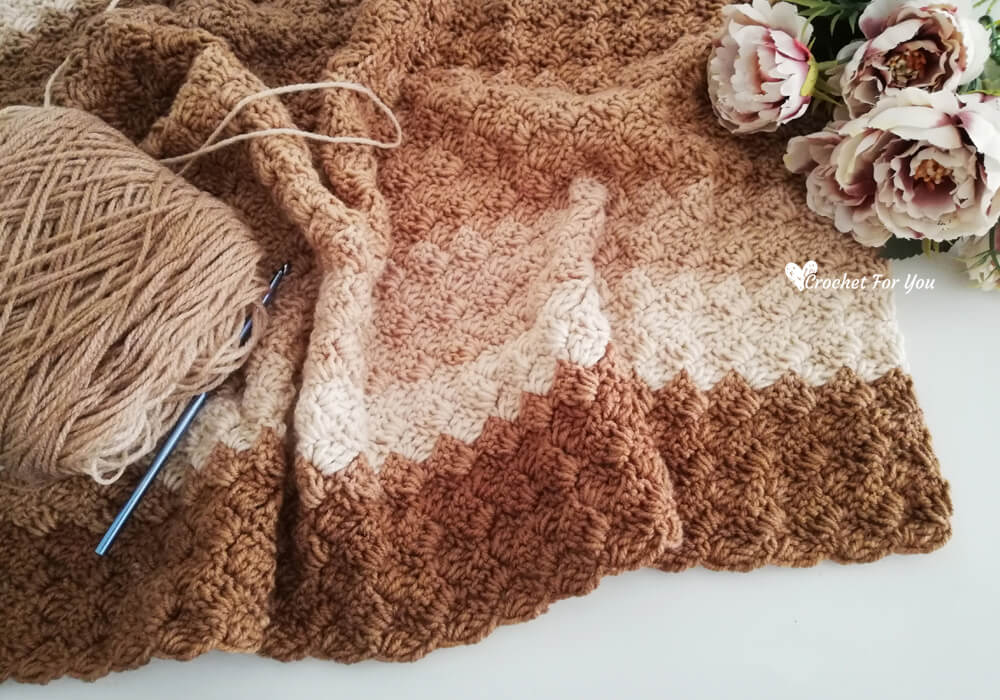
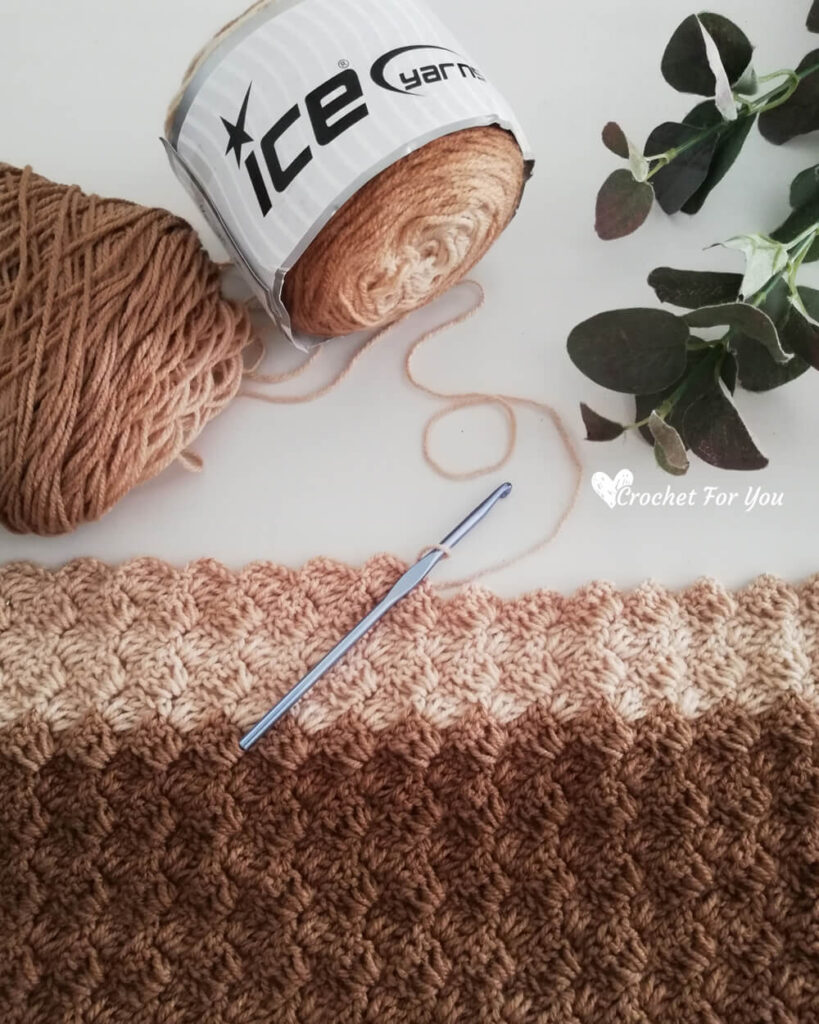
I used Ice Yarn Cakes Baby Fine – Brown Shades to make this blanket. This yarn categorized as a #2-fine weight yarn, but I feel it more similar to #3 Light weight yarn so I used US H-8 / 5mm crochet hook.
Crochet Tulip Stitch Blanket Pattern
Skill Level: Easy
Finished size: 30″ x 35″ (pattern can be adjusted to any size. – see the notes section)
Materials:
- Ice Yarn Cakes Baby Fine (100% Premium Acrylic, 100g = 394yd/360m) I used 3 cakes of Brown Shades
- US H-8 (5mm) crochet hook
- Tapestry needle for weaving ends
Gauge is not very important for this project
Abbreviations (US term)
- ch = chain
- sl st = slip stitch
- sc = single crochet
- dc = double crochet
- st = stitch
- sk = skip
- ch-() sp = chain- (number of chains) space
- beg = beginning
- * to ; = repeat * to the instructions.
Notes: the pattern can be adjusted to any size by crocheting multiple of 4+5 foundation chains. And repeat row 3 until your desired length. Follow the last row for finishing blanket and the border. When you finish, cut the yarn and weave the end.
Multiple of 4 + 5 for foundation chains
Ch 121
Row 1: 3 dc in 5th chain from the hook, sk next ch 3, 1 sc in next ch, *ch 3, 3 dc in same ch, sk next ch 3, 1 sc in next st; repeat * to across, turn.
Row 2: ch 4, 3 dc in first sc, sk next 3 dc, sc in next ch-3 sp, *ch 3, 3 dc in same sp, sk next 3 dc, sc in next ch-3 sp; repeat * to end, turn.
Row 3 to 68: repeat row 2.
Last rows for finishing
Row 69: ch 4, 3 dc in first st, sk next 3 dc, sc in next ch-3 sp, *(1 sc, 1 hdc, 1 dc) in same ch-3 sp, sk next 3 dc, sc in next ch-3 sp; repeat * to end.
Border: (crochet sc around the blanket)
Round 1: crochet sc around the blanket evenly. make sure to crochet 3 sc in each corner, sl st to the first st. (I crocheted 115 sc in 2 short sides and 139 sc in long 2 sides, 3 sc in each corner. (520 sc total around the blanket))
- Crochet sc in each stitch of the last row of the blanket.
- When you start crocheting on sides of the blanket, work 3 sc in each beg chain 4 and 1 sc in each sc, however, if it going to be tighter, you can add extra st in after 2 or 3 sts.
- Crochet 3 sc in each chain-3 space and 1 sc in each chain-1 space of foundation chains side of the blanket.
- And don’t forget to crochet 3 sc in each corner st.
Round 2 and 3: ch 1, sc in each st around while crocheting 3 sc in each corner sts, sl st to first st.
Round 4: *ch 3, sk next st, sl st to the next st; repeat * to around until last st. Fasten off and weave the ends.
Hope to see you soon with a new FREE pattern
Until then, Happy Crocheting!!
Share your finished projects of this pattern on Crochet For You FB page.
Happy hooking with Crochet For You!!
Let’s connect and share
Facebook| Pinterest | Twitter | Instagram
All contents include photography and patterns are copyrighted Crochet For You by Erangi Udeshika.
Do not copy, edit, distribute or republish patterns and images in this blog in part or whole as your own. Please, share a direct link to the pattern with others and anywhere else. You are welcome to make and sell finished items using my patterns.
Visit Copyright / Terms of use for more info. Thank you.



2 Comments
Anne
There is something wrong with this pattern, I am not a novice crochter.
In the first row, the asterix needs to be here at the *sk next ch 3, 1 sc in next ch, *ch 3…), not at the *ch 3… as printed.
There is no indication of what to do at the end of the 1st and subsequent rows that will give the “first sc” in Row 2 and the repeats.
Please consider these comments and correct the pattern, Thank you.
Erangi Udeshika
Hi Anne, Thank you so much letting me know about this. I fixed the errors and updated the pattern. 🙂