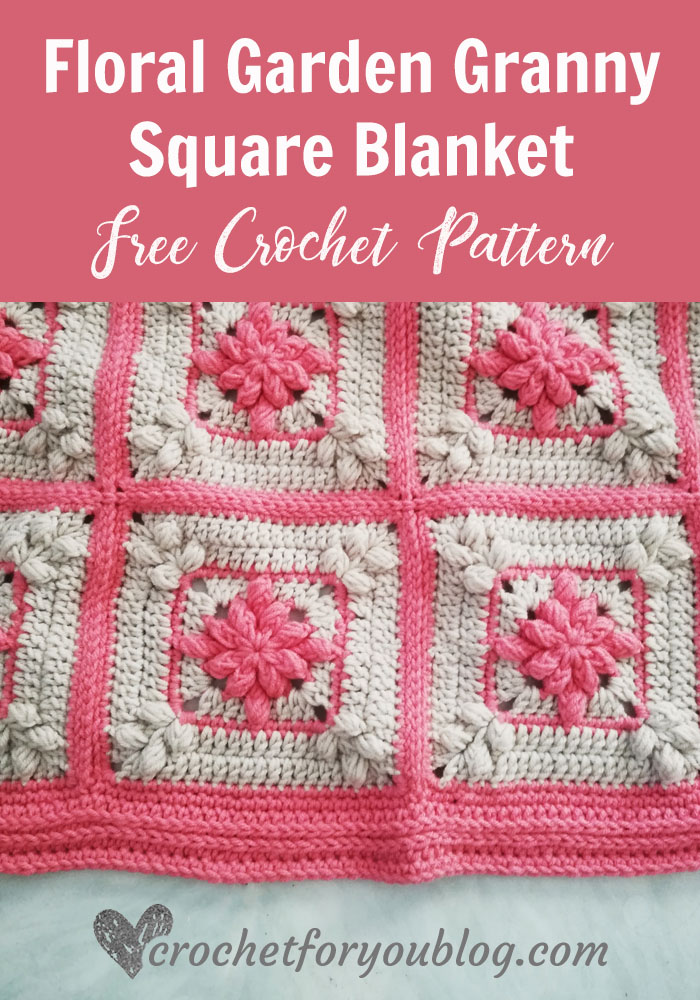
Floral Garden Granny Square Blanket CAL – Part 1
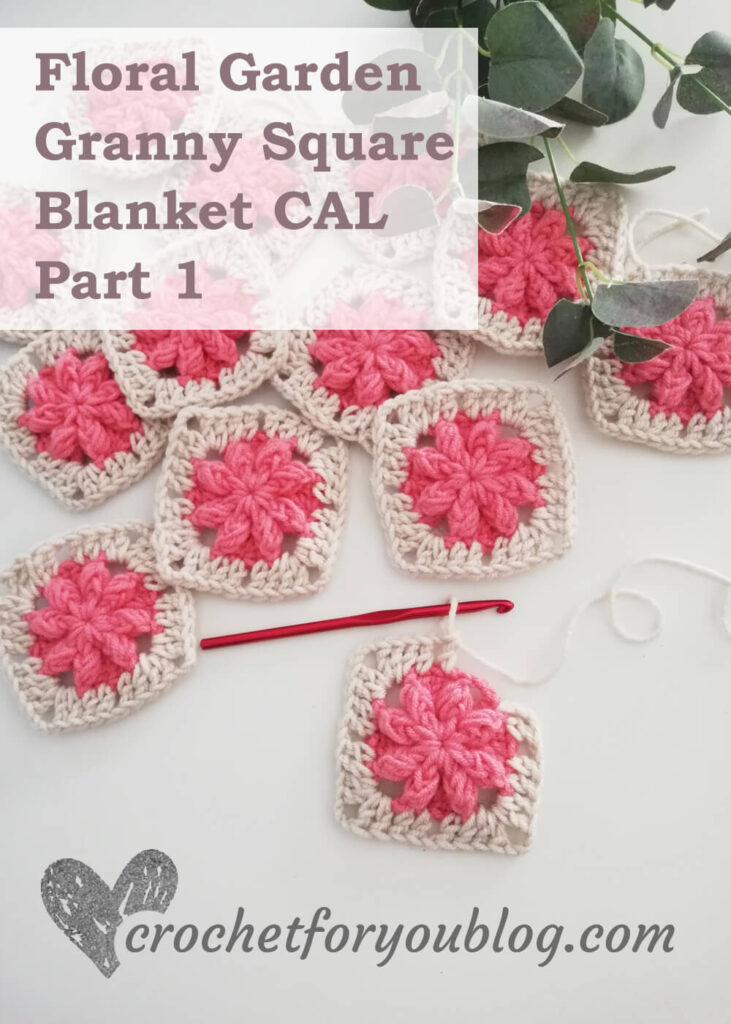
If you love a textured, floral blanket with fun and relaxing squares, you’ll love this Floral Garden Granny Square Blanket CAL.
- Click here for the main post to see how it works, the materials you’ll need and how to customize the pattern size
- Like, Follow Crochet For You on Facebook and Instagram.
- Tag #crochetforyoublog when you share your WIP or finished project on Social media
- Sign up for the newsletter for new updates on the blog
Disclosure This blog contain affiliate links.
Add this pattern to Ravelry queue
Save on Pinterest
Hi, my crochet lover friends. Welcome to the first week of the Floral Garden Granny Square Blanket CAL
This blanket is made by joining lovely floral crochet squares together, which feature bobble drop stitches. Each square crocheted individually and joined together at the end. The blanket worked up with two colors. While I design this as a baby blanket, you can adjust the pattern to any size, throw to bedspread.
- The square pattern is divided into 2 parts to make it more convenient.
- To begin the CAL we will make the middle of the square first.
- After finishing all the small squares in this part 1, we can start to crochet remaining rounds in part 2 in next week to complete and finish the 7″ x 7″ square.
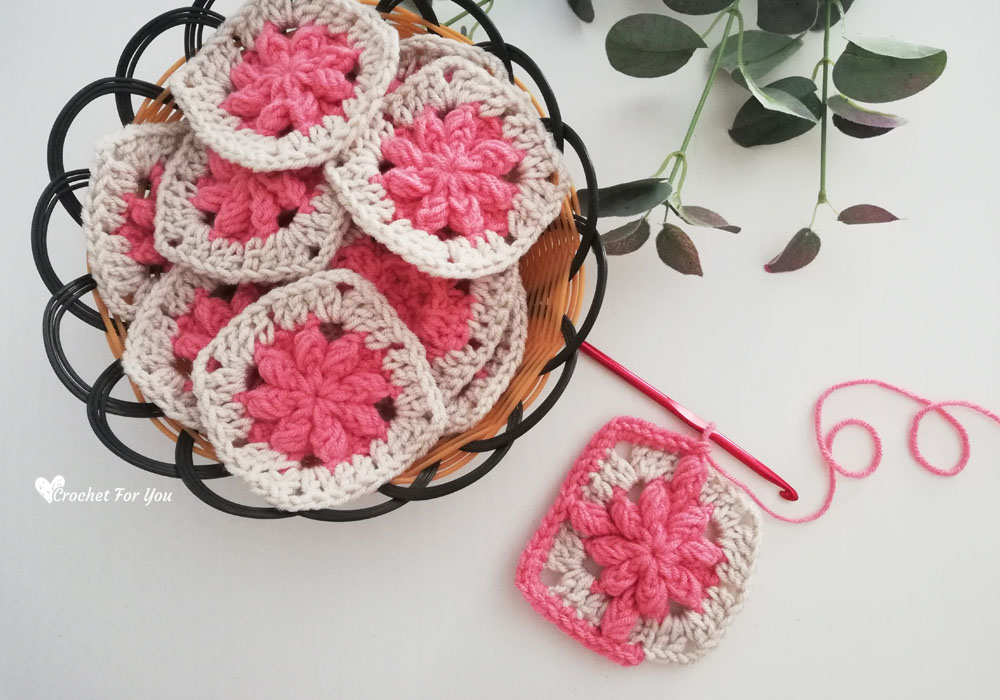
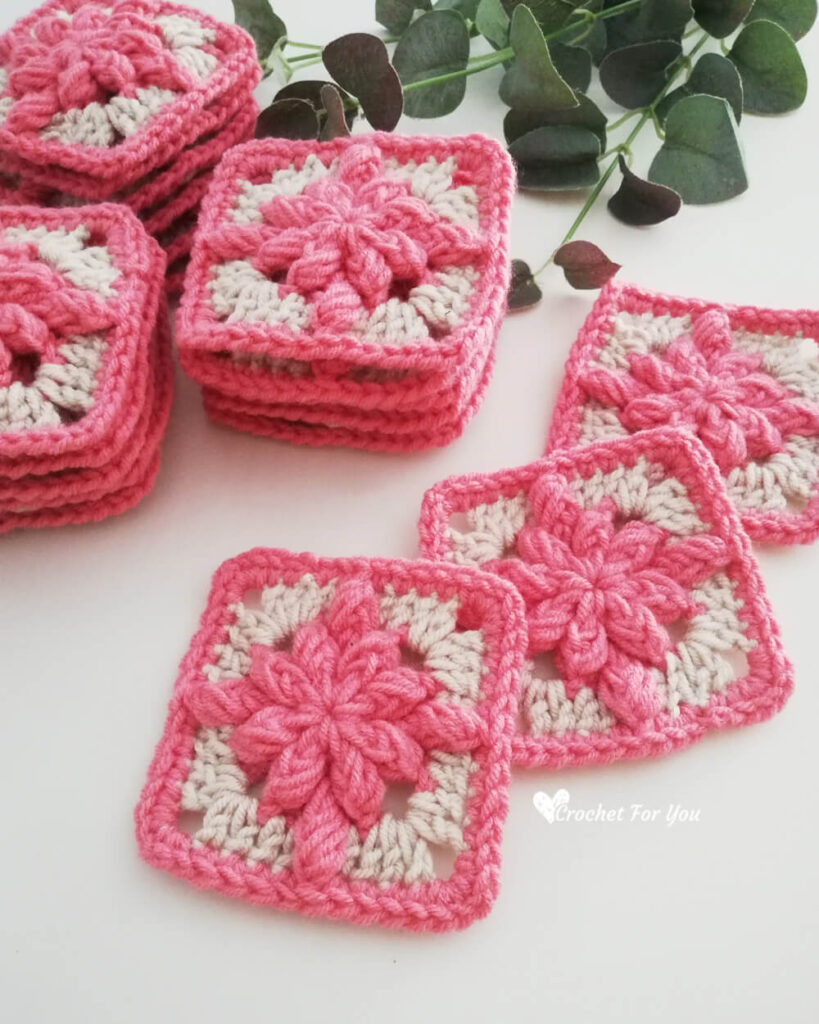
- For the middle of the square I used my Bobble Drops Flower Granny Square Pattern previously released on Crochet For You Blog. I have changed the pattern a little bit for making this blanket. This is a lovely granny square about 4”x 4” size, which is one of the most popular granny squares I have designed.
- If you like to try and use this square pattern for another crochet project, grab the free pattern for Bobble drops granny square in solid here and two contrasting colors here.
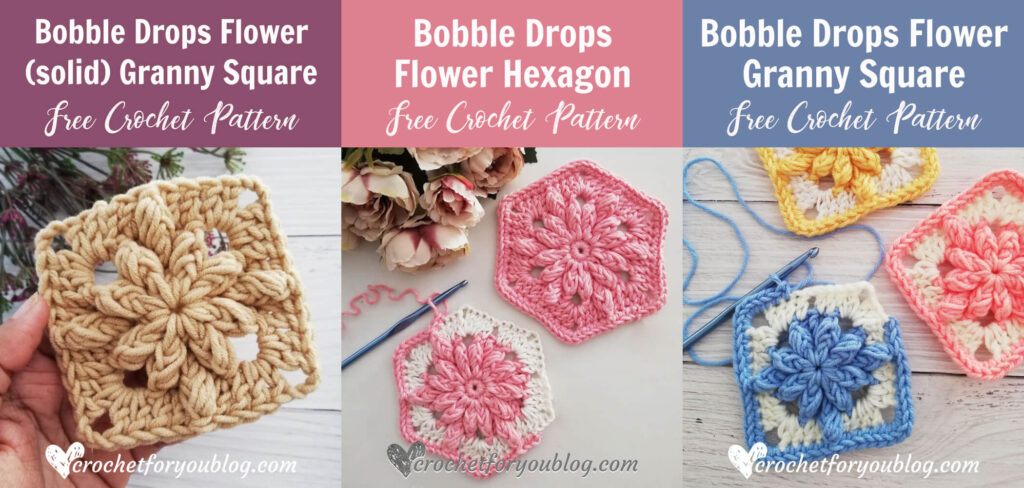
Bobble Drops Flower Granny (solid) / Bobble Drops Flower Hexagon / Bobble Drops Flower Granny in 2 colors
These little squares fun to make
This granny square is easy and fast to crochet with only 4 rounds. I used 2 contrasting colors to pop the flower out from the background. The finished size of the middle square is 4″ x 4″.
You will find the written pattern with step by step photos and video tutorial below.
Decide first how many squares you will need
As I said in the main post, this blanket can be adjusted to any size you need. Find all the details about sizing and yardage and how many squares you will need in the main page. I made 20 squares for a 32.5″ x 38.5″ size blanket. I used Ice Yarns Saver in 2 colors, 2 skeins of each color.
Finished size of the middle square in this post: 4″ x 4″
Finished square: 7″ x 7″
Skill Level Intermediate
MATERIALS I used
#4 Medium / Worsted weight
– 2 skeins of Ice Yarn Saver – Candy Pink (100% Dralon Acrylic,200g = 360 yds/330 m)
– 2 skeins of Ice Yarn Saver – Light Beige (100% Dralon Acrylic,200g = 360 yds/330 m)
– US 1-9 (5.5mm) crochet hook
– Tapestry needle for weaving ends
Gauge: 13hdc x 8 rows = 4″x4″ with US 1-9, 5.5mm crochet hook.
Abbreviations / special stitches (US term)
- ch = chain
- sl st = slip stitch
- sc = single crochet
- dc = double crochet
- st = stitch
- ch-sp = chain- (number of chains) space
- beg = beginning
- *to ; = repeat * to the instructions.
- C1 = color 1 Candy Pink
- C2 = color 2 Light Beige
Special stitches:
- fpbobble = yarn over, insert the hook from front to back to front again around the post of next st, yarn over, pull back loop through the st, [yarn over, insert the hook from front to back to front again around the post of the same st, yarn over, pull back loop through the st] 2 times, yarn over, pull back through 6 loops on the hook, yarn over, pull back through 2 loops on the hook.
Notes: When you make these squares for the blanket, you have to change the color 3 times to make one square. So the quickest and easiest way is to crochet all the squares you need in one color first, fasten off and weave all the ends in each. Then you can add the next color to each square. I think this method is easier than finishing one square with all 3 colors at once.
Floral Garden Granny Square Blanket CAL – Part 1
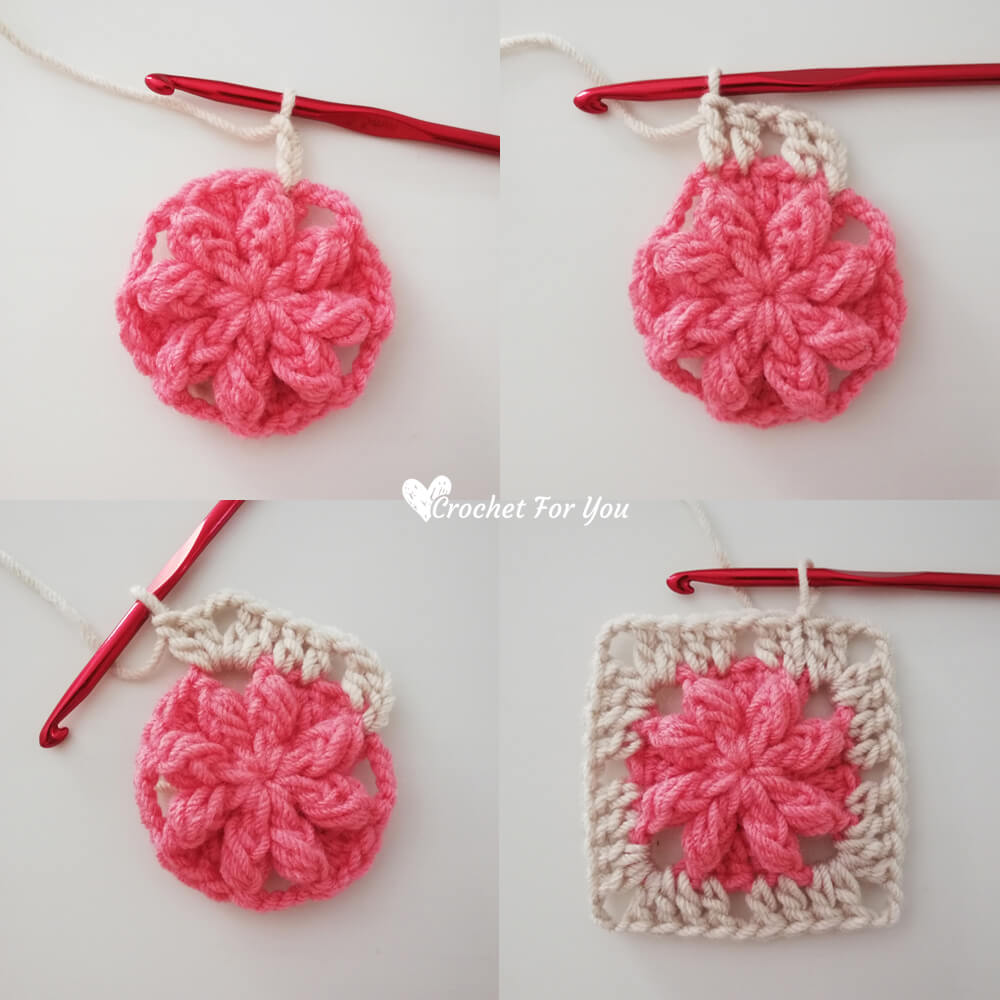
With (C1) make a magic ring.
Round 1: ch 1 (in this round beg ch does not count as a st) 12 dc into the ring, sl st to the first st. (12 dc)
Round 2: ch 1 (in this round beg ch does not count as a st), fpbobble in first st, [3 dc in next st, fpbobble in next st, ch 3, fpbobble in next st] 3 times, 3 dc in next st, fpbobble in next st, ch 3, sl st to the first. (8 fpbobbles/12 dc)
Round 3: join (C2) yarn, ch 3 (in this round ch 3 count as a dc), dc in next st, ch 1, sk next st, dc in each of next 2 st, *(2 dc, ch 3, 2 dc) in ch-3 sp, dc in each of next 2 st, ch 1, sk next st, dc in each of next 2 st; repeat * to around, after crocheting last dc, sl st to the beg ch 3 top. (32 dc)
(In this round all fpbobble working over the chain 1 and around the post of skipped st one row below)
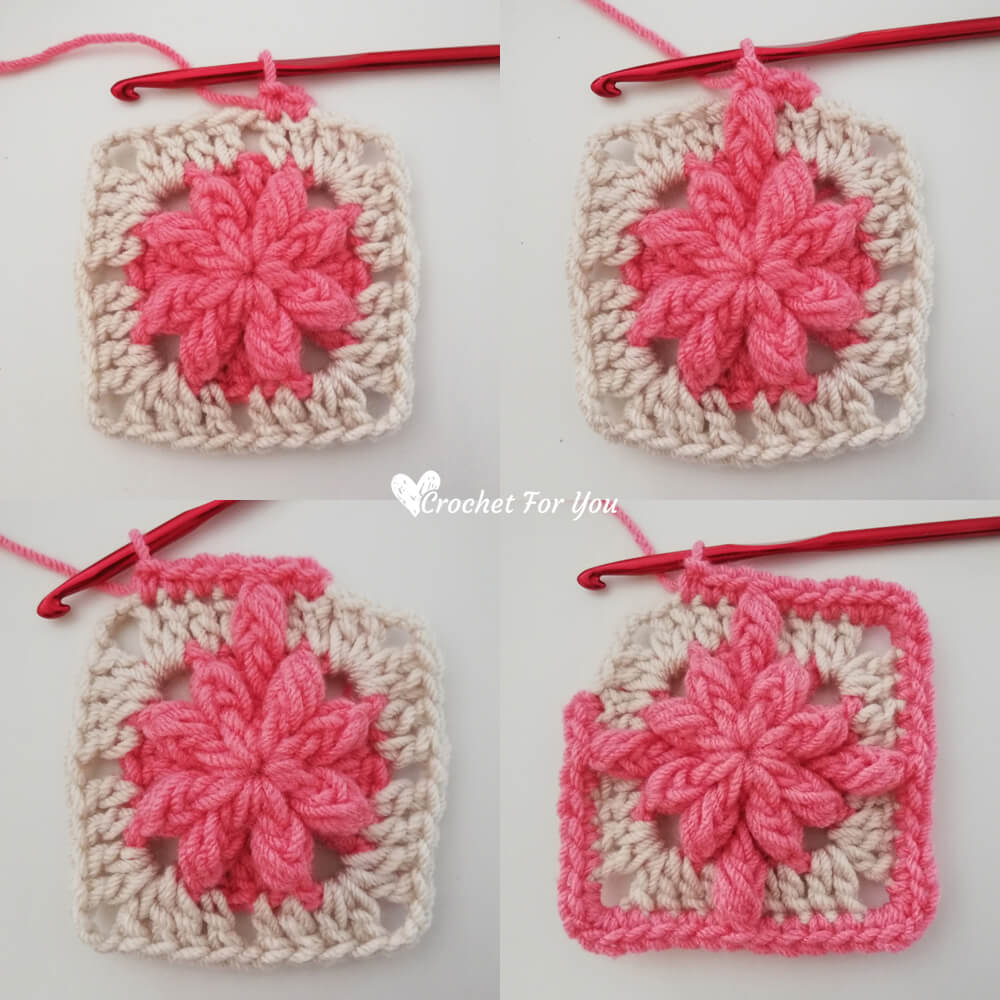
Round 4: join (C1) yarn, ch 1 (does not count as st) sc in first st and next st, fpbobble st in next st one row below, sc in each of next 4 st, (2 sc, ch 2, 2 sc) in ch-sp, *sc in each of next 4 st, fpbobble in next st one row below, sc in each of next 4 st, (2 sc, ch 2, 2 sc) in ch-3 space; repeat * to around, after crocheting last sc, sl st to the first st. (4 fpbobbles/48 sc)
There will be more 3 rounds to finish the 7″ x 7″ square. Come and join next week with part 2.
Watch the video tutorial
Hope to see you soon with a new FREE pattern
Until then, Happy Crocheting!!
Share your finished projects of this pattern on Crochet For You FB page.
Happy hooking with Crochet For You!!
Let’s connect and share
Facebook | Pinterest | Twitter | Instagram
All contents include photography and patterns are copyrighted Crochet For You by Erangi Udeshika.
Do not copy, edit, distribute or republish patterns and images in this blog in part or whole as your own. Please, share a direct link to the pattern with others and anywhere else. You are welcome to make and sell finished items using my patterns.
Visit Copyright / Terms of use for more info. Thank you.
