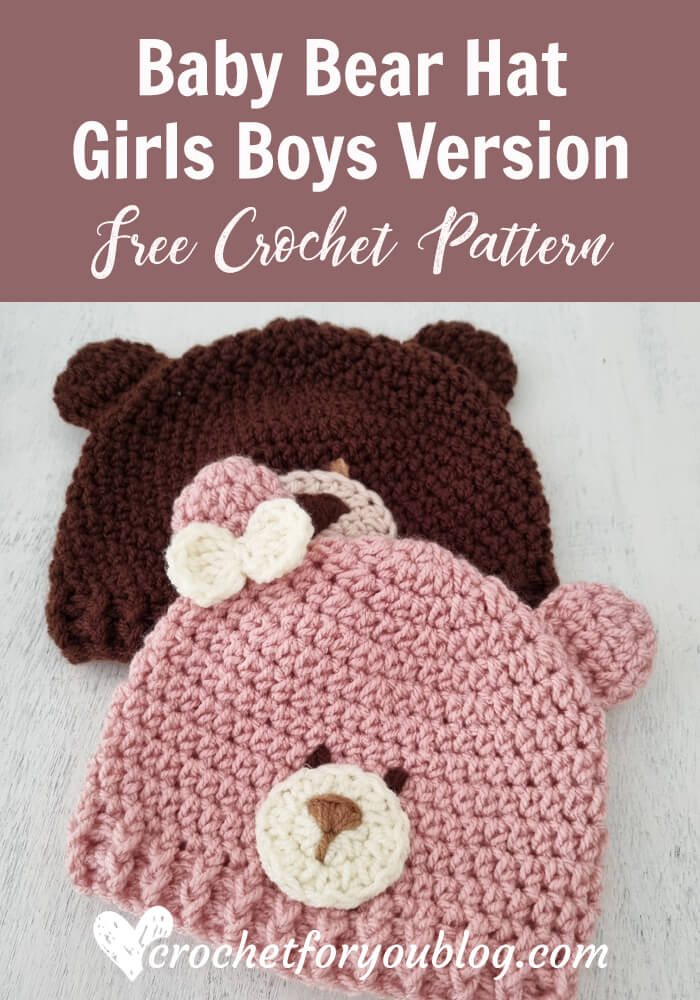
Crochet Baby Bear Hat Boys & Girls Version
Baby Bear Hat Free Pattern by Crochet For You
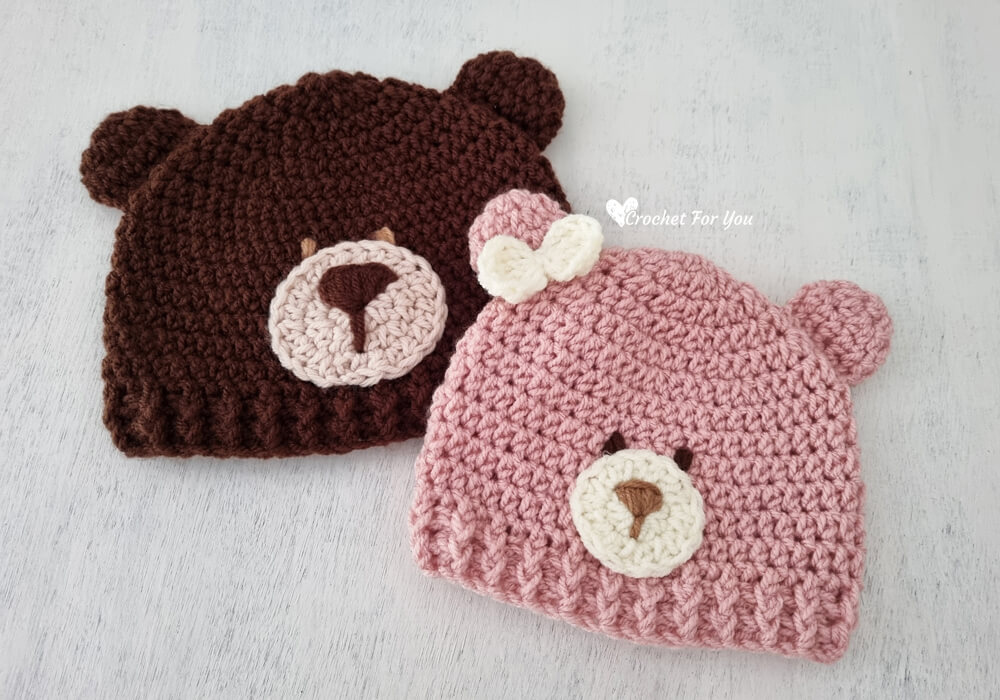
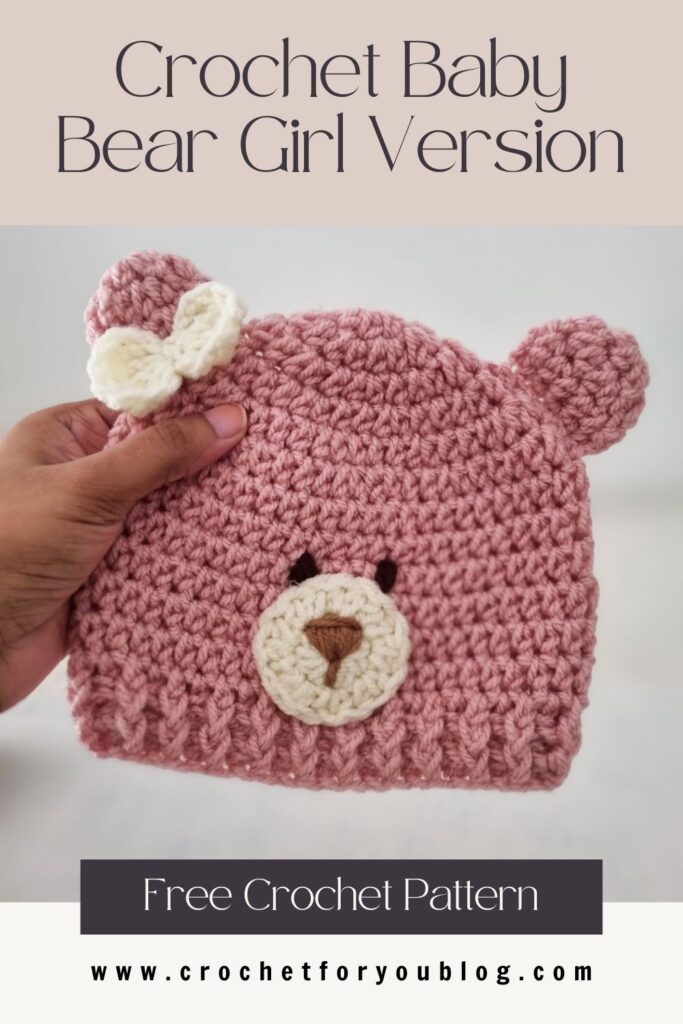
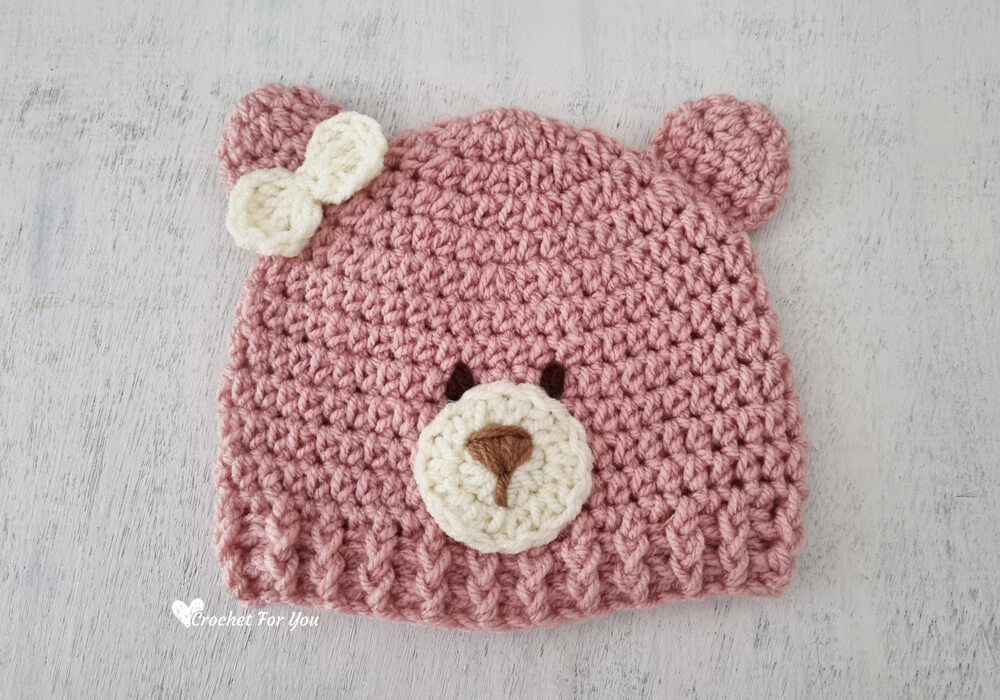
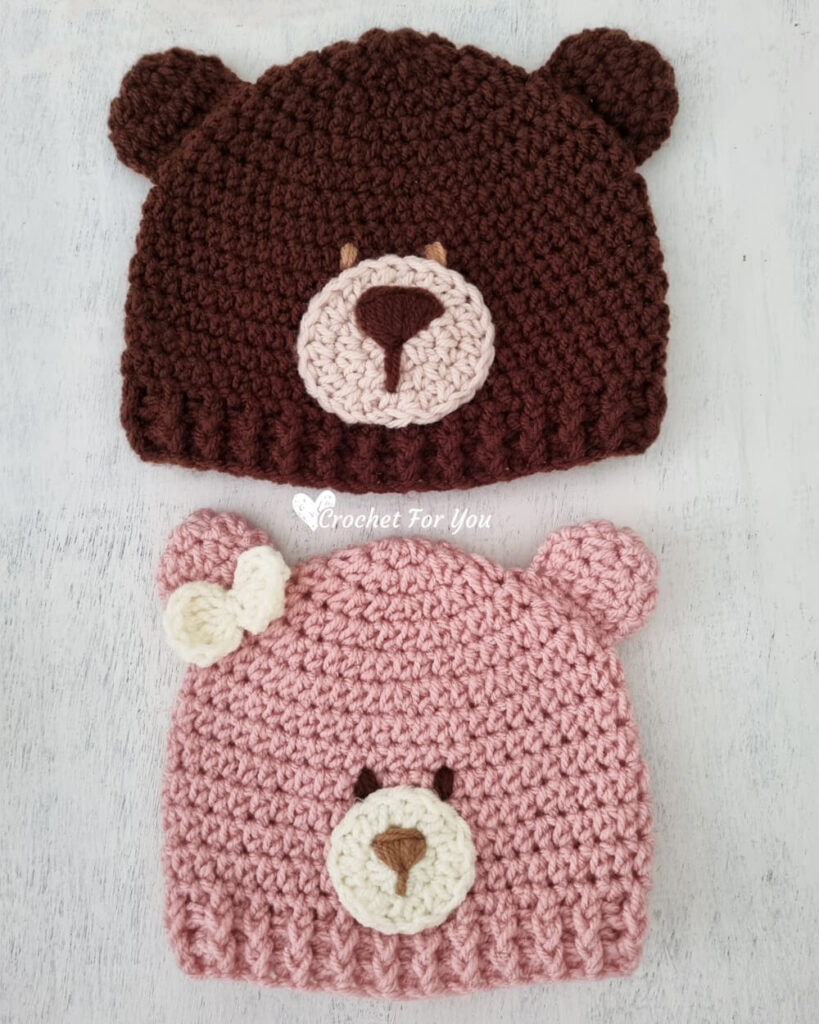
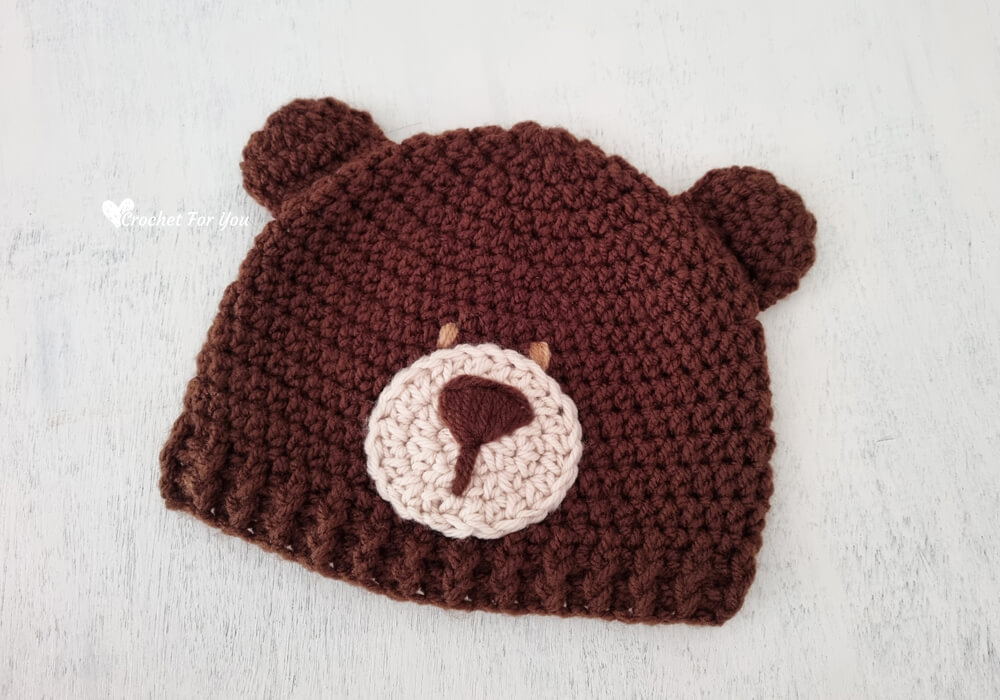
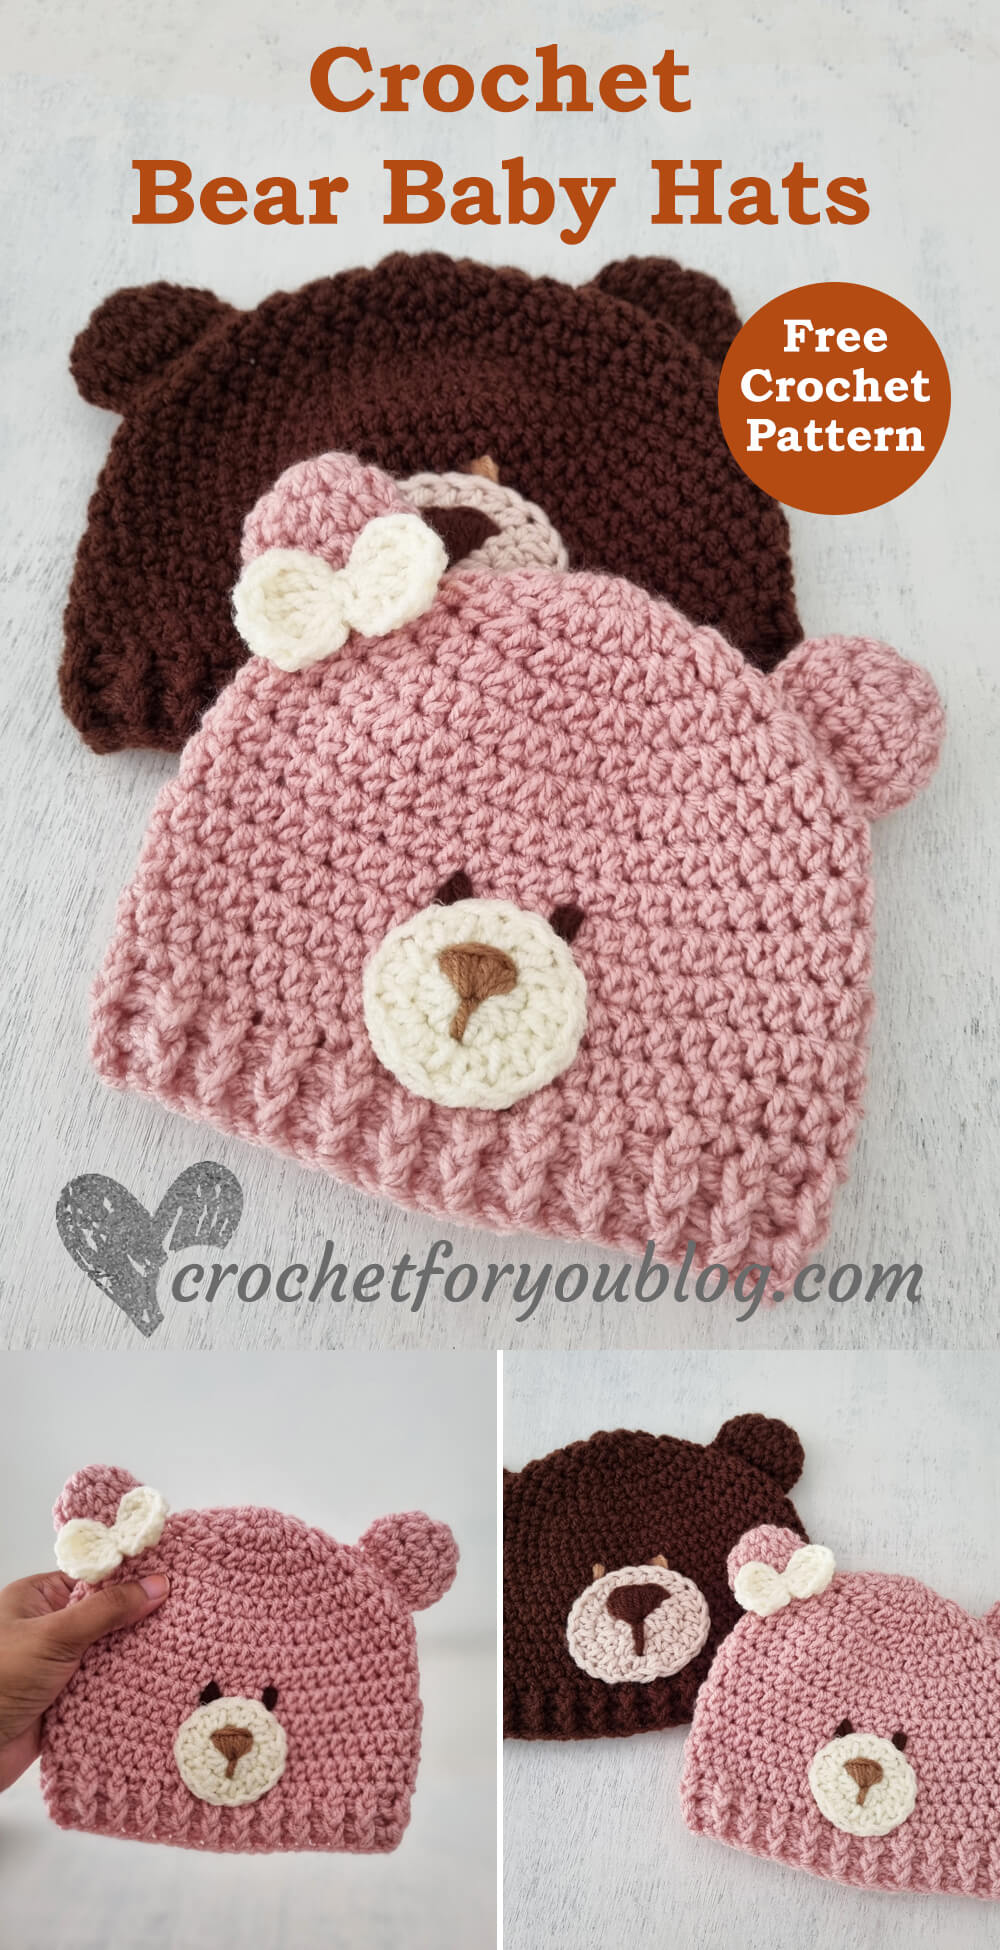
Crochet baby bear hat girls and boys version is too cute to crochet and perfect for gift giving to little siblings. This baby bear hats are quick and easy to crochet. The hat made in basic crochet stitches that can be easily adjusted to any baby sizes. Lastly add facial features to the hat then you can finish a cute looking hat.
The hat Follow the hat sizing guide-How to Crochet Hat in Any Size to make this hat in any size. Find more info in the note section.
Disclosure This blog contain affiliate links.
Add this pattern to Ravelry queue
Save on Pinterest
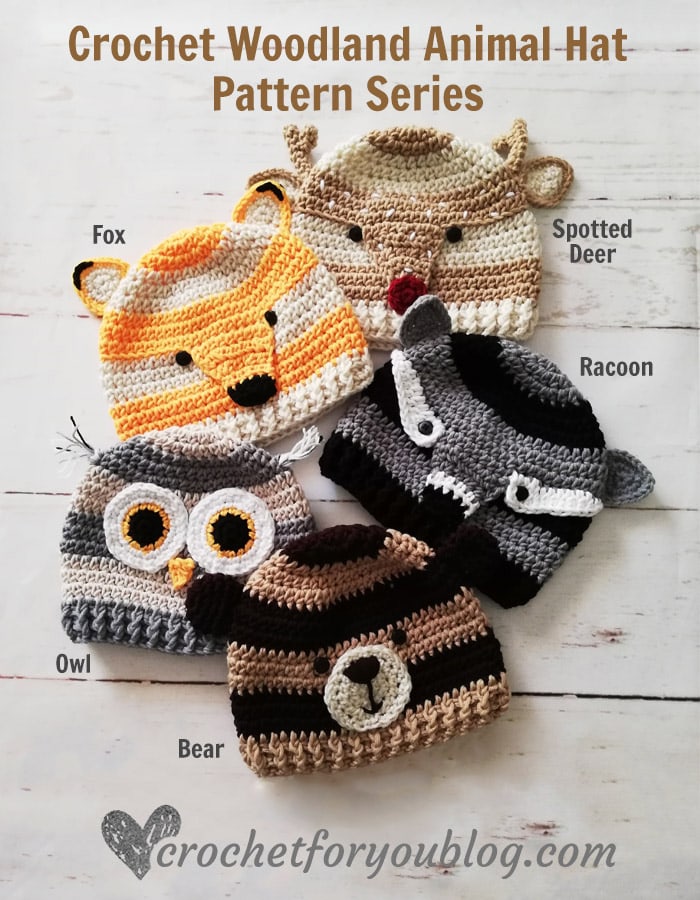
Woodland animal theme + crochet stripes + hat
All of these together, you can make a beautiful crochet woodland animal hats with stripes.
Woodland Animal Hat Pattern Series
Skill level: Intermediate
Finished sizes:
- Baby (6-9 months)= 14-15″ circumference / 6.25″ height
- Toddler (12-18 months) = 16-17″ circumference / 7″ height
Materials: 4-Medium / Worsted / 100% Acrylic / Approx: 200 yards
(I used)
– Ice Yarn Favorite (100% Acrylic) 1 skein of each color,
– Powder Pink for 6-9 months baby girl
– Brown for 12-18 months baby boy
– Cream color (50 yards) for nose patch
– US I/9 (5.5mm) crochet hook
– Tapestry needle for weaving ends
– Scissors
Gauge: 14 hdc x 8 rows = 4″ with US I-9, 5.5mm crochet hook.
Abbreviations/special stitches (US Term)
- ch = chain
- sl st = slip stitch
- sc = single crochet
- hdc = half double crochet
- st = stitch
- tr = treble stitch
- fphdc = front post half double crochet
- bphdc = back post half double crochet
- beg = beginning
- * to ; = repeat * to the instructions.
- Notes:
- beg ch does not count as st.
- If you want to make this hat in larger or smaller sizes, Follow the hat sizing guide-How to Crochet Hat in Any Size to make this hat in any size.
- For other sizes: after you get the closest number to the size of the crown width you want. Continue the body part until you reach the hat height you need.
- Make ribbed edging in the last two rounds.
Girl version (Baby size)
- Crown (6 rounds) = 5.25”
- Circumference = 14-15”
Crown
Make an adjustable/magic ring with pink color.
Round 1: ch 1, 8 hdc into the ring, sl st to the first hdc. (8 sts)
Round 2: ch 1, 2 hdc in first st and each of next st around, sl st to the first hdc. (16 sts)
Round 3: ch 1, 2 hdc in first st, *hdc in next st, 2 hdc in next st; repeat to around, sl st to the first hdc. (24 sts)
Round 4: ch 1, 2 hdc in first st, *hdc in each of next 2 sts, 2 hdc in next st; repeat * to around, sl st to the first hdc. (32 sts)
Round 5: ch 1, 2 hdc in first st, *hdc in each of next 3 sts, 2 hdc in next st; repeat * to around, sl st to the first hdc. (40 sts)
Round 6: ch 1, 2 hdc in first st, *hdc in each of next 4 sts, 2 hdc in next st; repeat * to around, sl st to the first hdc. (48 sts)
Body of the hat
Round 7: ch 1, hdc in first st and each st around, sl st to the first hdc. (48 sts)
Round 8 to 13: repeat round 7.
Round 14 & 15: ch 1, fphdc in first st, *bphdc in next st, fphdc in next st; repeat * to around, sl st to the first fphdc. (48 sts)
Nose patch
With cream color yarn, make an adjustable/magic ring.
Round 1: ch 1, 8 hdc into the ring, sl st to the first st. (8 sts)
Round 2: ch 1, 2 hdc in each st around, sl st to the first st. (16 sts)
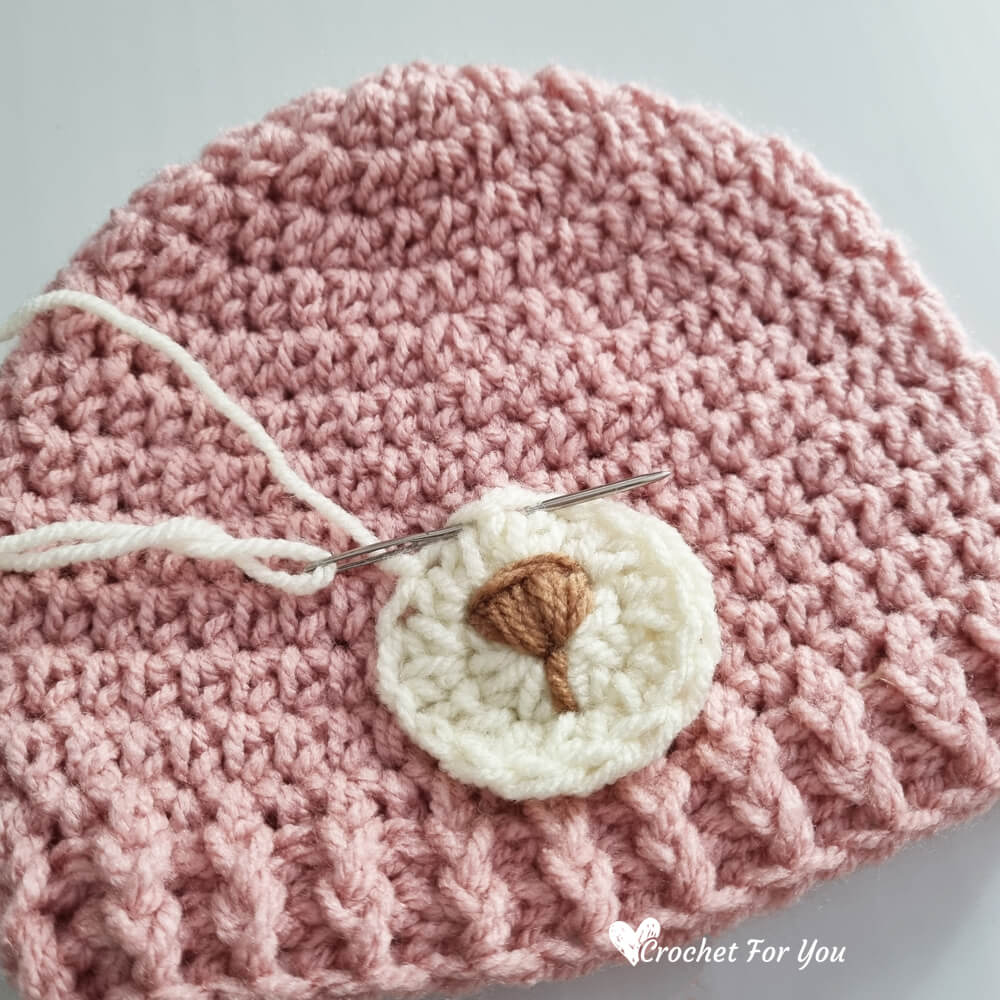
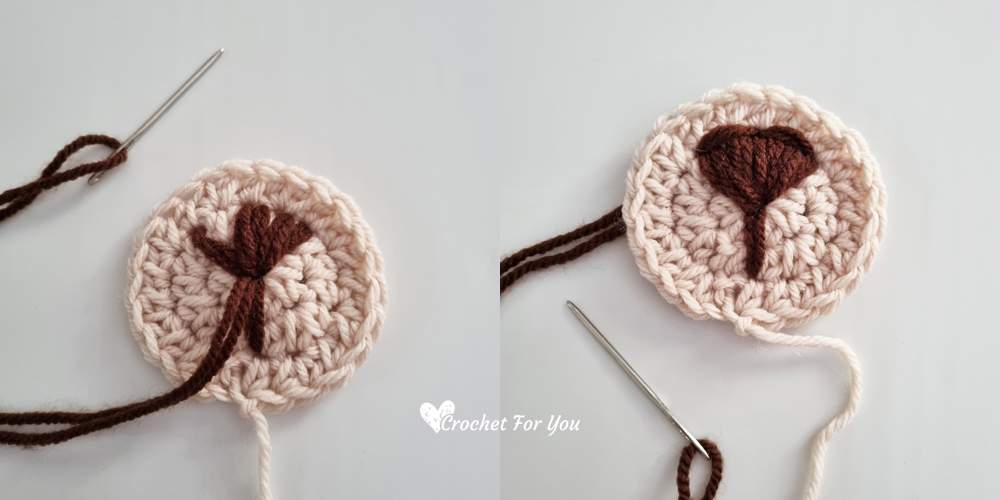
Cut the yarn and fasten off leaving about 18″ long yarn tail. Embroider triangular nose with brown color yarn.
Ears (make 2)
Make an adjustable/magic ring with pink color.
Round 1: ch 1, 6 hdc into the ring, sl st to the first hdc. (6 sts)
Round 2: ch 1, 2 hdc in first st and each of next st around, sl st to the first hdc. (12 sts)
Round 3: ch 1, hdc in each st around, sl st to the first hdc. (12 sts)
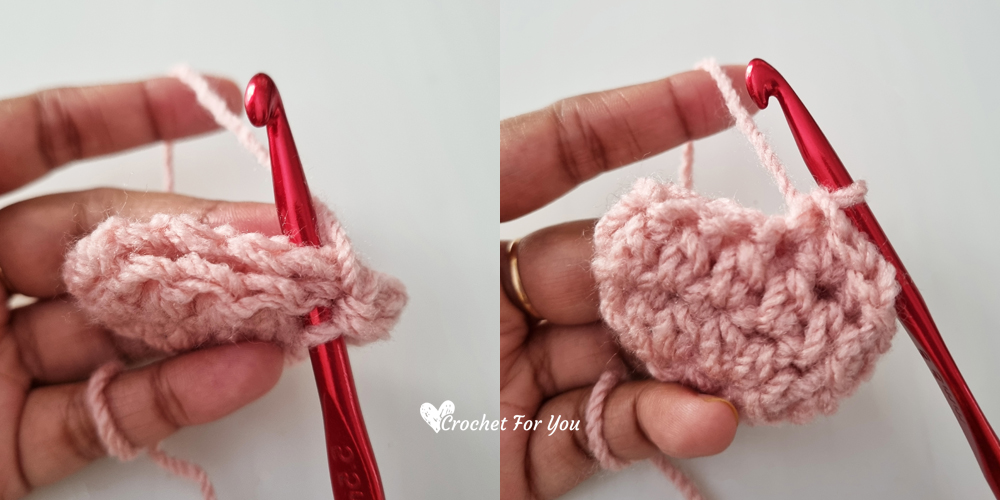
Round 4: flatten the work, insert the hook through both layers and work sc stitches across to close the open, ch 1, sc in each st (inserting hook both layers) across, cut the yarn leaving about 15” and fasten off. (6 sts)
Bow
Make an adjustable ring with cream color.
ch 3, 4 tr into the ring, ch 3, sl st to the ring, ch 3, 4 tr into the ring, ch 3, sl st to the ring. Fasten off and weave the end.
Finishing
Sew nose patch between 9.5 and 13 Rounds with the tapestry needle and yarn tail.
Sew each ear on 2 sides of the hat between 4 and 6 rounds.
Embroider eyes in brown color about 3 stitches apart.
Attach the bow near the left ear.
Boy version (Toddler size)
- Crown (7 rounds) = 6”
- Circumference = 15-16”
Crown
Make an adjustable/magic ring with brown color.
Round 1: ch 1, 8 hdc into the ring, sl st to the first hdc. (8 sts)
Round 2: ch 1, 2 hdc in first st and each of next st around, sl st to the first hdc. (16 sts)
Round 3: ch 1, 2 hdc in first st, *hdc in next st, 2 hdc in next st; repeat to around, sl st to the first hdc. (24 sts)
Round 4: ch 1, 2 hdc in first st, *hdc in each of next 2 sts, 2 hdc in next st; repeat * to around, sl st to the first hdc. (32 sts)
Round 5: ch 1, 2 hdc in first st, *hdc in each of next 3 sts, 2 hdc in next st; repeat * to around, sl st to the first hdc. (40 sts)
Round 6: ch 1, 2 hdc in first st, *hdc in each of next 4 sts, 2 hdc in next st; repeat * to around, sl st to the first hdc. (48 sts)
Round 7: ch 1, 2 hdc in first st, *hdc in each of next 5 sts, 2 hdc in next st; repeat * to around, sl st to the first hdc. (56 sts)
Body of the hat
Round 8: ch 1, hdc in first st and each st around, sl st to the first hdc. (56 sts)
Round 9 to 15: repeat round 8.
Round 16 & 17: ch 1, fphdc in first st, *bphdc in next st, fphdc in next st; repeat * to around, sl st to the first fphdc. (56 sts)
Nose patch
With cream color yarn, make an adjustable/magic ring.
Round 1: ch 1, 8 hdc into the ring, sl st to the first st. (8 sts)
Round 2: ch 1, 2 hdc in each st around, sl st to the first st. (16 sts)
Round 3: ch 1, 2 hdc in first st, *hdc in each of next st, 2 hdc in next st; repeat * to around. (24 sts)
Cut the yarn and fasten off leaving about 22″ long yarn tail. Embroider triangular nose with brown color yarn.
Ears (make 2)
Make an adjustable/magic ring with brown color.
Round 1: ch 1, 7 hdc into the ring, sl st to the first hdc. (7 sts)
Round 2: ch 1, 2 hdc in first st and each of next st around, sl st to the first hdc. (14 sts)
Round 3: ch 1, hdc in each st around, sl st to the first hdc. (14 sts)
Round 4: flatten the work, insert the hook through both layers and work sc stitches across to close the open, ch 1, sc in each st (inserting hook both layers) across, cut the yarn leaving about 15” and fasten off. (7 sts)
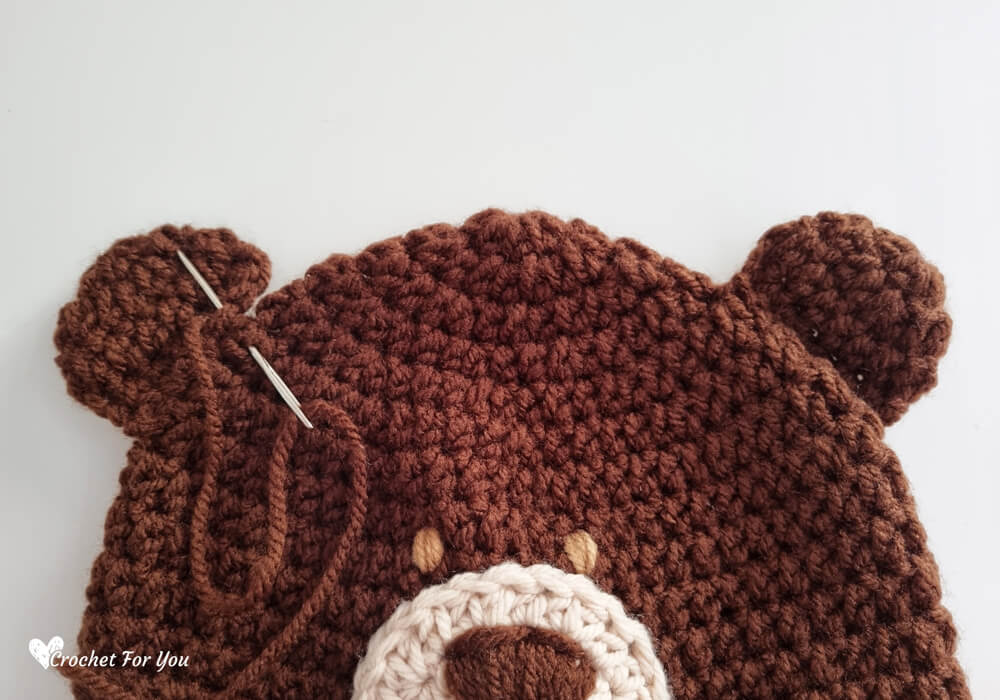
Finishing
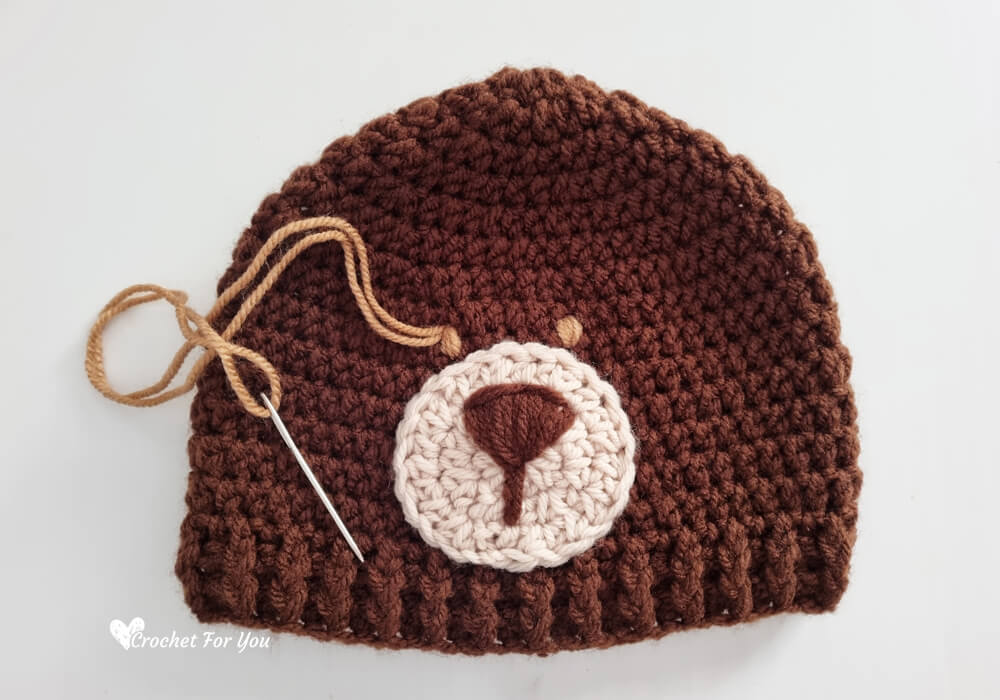
Sew nose patch between 9 and 15 Rounds with the tapestry needle and yarn tail.
Sew each ear on 2 sides of the hat between 5 and 8 rounds.
Embroider eyes in light brown color about 4 stitches apart.
Hope to see you soon with a new FREE pattern
Until then, Happy Crocheting!!
Share your finished projects of this pattern on Crochet For You FB page.
Happy hooking with Crochet For You!!
Let’s connect and share
Facebook | Pinterest | Twitter | Instagram
All contents include photography and patterns are copyrighted Crochet For You by Erangi Udeshika.
Do not copy, edit, distribute or republish patterns and images in this blog in part or whole as your own. Please, share a direct link to the pattern with others and anywhere else. You are welcome to make and sell finished items using my patterns.
Visit Copyright / Terms of use for more info.
Thank you.
