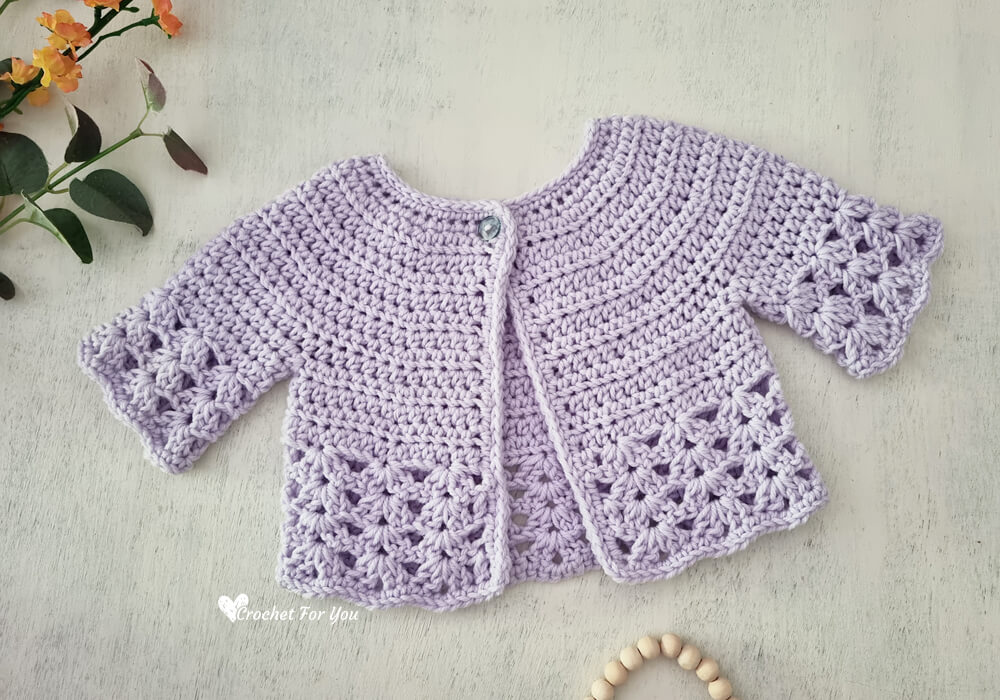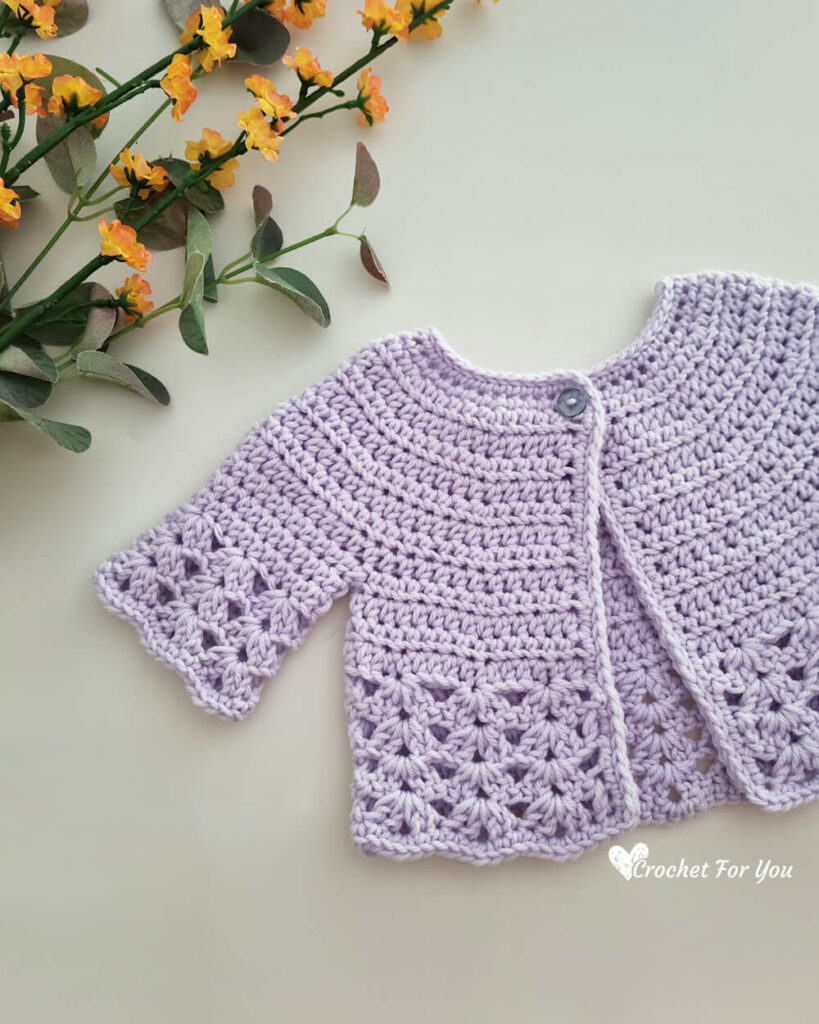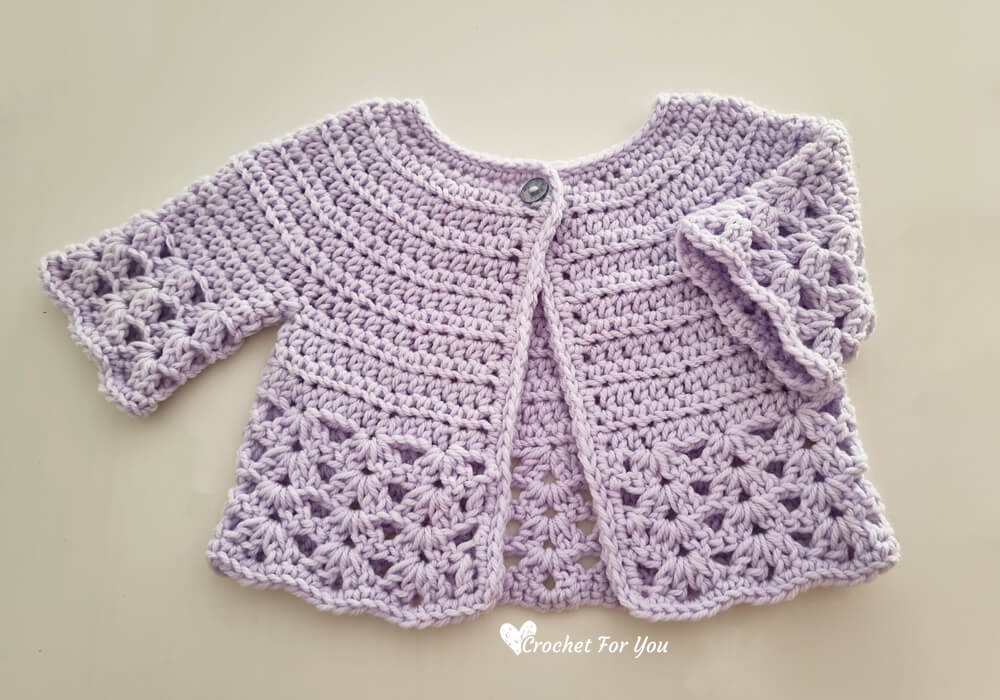
Crochet Shell Edge Baby Cardigan Free Pattern
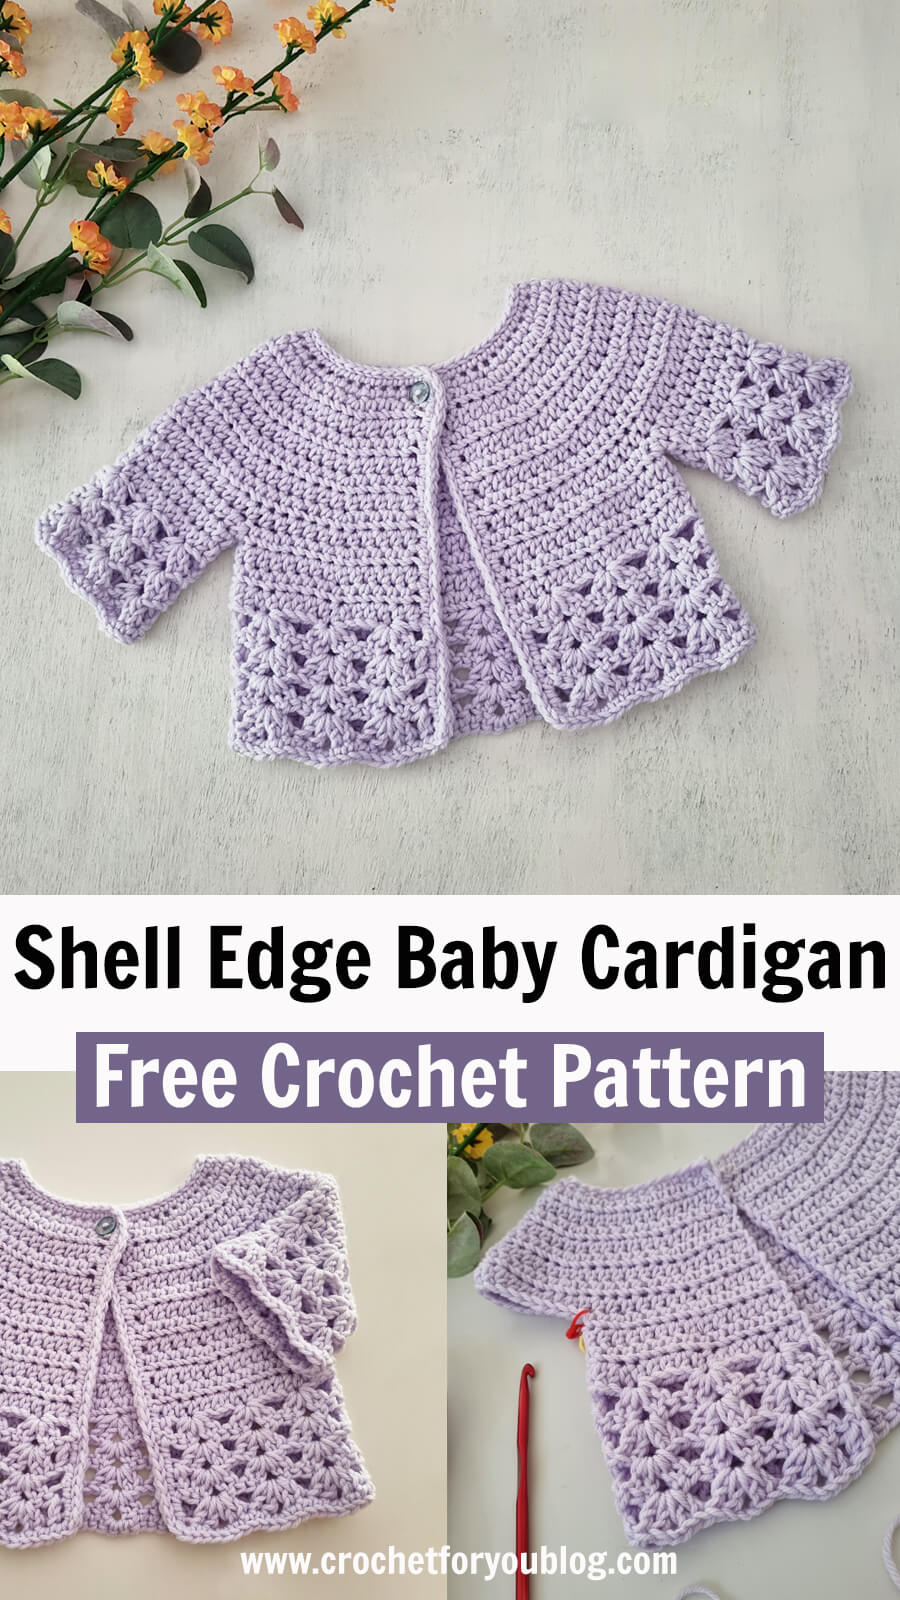
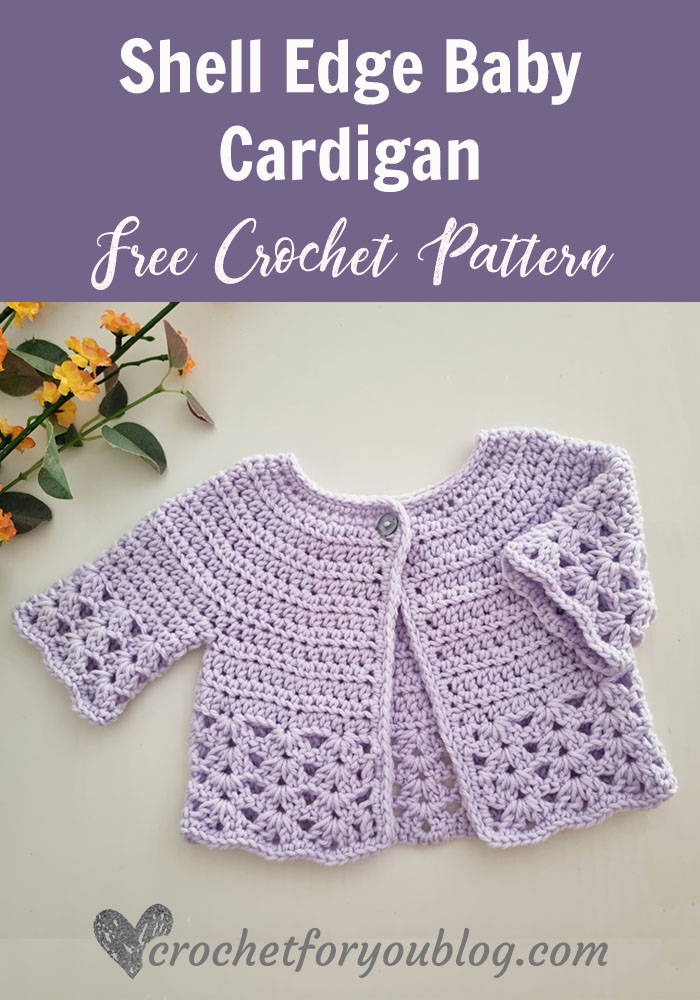
This beginner-friendly crochet baby cardigan is easy to make and has a delicate crochet shell edging that adds a lovely touch. So if you want to create a beautiful and unique baby cardigan this spring, this crochet cardigan pattern is the perfect choice.
Disclosure This blog may contain affiliate links.
Add this pattern to Ravelry queue
Save on Pinterest
If you are a beginner to crochet, this baby cardigan is easier to crochet than you think. You’ll need to know the basic crochet stitches. I can say this is a very basic baby cardigan pattern to try.
Easy + Round Yoke Design
This cardigan is worked from top to down. The pattern starts from the neck and works round yoke first. After making armholes, the bodice part works in rows and lastly add a few crochet shell stitch rows until the edge of the cardigan to make it airy and lightweight. Lastly, make long sleeves with shell stitch edges.
This cardigan is more cute to wear with a sweet cotton dress on spring and summer days.
This Crochet Shell Edge Baby Cardigan made using lightweight yarn and takes only one skein of Ice Yarn Softly Baby. It is labeled #3 DK Light worsted but I feel the yarn is thicker than DK weight, but it feels so soft and very smooth which great for making baby items.
Skill Level: Easy
Finished size: (18 months)
- Chest circumference = 18″
- Height (shoulder to bottom) = 9.75″
- Underarm sleeve length = 3.25”
Materials:
(I used)
- 1 sken of Ice Yarn Softly Baby, Lilac (50% Acrylic, 50% Polyamide)
- US I-9/5.5mm crochet hook
- 0.5″ size one button
- Tapestry needle for weaving ends
- Stitch markers
- Scissors
Gauge: 14.5 hdc x 9 rows = 4″ with US I-9 (5.5mm) crochet hook
Abbreviations (US Term)
- ch = chain
- sl st = slip stitch
- sc = single crochet
- hdc = half double crochet
- dc = double crochet
- st = stitch
- sk = skip
- beg = beginning
- ch-sp = chain space
- (RS) = Right Side
- (WS) = Wrong Side
- *to = repeat * to the instructions.
- [ ] work instructions within brackets as many times as directed
Special stitches
- Shell st = (2 dc, ch 2, 2 dc) in indicated stitch
Notes:
- beg ch does not count as an stitch
- This cardigan is worked from top to down.
- The pattern starts from the neck and works round yoke first.
- After making armholes, the bodice part is worked in rows.
- Lastly, make long sleeves with shell stitch edges.
Crochet Shell Edge Baby Cardigan Pattern
Crochet ch 56 with US I-9 (5.5mm) crochet hook.
Row 1: (RS) sc in 2nd ch from the hook, sc in each st across, turn. (55 sts)
Row 2: (WS) ch 1, hdc in first st and each of next 3 st, [2 hdc in next st, hdc in each of next 4 st] 10 times, hdc in last st, turn. (65 sts)
Row 3: (RS) ch 1, hdc in each st across, turn. (65 sts)
Row 4: (WS) ch 1, hdc in first st and each of next 4 st, [2 hdc in next st, hdc in each of next 5 st] 10 times, turn. (75 sts)
Row 5: (RS) ch 1, hdc in each st across, turn. (75 sts)
Row 6: (WS) ch 1, hdc in first st and each of next 5 st, [2 hdc in next st, hdc in each of next 6 st] 9 times, 2 hdc in next st, hdc in each of next 5 st, turn. (85 sts)
Row 7: (RS) ch 1, hdc in each st across, turn. (85 sts)
Row 8: (WS) ch 1, hdc in first st and each of next 6 st, [2 hdc in next st, hdc in each of next 7 st] 9 times, 2 hdc in next st, hdc in each of next 5 st, turn. (95 sts)
Row 9: (RS) ch 1, hdc in each st across, turn. (95 sts)
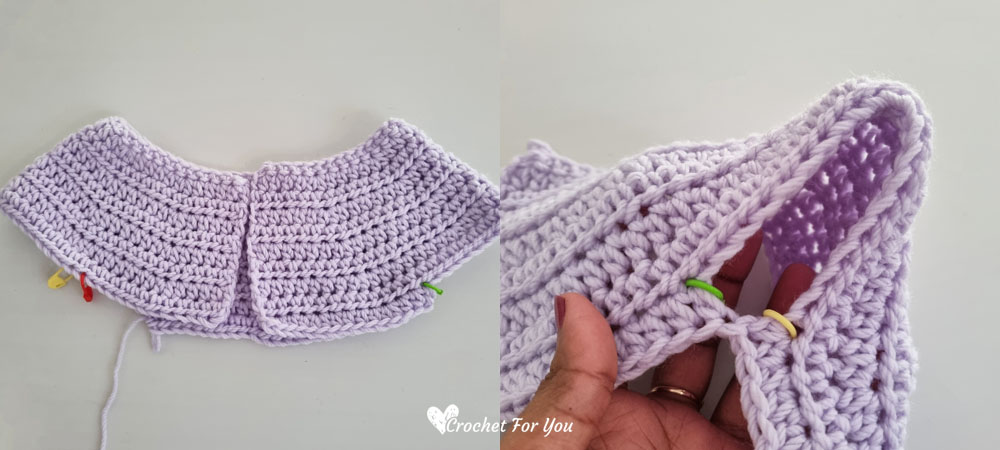
Row 10: (WS) ch 1, hdc in first st and each of next 3 st, 2 hdc in next st, hdc in each of next 4 st, 2 hdc in next st, hdc in each of next 3 st, sk next 20 sts, hdc in next st, (armhole made) [2 hdc in next st, hdc in each of next 4 st] 5 times, 2 hdc in next st, hdc in each of next 2 st, sk next 20 sts, hdc in each of next 2 st, (armhole made) 2 hdc in next st, hdc in each of next 4 st, 2 hdc in next st, hdc in each of next 5 st, turn. (65 sts)
Row 11: (RS) ch 1, hdc in each st across, turn. (65 sts)
Row 12: (WS) ch 1, hdc in each st across, turn. (65 sts)
Row 13: (RS) ch 1, hdc in first st and each of next 4 st, [2 hdc in next st, hdc in each of next 5 st] 9 times, 2 hdc in next st, hdc in each of next 5 st, turn. (75 sts)
Row 14: (WS) ch 2, dc in first st, sk next st, shell in next st, *sk next 4 sts, shell st in next st; repeat * to across until the last 2 st remain, sk next st, dc in last st, turn. (15 shell sts)
Row 15: (RS) ch 2, dc in first st, *shell st in ch-2 space of the shell; repeat * to across, dc in the last dc, turn. (15 shell sts)
Row 16 & 17: repeat row 15.
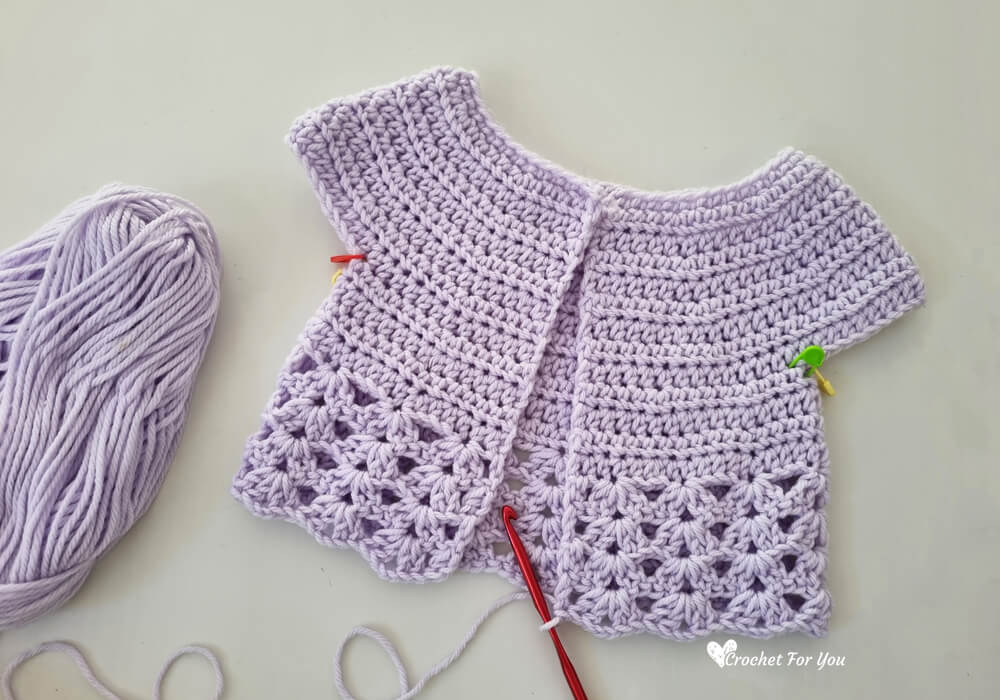
Do not fasten off, start work edging
Edging
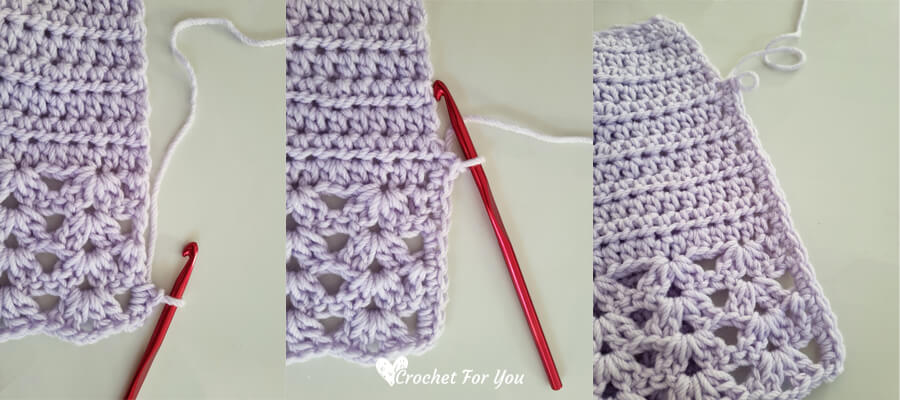
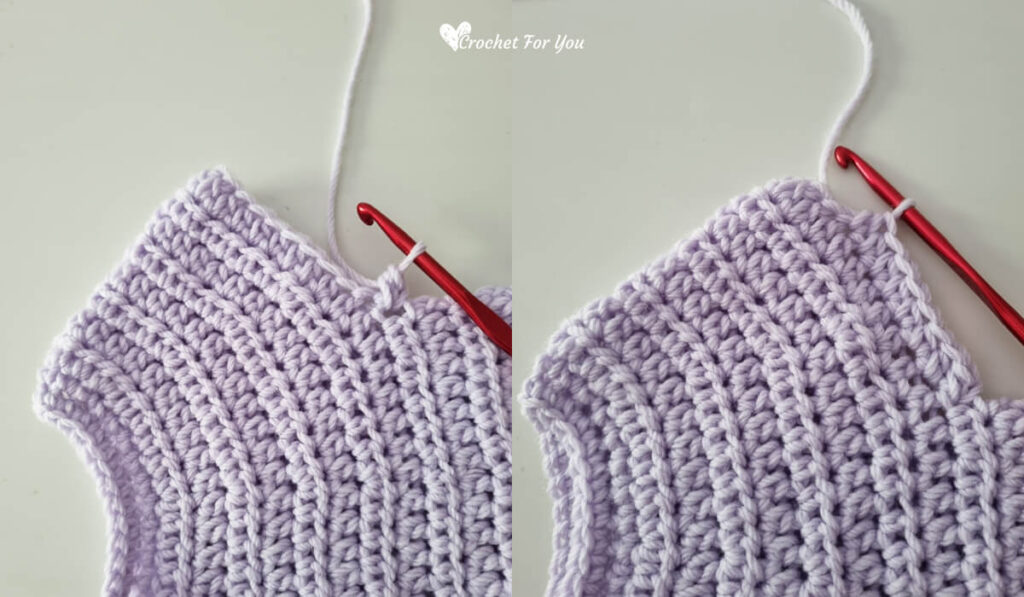
Row 1: (RS) facing, crochet sc evenly in open sides, including around the neck and the bottom edge.
Start working up on the open side, I crocheted 27 sc for one open side, 3 sc in corner stitch before start neck, 52 sts for neck, 3 sc in corner stitch, working 27 sc down on open side, 3 sc in corner stitch, 90 sc on the bottom edge (work on every dc and ch at the bottom), lastly 3 corner stitch, sl st to the first sc.
(I have 208 total stitches)
Lastly, sew the button on the top on one side.
Sleeves (each side on armholes)
Round 1: (RS) facing, join yarn at side-hdc st of row 10 of the bodice part in underarm, ch 1, hdc in same st, hdc in each st around the armhole, sl st to the first st. (24 sts total)
Round 2: ch 1, hdc in first st and each st around, sl st to the first st. (24 sts total)
Round 3: repeat round 2.
Round 4: ch 1, shell st in first st, *sk next 3 st, shell st in next st; repeat * to around, sl st to the first dc of shell st. (6 shell sts)
Round 5: sl st until chain space of the first shell, ch 2, shell st in same ch-2 space, *shell st in next ch-2 space of the shell; repeat * to around, sl st to the first dc of shell st. (6 shell sts)
Round 6: repeat round 5.
Edging
ch 1, work on every dc and ch around, sl st to the first st. (36 sts)
Hope to see you soon with a new FREE pattern
Until then, Happy Crocheting!!
Share your finished projects of this pattern on Crochet For You FB page.
Happy hooking with Crochet For You!!
Let’s connect and share
Facebook| Pinterest | Twitter | Instagram
All contents include photography and patterns are copyrighted Crochet For You by
Erangi Udeshika.
Do not copy, edit, distribute or republish patterns and images in this blog in part or whole as your own. Please, share a direct link to the pattern with others and anywhere else. You are welcome to make and sell finished items using my patterns.
Visit Copyright / Terms of use for more info.
Thank you.
