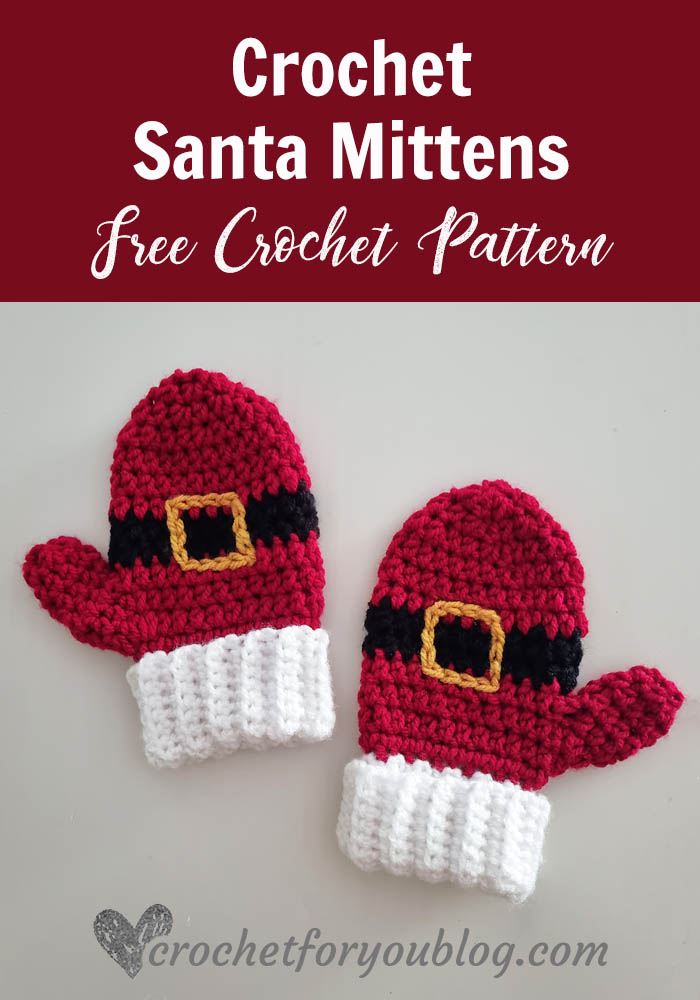
Crochet Santa Mittens Free Pattern
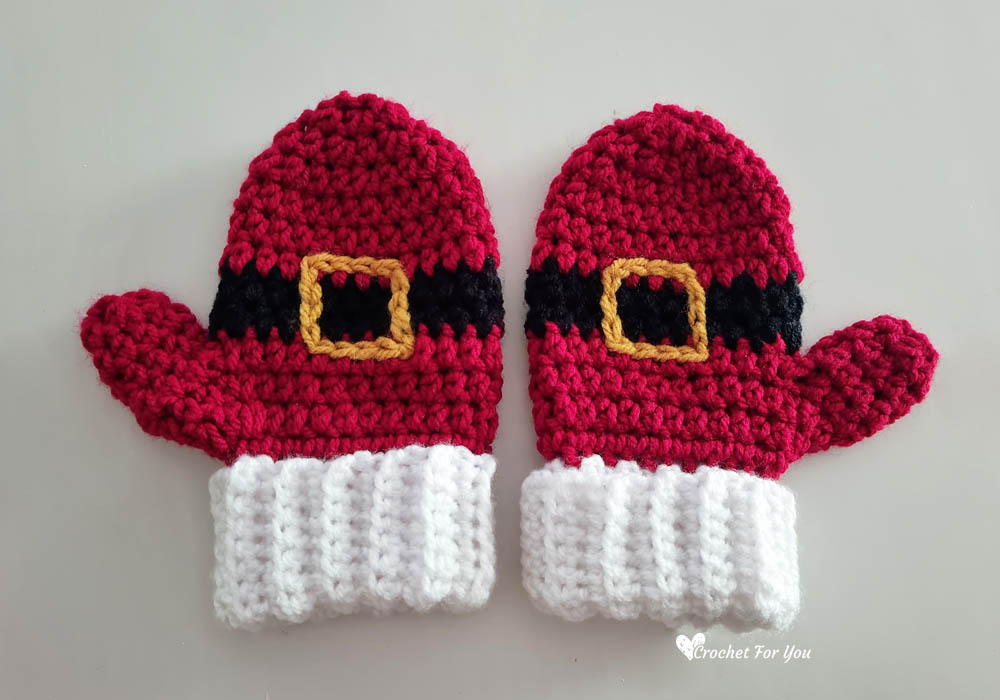
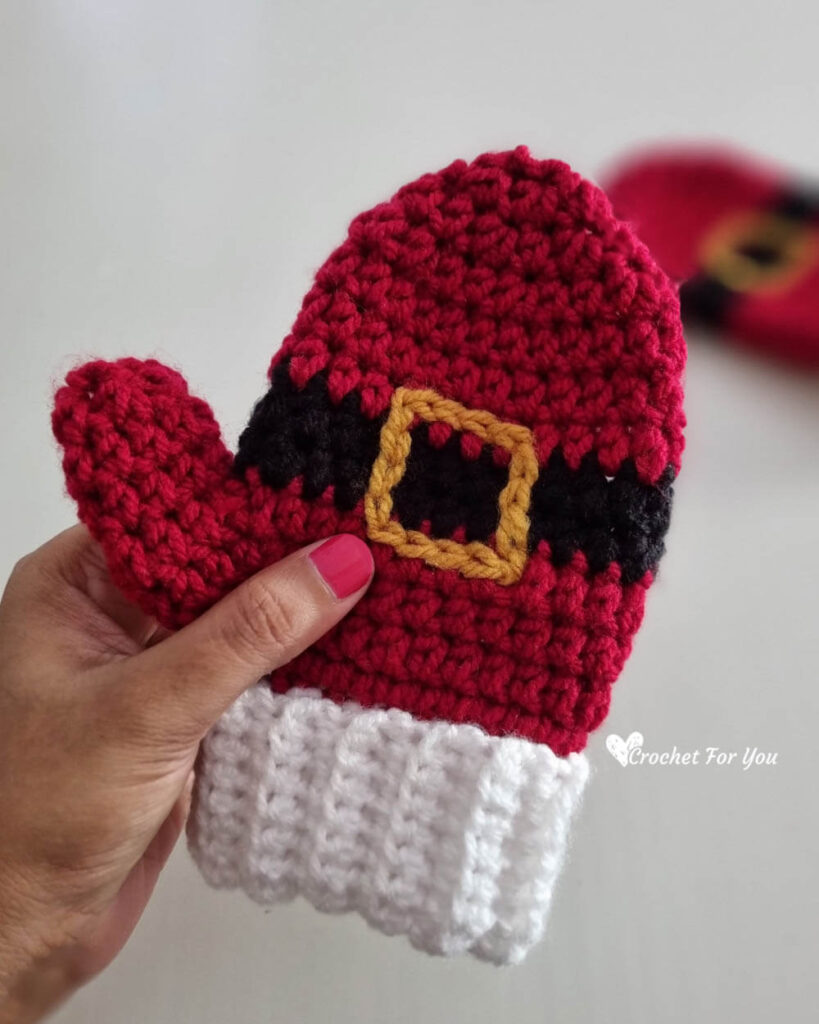
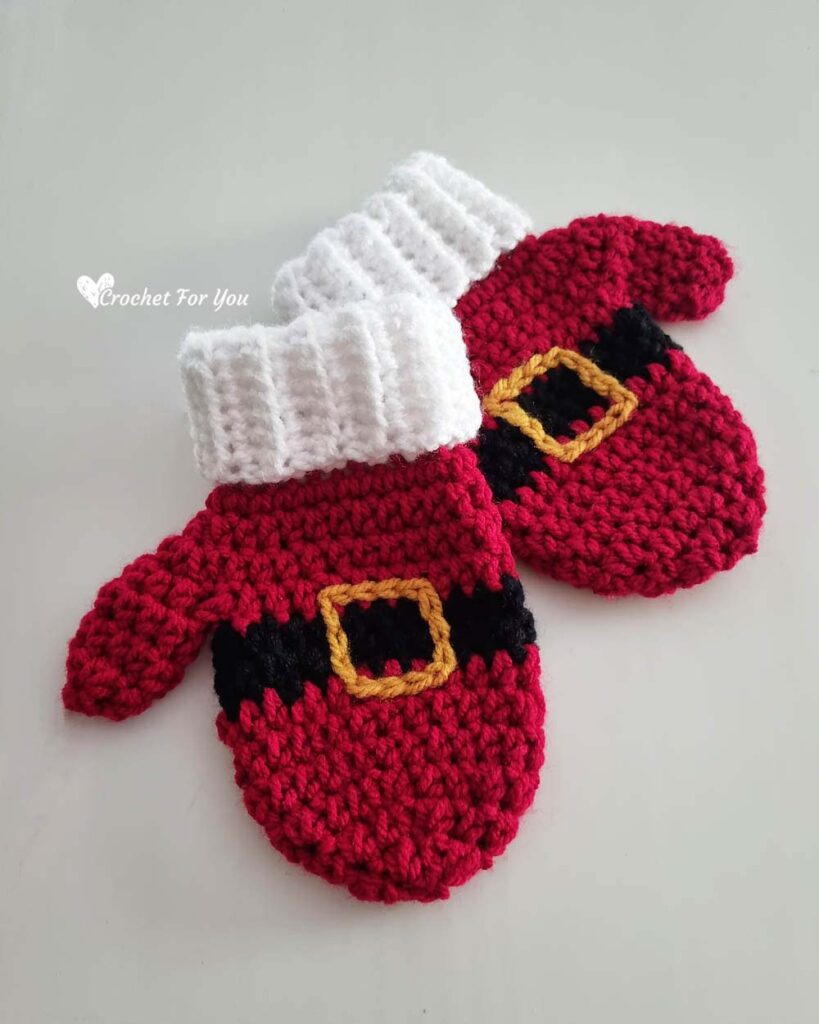
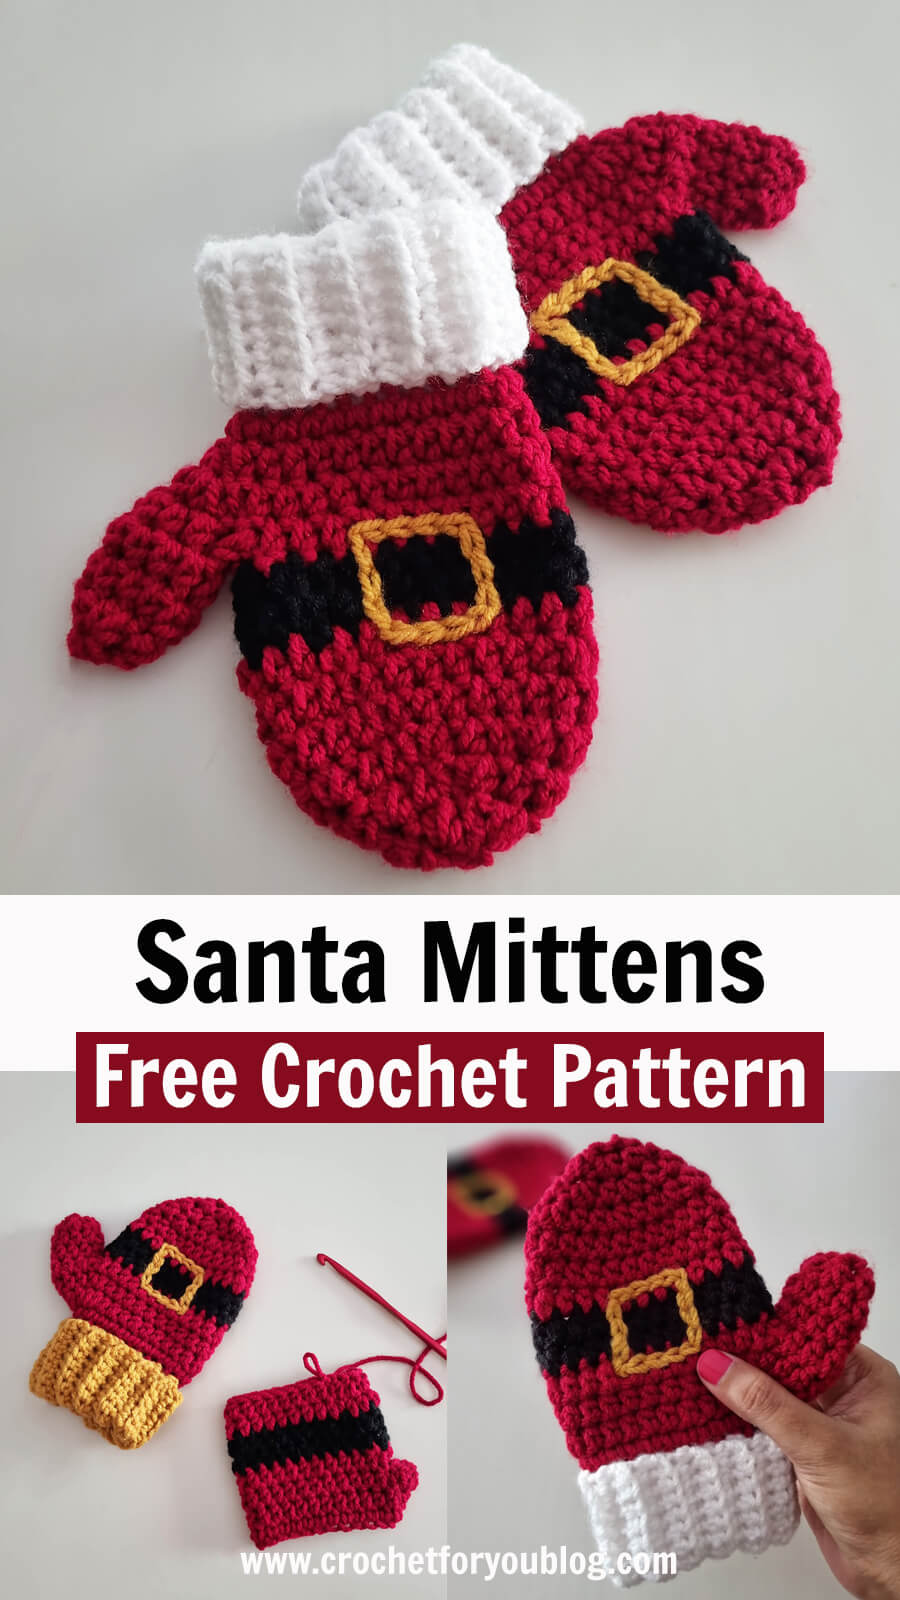
Today I have Santa mittens to celebrate the Christmas season. These crochet Santa Mittens keep your hands in warm through the Winter & Christmas time.
This Crochet Santa Mittens made in child size. Follow the Basic Mittens Pattern for Kids and Adult to make these mittens in smaller or larger sizes. Find more info in the note section.
Disclosure This post may contain affiliate links.
Add this pattern to Ravelry queue
Save on Pinterest
Gifting season is coming soon!
I’m currently working on Holiday Mitten Patterns for kids. I hope you will love these patterns as a gift idea because they are easy to crochet in a few hours with less than 150 yards. Kids will love to wear these fun and festive mittens on colder days while they’re outside and playing. Check out the Snowman mittens and Strawberry Mittens previously published on the blog. And there are a few more coming soon so stay tuned.
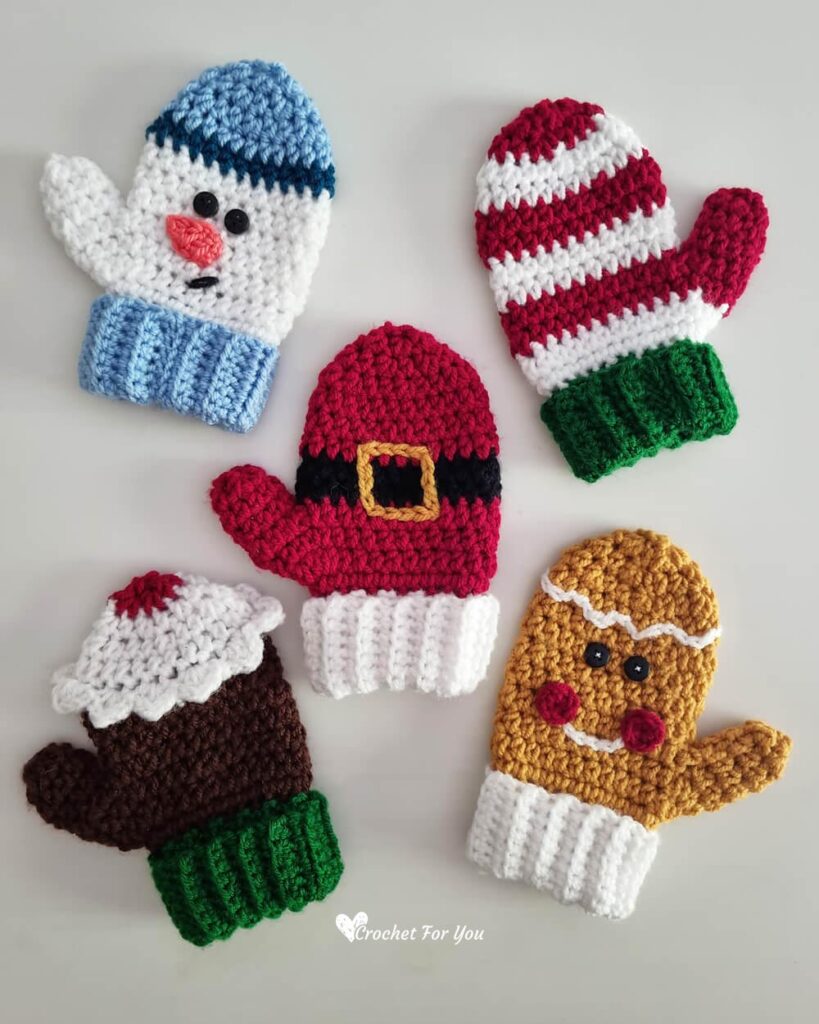
Check Out the Other Holiday Mittens Patterns of the Series
Snowman Mittens
Christmas Pudding Mittens
Santa Helper Mittens
Gingerbread Man Mittens
Skill Level: Easy
Finished size (Child)
- Cuff to fingertip = 7″
- Circumference of palm = 7″
Materials:
Yarn: #4 – Medium / Worsted weight / 100% acrylic (Approx: 150 yards)
(I used)
– Ice Yarn Favorite (100% Acrylic; 229 yards [210 meters] / 100g)
– 80 yards of Red (C1), 20 yards of Black (C2), 40 yards of White (C3)
– Small amount of Gold yarn (for buckle)
– US I/9, 5.5mm crochet hook
– US H/8, 5mm crochet hook
– Tapestry needle for weaving ends
Gauge: 14 hdc x 10 rows = 4″ with US I-9 (5.5mm) crochet hook
Abbreviations (US Term)
- ch – chain
- sc – single stitch
- hdc – half double crochet
- dc – double crochet
- BLO – back loop only
- BL – back loop
- sl st – slip stitch
- st – stitch
- sk – skip
- beg – beginning
- * to ; – repeat * to the instructions.
- (C1) – color 1
- (C2) – color 2
- (C2) – color 3
Special stitches
- hdc2tog = yo, [insert the hook in next st, yo, pull back through the st] 2 times, yo, pull back through all the 4 loops on the hook.
About the pattern
The crochet Santa mittens pattern comes in child size.
This pattern is simple and fast to crochet with half double crochet and single crochet stitches.
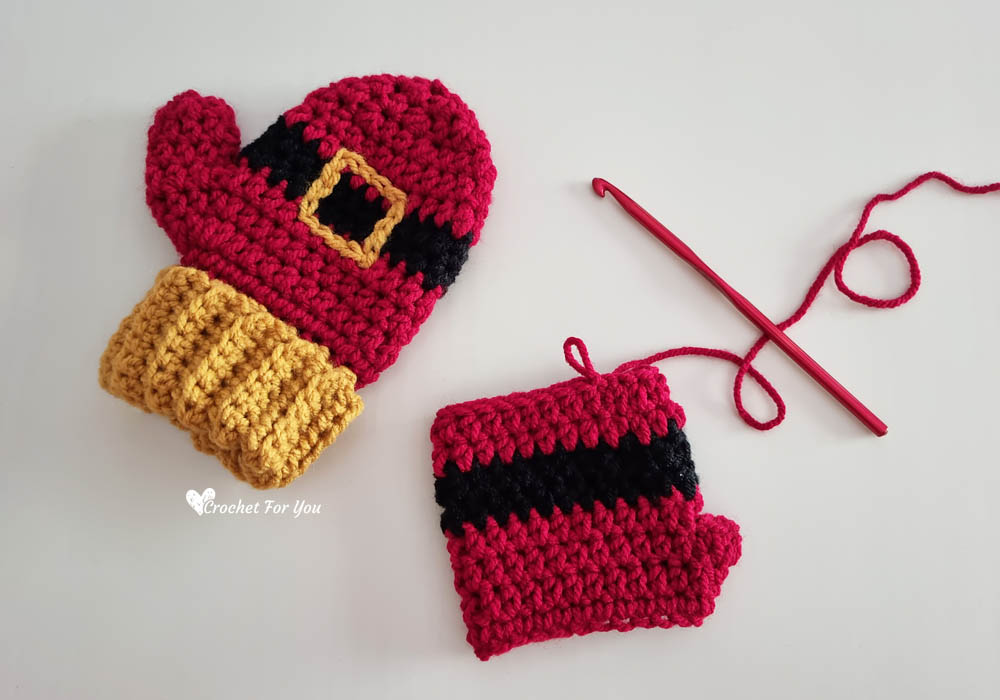
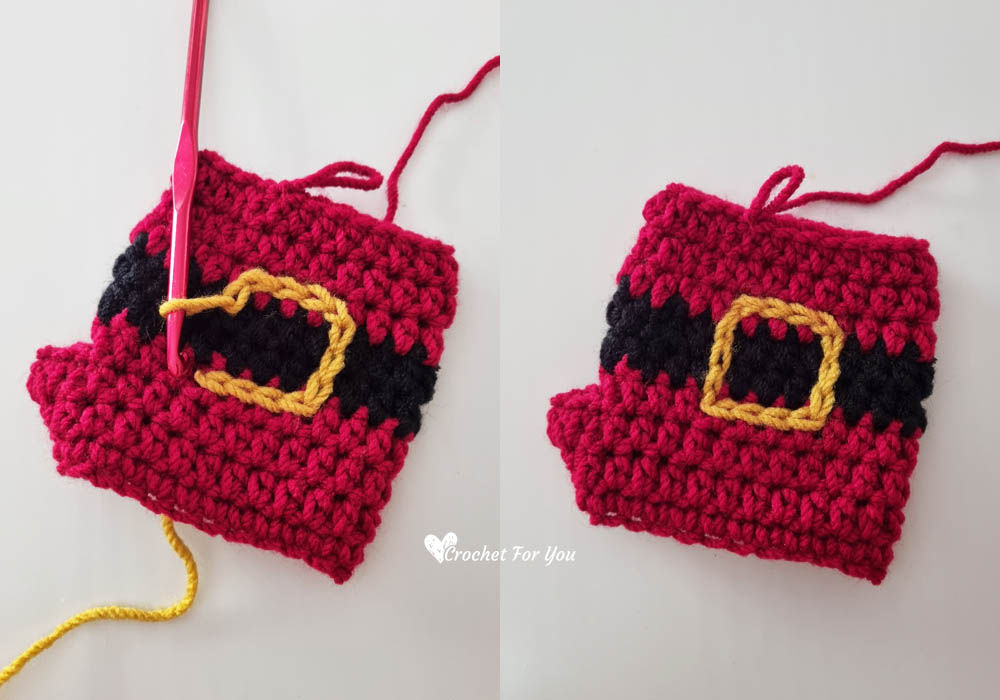
Buckle made with surface crochet.
The double ribbed cuff gives an extra coziness and keep the mittens fitted to your hand and hold well.
The pattern has five parts.
Notes
- If you want to make these mittens in larger or smaller sizes, follow the Basic Mittens Pattern for Kids and Adult.
- First, you need to follow the kids or adult hand shaping and thumb hole part of the selected pattern.
- Continue the rounds without increasing until your little finger pinky is covered.
- Buckle made with surface crochet.
- Then follow the decreasing and close the top of the selected pattern.
- Make thumb and double ribbed cuff.
Crochet Santa Mittens – Child Size
(Make 2)
Hand shaping and thumb hole
With (C1) and US I/9, 5.5mm crochet hook, crochet ch 24, sl st to the first ch (be careful not to twist)
Round 1: ch 1, sc in first ch, sc in each st around, join with sl st in first st. (24 sts)
Round 2: ch 1, 3 hdc in first st and next st, hdc in each st around, join with sl st in first st. (28 sts)
Round 3: ch 1, 2 hdc in first st, hdc in each of next 4 st, 2 hdc in next st, hdc in each st around, join with sl st in first st. (30 sts)
Round 4: ch 1, sk first st and each of next next 6 st, 2 hdc in next st (thumb hole made), hdc in each st around, join with sl st in first st. (24 sts)
Continue rounds without increasing
Round 5 & 6: Join (C2) ch 1, hdc in each st around, join with sl st in first st. Fasten off and cut the yarn.
Round 7 to 9: With (C1) ch 1, hdc in each st around, join with sl st in first st.
At this moment start to make a buckle with surface crochet before you closing the top.
Decreasing and closing top
Round 10: ch 1, hdc in first st and next st, *hdc2tog (see special stitches), hdc in each of next 2 st; repeat * from around, join with sl st in first st. (18 sts including hdc2tog)
Round 11: ch 1, hdc in first st, *hdc2tog, hdc in next st; repeat * from around, join with sl st in first st. (12 sts)
Round 12: ch 1, (start from first st), hdc2tog (see special stitches) around, join with sl st in first first hdc2tog. (6 hdc2tog)
Leaving a 10-12” tail, fasten off and cut the yarn.
Thumb part
Join (C1) yarn at the first skipped st in round 3.
Round 1: ch 1, 9 hdc around the thumb hole including 2 side-sts in round 4 of the mitten, join with sl st in first st. (9 hdc)
Round 2 & 3: ch 1, hdc in each st around, join with sl st in first st. (9 hdc)
Round 4: ch 1, hdc in first st, hdc2tog (see special stitches) around, join with sl st in first st. (4 hdc2tog/1 hdc)
Fasten off and cut the yarn, leaving 10-12” tail.
Finishing
With tapestry needle and yarn tail, sew and close the mitten top, and thumb top.
Double ribbed cuff
Leaving 12″ long yarn tail for joining, join the (C3) yarn at one of the remaining loop in the foundation chain of the mitten.
Using US H/8, 5mm crochet hook,
Step 1: with (C3) yarn, ch 15, sc in 2nd ch from the hook, sc in each of the next 13 st, sl st to the next 2 remaining loops in the foundation chain of mitten. Turn the work. (14 sc)
Step 2: sc in BL of each st across, turn the work. (14 sts)
Step 3: ch 1, sc in BL of each st across, sl st to the next 2 remaining loops in the foundation chain of mitten. turn the work (14 sts)
Repeat steps 2 and 3 continuously around the mitten until the last loop of the foundation chain. Fasten off. Sew short rows together using the tapestry needle and yarn tail. Weave the ends.
Fold the cuff in half.
Hope to see you soon with a new FREE pattern
Until then, Happy Crocheting!!
Share your finished projects of this pattern on Crochet For You FB page.
Happy hooking with Crochet For You!!
Let’s connect and share
Facebook | Pinterest | Twitter | Instagram
All contents include photography and patterns are copyrighted Crochet For You by Erangi Udeshika.
Do not copy, edit, distribute or republish patterns and images in this blog in part or whole as your own. Please, share a direct link to the pattern with others and anywhere else. You are welcome to make and sell finished items using my patterns.
Visit Copyright / Terms of use for more info.
Thank you.
