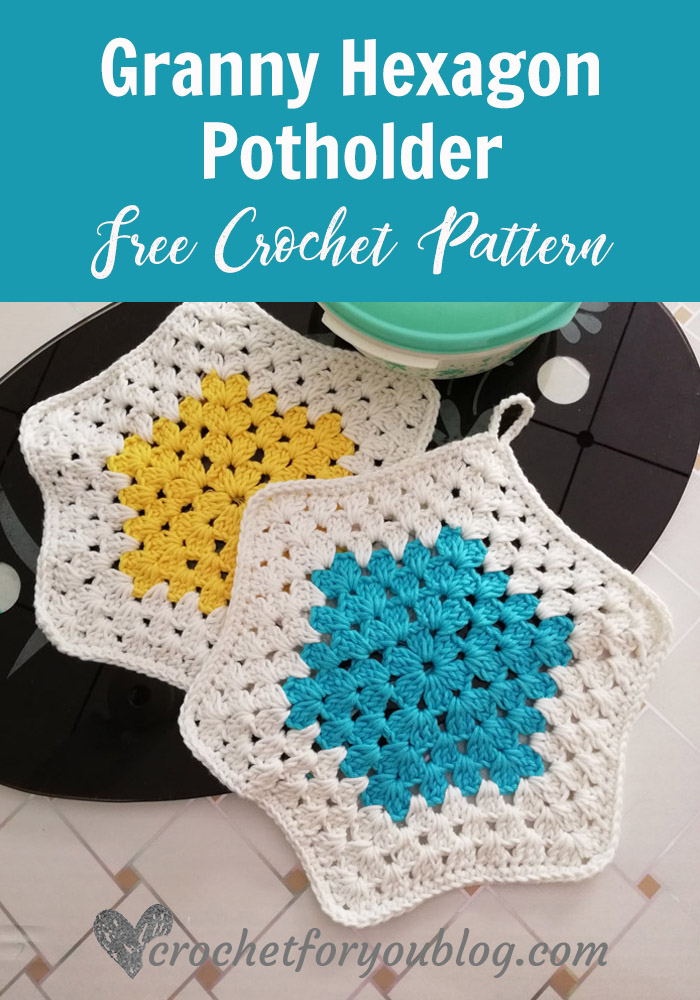
Crochet Granny Hexagon Potholder Free Pattern
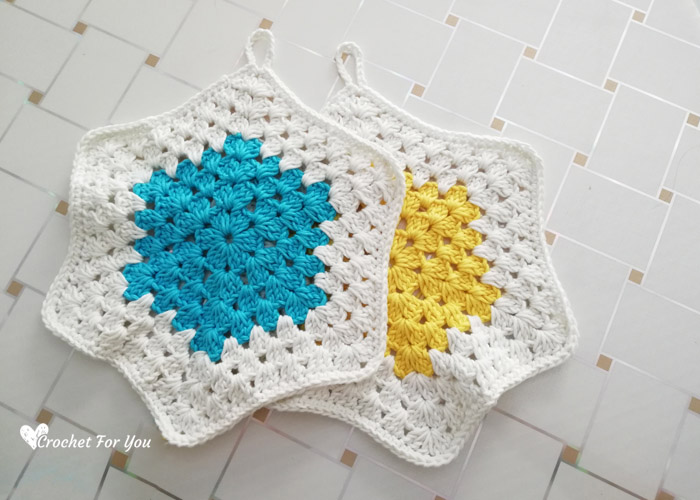
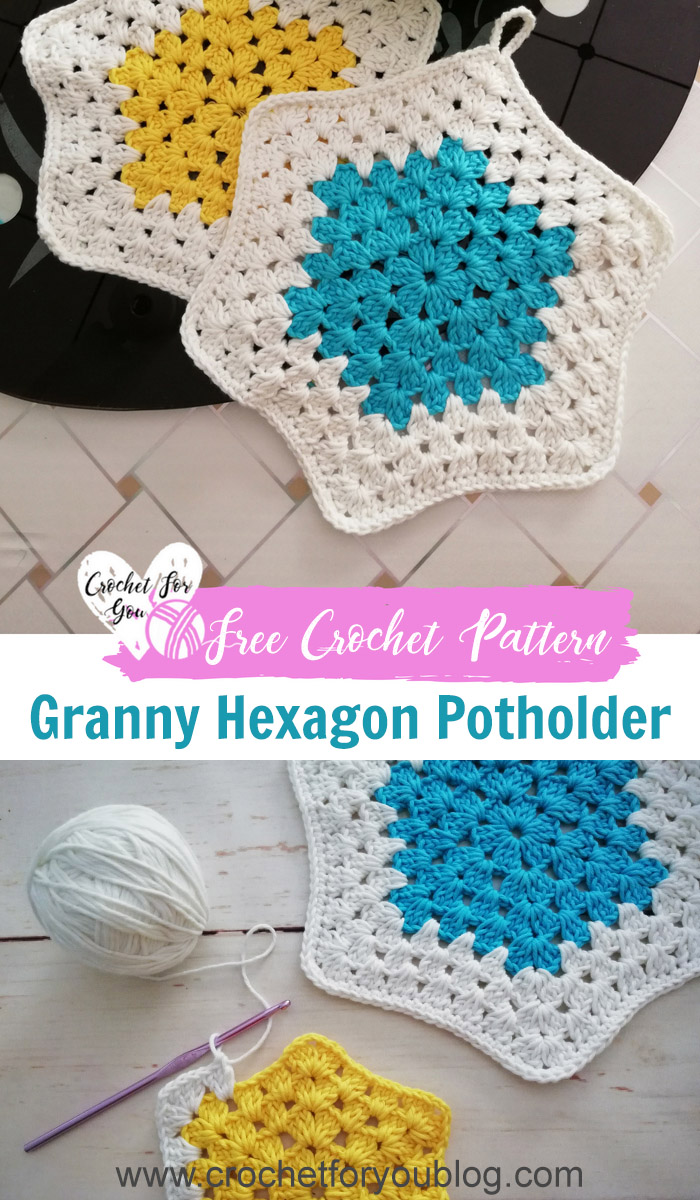
Crochet Granny Hexagon Potholder Pattern by Crochet For You.
These beginner-friendly crochet granny hexagon potholders are super easy and fun to make. As you can see you have more freedom to play with colors.
In this granny hexagon potholder free pattern,
- you have more freedom to play with colors.
- you can learn how to crochet granny hexagon in any size.
Add this pattern to Ravelry queue
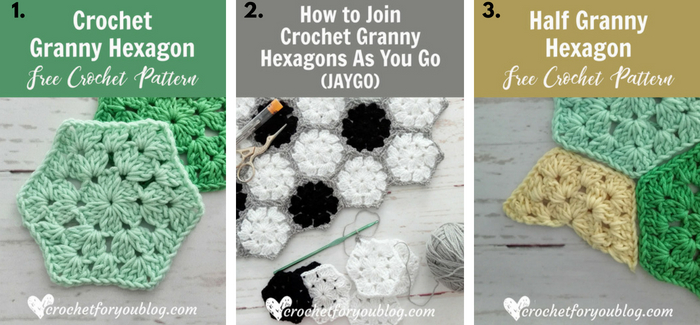
Here are more granny hexagon free tutorials for beginners to crochet.
Crochet Granny Hexagon / How to Join Crochet Granny Hexagon As You Go / Half Granny Hexagon
Skill level: easy
Finished size: 10” wide (corner to corner)
Materials (I used):
4-Medium weight / Worsted / 100% Cotton / Approx: 120 total yards
(You can also use DK weight yarns obtain the gauge below)
(I used)
- Rico Creative Cotton Aran
- 7/ 4.5 mm crochet hook
- Tapestry needle for weaving ends.
- Scissors
Gauge: 17 hdc x 9 rows = 4″ with 7/ 4.5 mm crochet hook
Abbreviations
- ch = chain
- dc = double crochet
- st = stitch
- sl st = slip stitch
- sk = skip
- ch-sp = chain space
- sp = space
- beg = beginning
- *to = repeat * to the instructions.
- [ ] work instructions within brackets as many times as directed
Notes:
- When changing colors, fasten off without crocheting sl st until next corner ch-sp. Join new color yarn at ch-2 sp of the corner st with ch 3.
- This pattern can be adjusted to any size by repeating round 4.
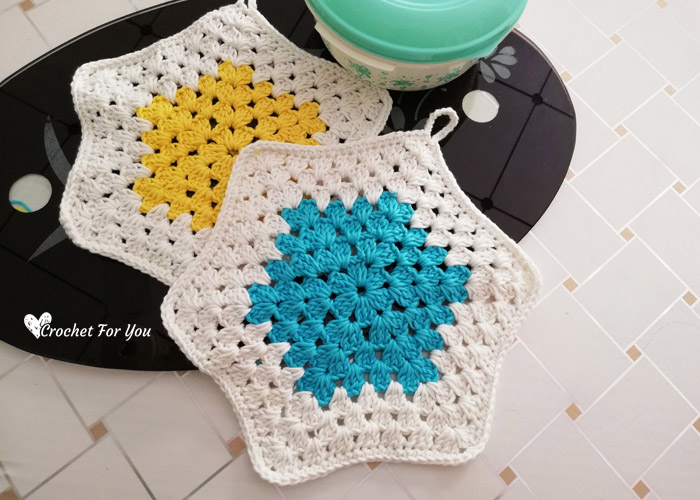
Crochet Granny Hexagon Potholder Pattern
Make a magic ring with (C1),
Round 1: ch 3 (count as st), 2 dc into the ring, [ch 3, 3 dc into the ring] 5 times, ch 3, sl st to the ch 3 top, sl st until next ch-sp to start next round.
Round 2: ch 3 (count as st), (2 dc, ch 2, 3 dc) into the same ch-sp, *ch 1, (3 dc, ch 2, 3 dc) into the next ch-2 sp of the corner st; repeat * to around, after crocheting last ch 1 in repeat section, sl st to the beg ch 3 top, sl st until next ch-sp (corner st) to start next round.
Round 3: ch 3 (count as st), (2 dc, ch 2, 3 dc) into the same ch-sp, *3 dc into the next ch-sp between 2 corners, (3 dc, ch 2, 3 dc) into the next ch-2 sp of the corner st; repeat * to around, sl st to the beg ch 3 top. sl st until next ch-sp (corner st) to start next round.
Round 4: ch 3 (count as st), (2 dc, ch 2, 3 dc) into the same ch-sp (corner st), [*3 dc into the next sp between dc sts; repeat * to until next corner st, (3 dc, ch 2, 3 dc) into the next ch-2 sp of the corner st] 5 times, *3 dc into the next sp between dc sts; repeat until last sp between dc sts, sl st to the beg ch 3 top,
Round 5: join the (C2) yarn at ch-2 sp of the corner st with ch 3 (count as st), (2 dc, ch 2, 3 dc) into the same ch-sp (corner st), [*3 dc into the next sp between dc sts; repeat * to until next corner st, (3 dc, ch 2, 3 dc) into the next ch-2 sp of the corner st] 5 times, *3 dc into the next sp between dc sts; repeat until last sp between dc sts, sl st to the beg ch 3 top, sl st until next ch-sp (corner st) to start next round.
Round 6 and 7: repeat round 4. After crocheting last round, stop crocheting without sl st until next corner ch-sp to start next round.
Edging with chain loop.
Ch 1, sc in each of st until next ch-sp (corner st), sc in ch-2 sp of the corner st, ch 15 or 20, sc in same ch-2 sp (made a loop), sc in each st across, crochet 2 sc in other ch-2 sp(s) of corner st. Fasten off and weave the end.
Hope to see you soon with a new FREE pattern
Until then, Happy Crocheting!!
Share your finished projects of this pattern on Crochet For You FB page.
Happy hooking with Crochet For You!!
Let’s connect and share
Facebook | Pinterest | Twitter | Instagram
All contents include photography and patterns are copyrighted Crochet For You by Erangi Udeshika.
Do not copy, edit, distribute or republish patterns and images in this blog in part or whole as your own. Please, share a direct link to the pattern with others and anywhere else. You are welcome to make and sell finished items using my patterns.
Visit Copyright / Terms of use for more info. Thank you.




One Comment
Pingback: