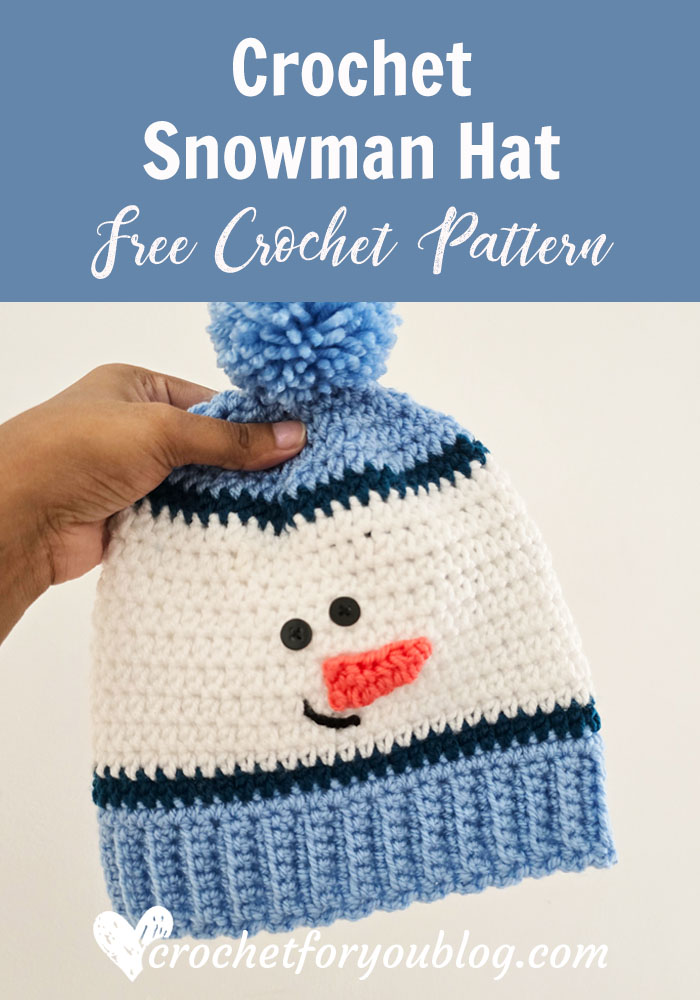
Crochet Spider Stitch Beanie Free Pattern
Crochet Spider Stitch Beanie Pattern by Crochet For You
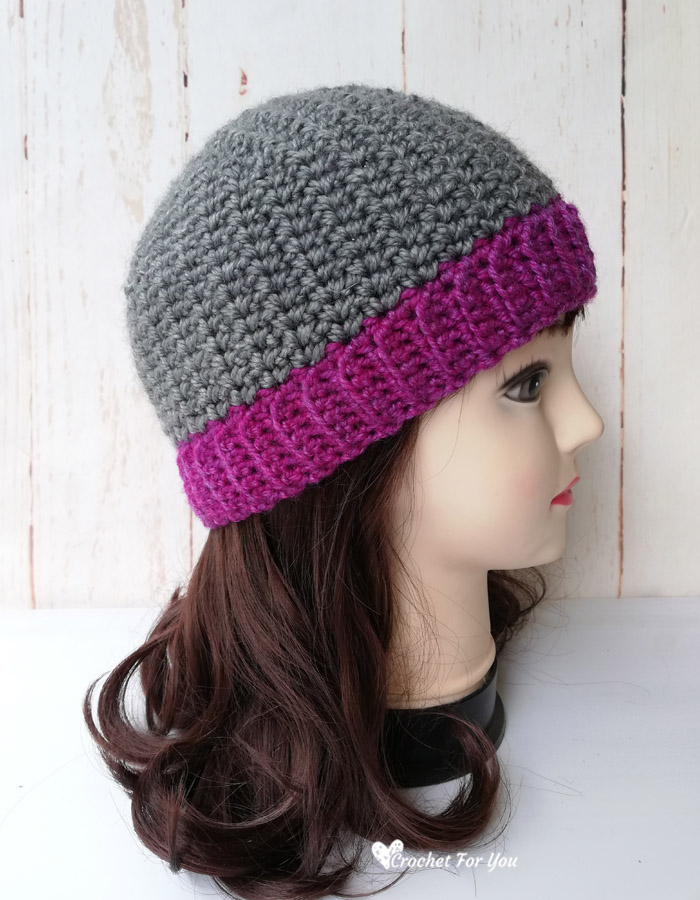
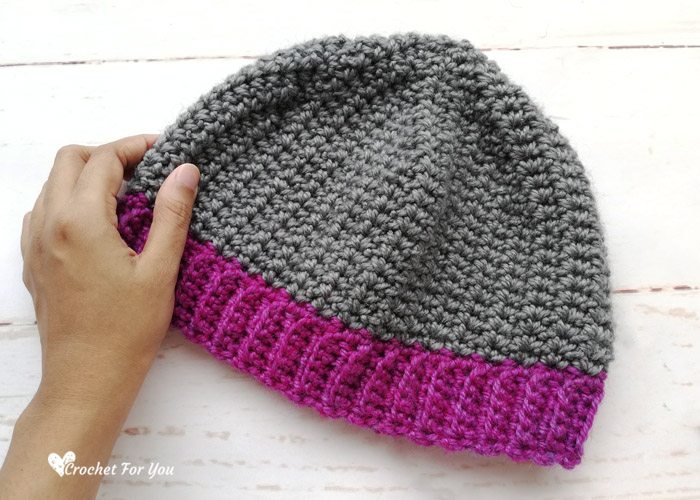
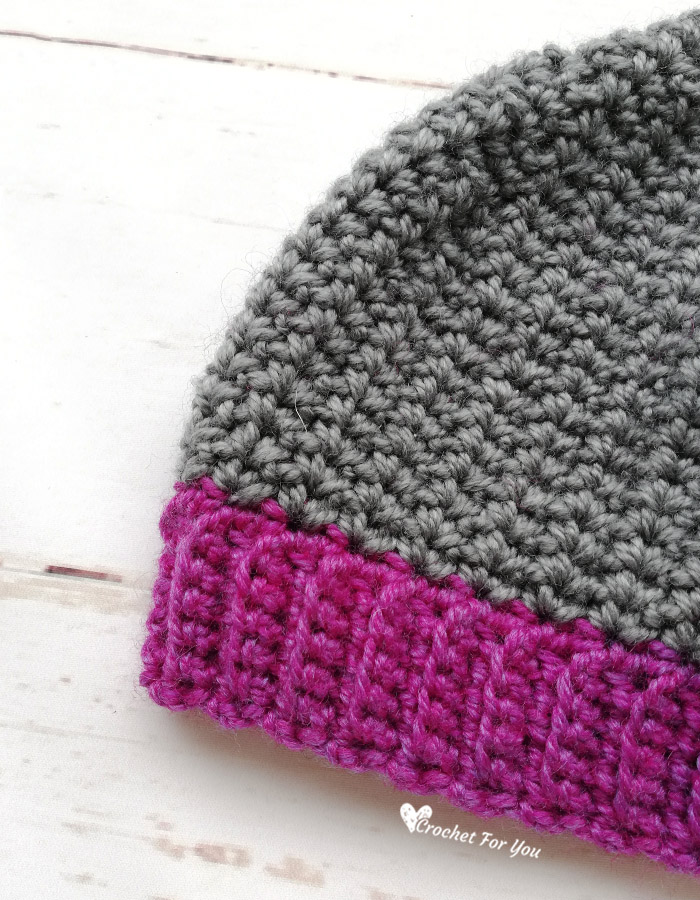
This unisex crochet beanie features spider stitch. I love the way that how spider stitch turned out on the body of the hat. It creates a beautiful knit-look texture and perfect for both men and women.
I have seen so many beautiful crochet patterns made with spider stitch in rows but this beanie works spider stitch in rounds. So my friends scroll down to see how to crochet this beanie. This is an easy stitch but make a beautiful dense texture.
If you are first time crocheting spider stitch, think this pattern as a crochet stitch tutorial, you can learn how to crochet spider stitch while making this beanie. 🙂
Add this pattern to Ravelry queue
Save on Pinterest
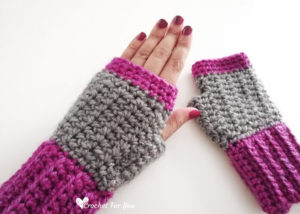
Crochet Spider Stitch Fingerless Gloves
Click on the image for the free pattern
Skill Level: Intermediate
Finished size: (teen/adult)
- Hat height: 8″
- Hat circumference: 20 – 21″
Materials:
#4 – Medium / Worsted weight yarns (Approx: 140 total yards)
(I used soft and silky yarn that consist 70% of animal fiber Alpaca )
- (C1) Purple color Approx: 40 yards
- (C2) Gray color Approx: 100 yards
- I-9, 5.5mm crochet hook
- Tapestry needle for weaving ends
Gauge: 15 sc x 15 rows = 4” with I-9, 5.5mm crochet hook.
Abbreviations/special stitches
- ch = chain
- sl st = slip stitch
- sc = single crochet
- hdc = half double crochet
- dc = double crochet
- st = stitch
- BL = back loop
- ch-1 sp = chain-1 space
- sk = skip
- beg = beginning
- * to ; = work instructions within brackets as many times as directed
- (RS) = right side
- (C1) = color 1
- (C2) = color 2
Special stitches
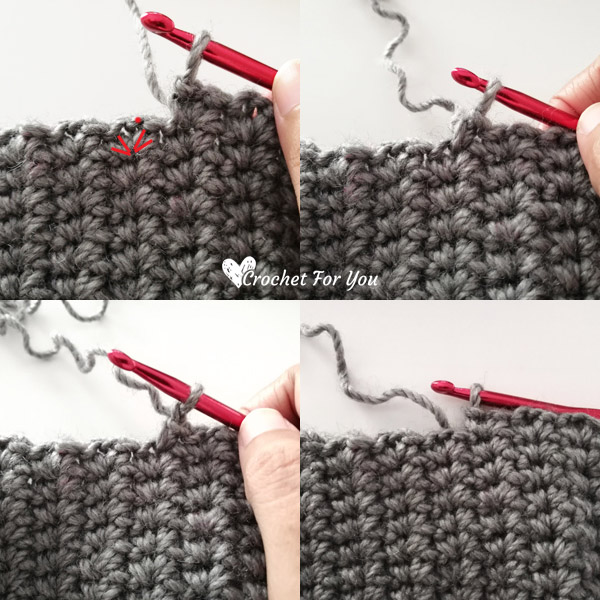
- Spider stitch: (sc, ch 1, sc) into the ch-1 sp of spider st in the previous round. (see photo below)
- Sc2tog: Insert hook next st and draw up a loop. Insert hook in next st and draw up a loop. Yarn over, pull back through all 3 loops on hook at once.
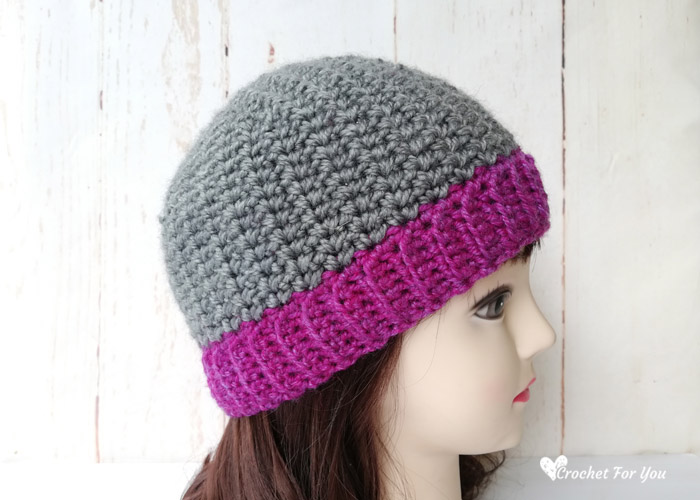
Crochet Spider Stitch Beanie Pattern
Ribbed Band
With (C1) yarn and the I-9,5.5mm crochet hook,
Crochet ch 7 Leaving 6” long tail of the yarn,
Row 1: sc in 2nd ch from the hook, sc in each st across, turn. (6 sts)
Row 2: ch 1, sc in first st, sc in BL of each of next 5 sts, turn. (6 sts)
Row 3: ch 1, sc in BL of first st, sc in BL of each of next 4 sts, sc in next st, turn. (6 sts)
Row 4 to 72: repeat row 2 & 3 continuously.
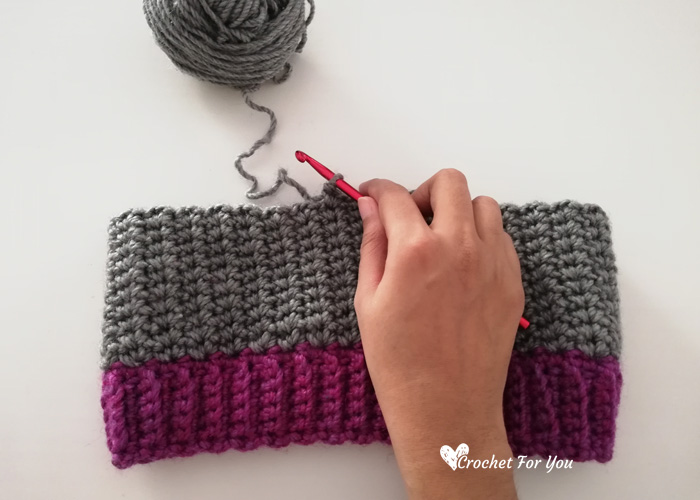
Hat
(Work in the long side of the band that has regular sc as first st in short rows in the band. That’s mean BL sc side should be the bottom edge of the beanie)
Round 1: (RS) with (C1) yarn, ch 1, sc in first st and each st around,
Round 2: With (C2) yarn, ch 1, (sc, ch 1, sc) in first st,
Round 3: ch 1, (spider st – see special stitches) in same ch-1 sp, *spider st in next ch-1 sp; repeat * to around,
Round 4 to 11: repeat round 3.
Round 12: ch 1, spider st in same ch-1 sp, spider st in each of next 4 ch-1 sp, sc in next ch-1 sp, *spider st in each of next 5 ch-1 sp, sc in next ch-1 sp; repeat * to around,
Round 13: repeat round 12.
Round 14: ch 1, spider st in same ch-1 sp, spider st in each of next 3 ch-1 sp, sc in next ch-1 sp,
Round 15: ch 1, spider st in same ch-1 sp, spider st in each of next 3 ch-1 sp, sc in next sc, *spider st in each of next 4 ch-1 sp, sc in next sc; repeat * to around,
Round 16: ch 1, spider st in same ch-1 sp, spider st in each of next 2 ch-1 sp, sc in next ch-1 sp,
Round 17: ch 1, spider st in same ch-1 sp, spider st in each of next 2 ch-1 sp, sc in next sc, *spider st in each of next 3 ch-1 sp, sc in next sc; repeat * to around,
Round 18: ch 1, spider st in same ch-1 sp, spider st in next ch-1 sp, sc in next ch-1 sp,
Round 19: ch 1, spider st in same ch-1 sp, spider st in next ch-1 sp, sc in next sc, *spider st in each of next 2 ch-1 sp, sc in next sc; repeat * to around,
Round 20: ch 1, spider st in same ch-1 sp, sc in next ch-sp,
Round 21: ch 1, spider st in same ch-1 sp, sc in next sc, *spider st in next ch-1 sp, sc in next sc; repeat * to around,
Round 22: ch 1, sc in first ch-1 sp, *sc in next sc, sc in next ch-1 sp; repeat * to around,
Round 23: ch 1, (start from first st), sc2tog (see special stitches) around,
Finishing (Close the top of the hat and sew the open of the band)
- Turn the hat inside out first. Insert the yarn tail through tapestry needle and weave through sts on the last round of top of the hat. Pull the yarn tightly and close the top of the hat with a few more stitches.
- Place two short sides together and sew with the tapestry needle by insertin the yarn tail through the tapestry needle.
Hope to see you soon with a new FREE pattern
Until then, Happy Crocheting!!
Share your finished projects of this pattern on Crochet For You FB page.
Happy hooking with Crochet For You!!
Let’s connect and share
Facebook| Pinterest | Twitter | Instagram
All contents include photography and patterns are copyrighted Crochet For You by Erangi Udeshika.
Do not copy, edit, distribute or republish patterns and images in this blog in part or whole as your own. Please, share a direct link to the pattern with others and anywhere else. You are welcome to make and sell finished items using my patterns.
Visit Copyright / Terms of use for more info. Thank you.
