Crochet Checkered Style Scarf Free Pattern
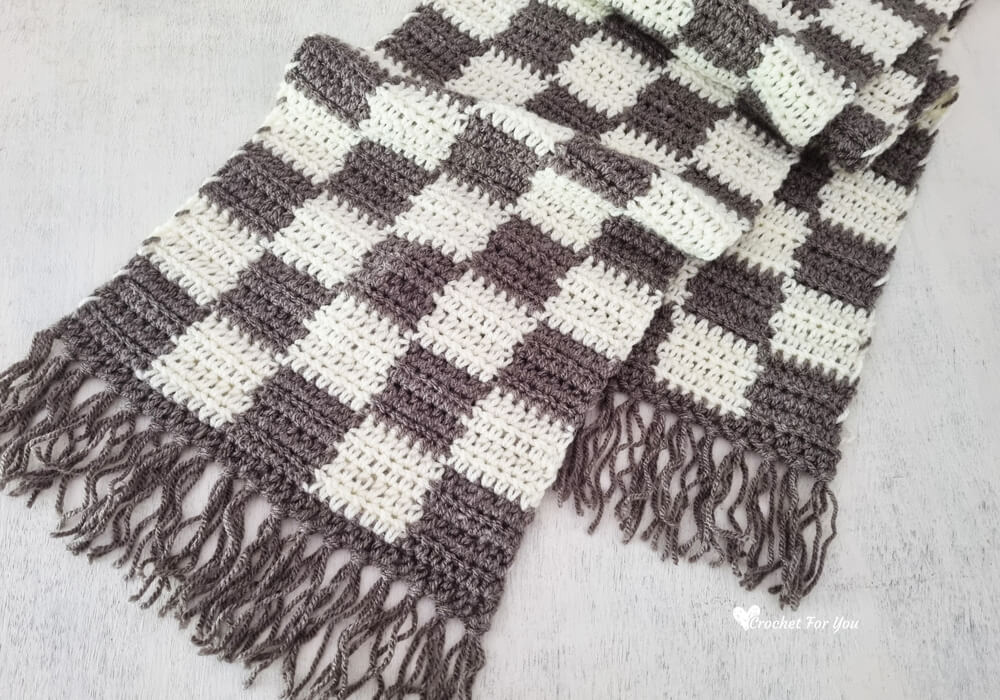
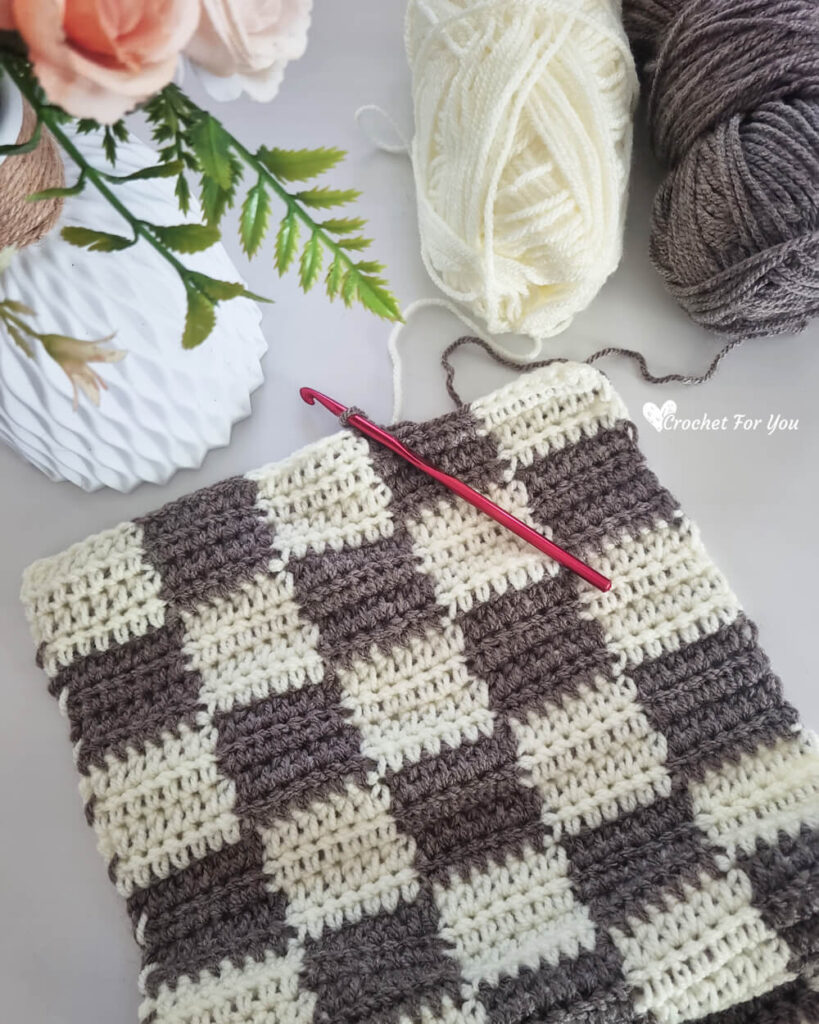
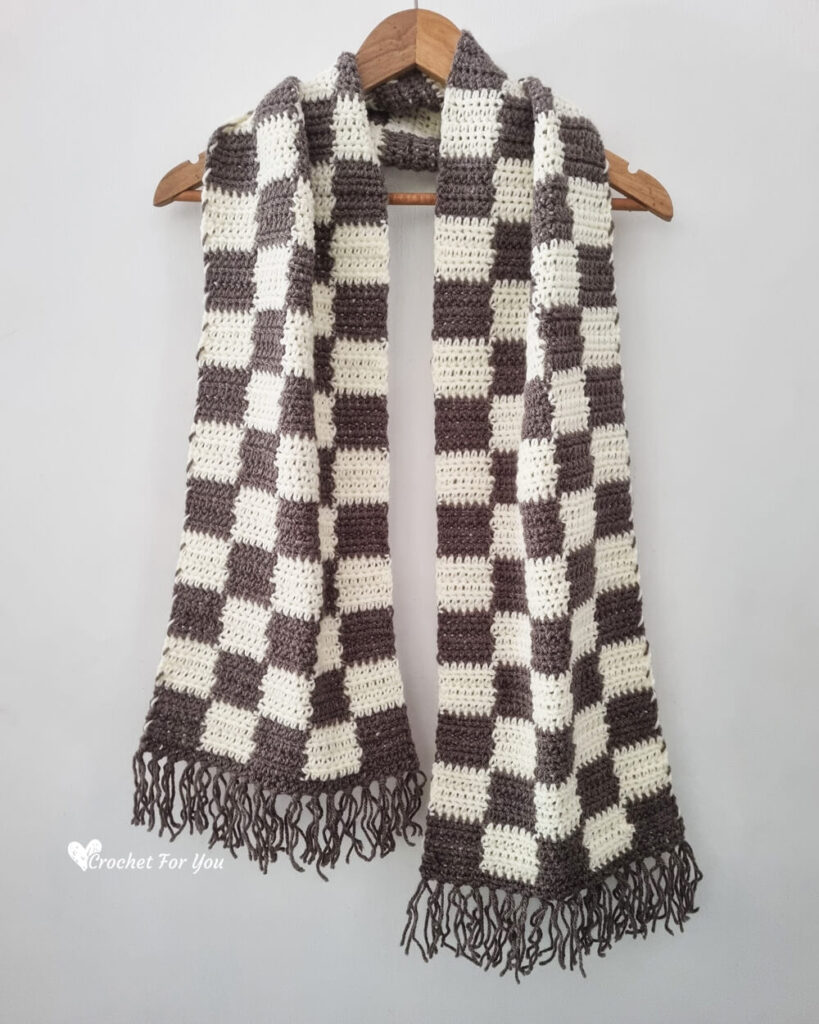
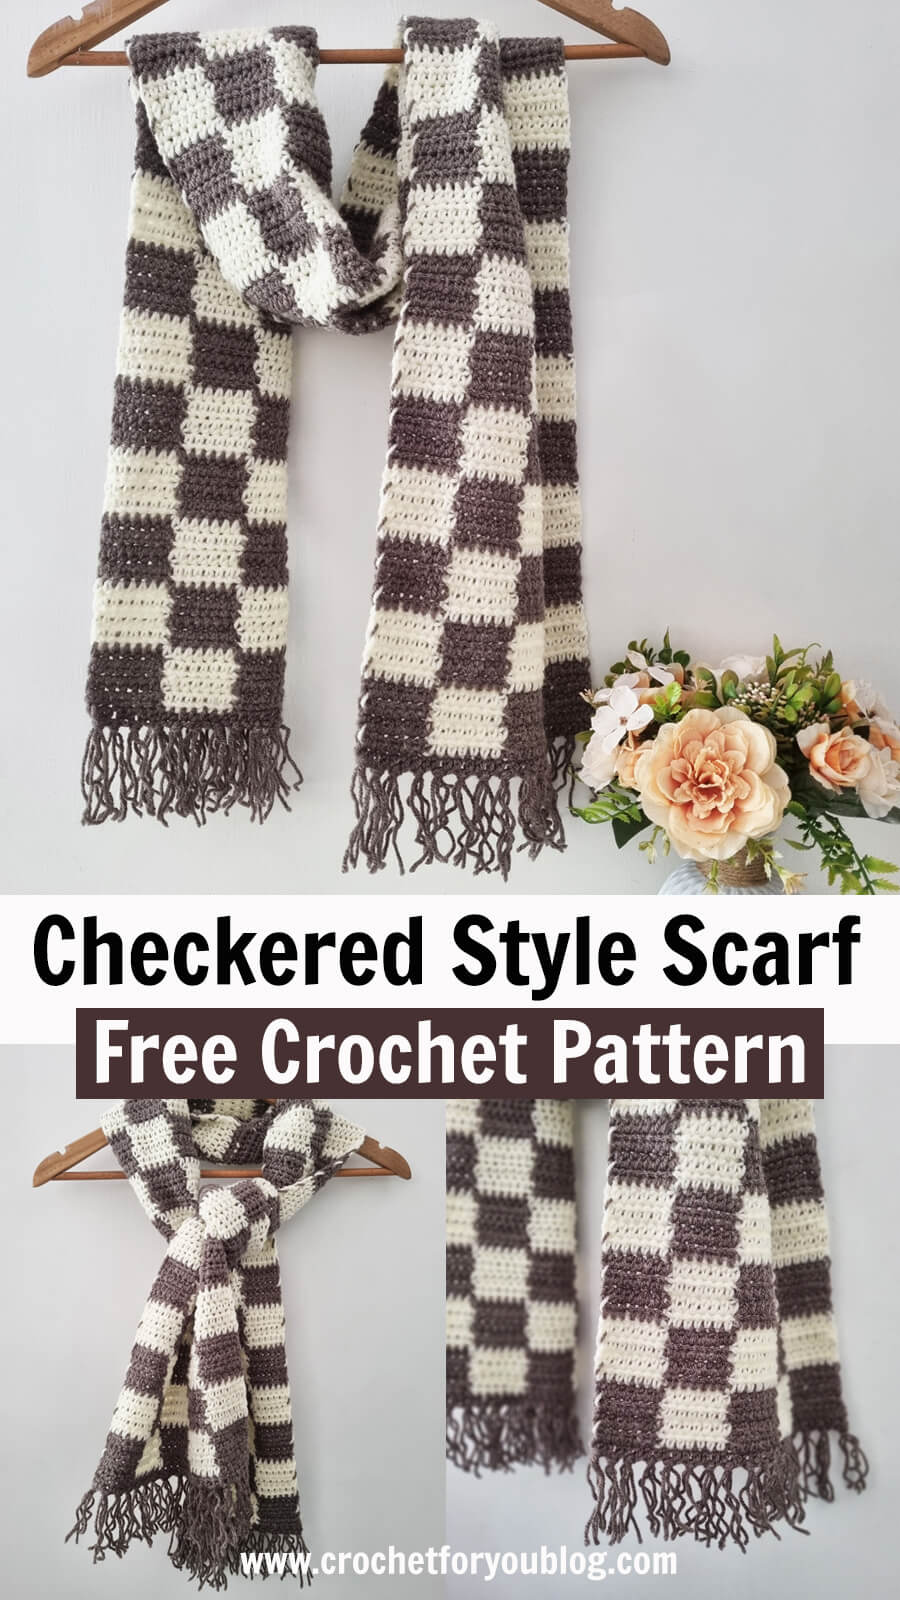
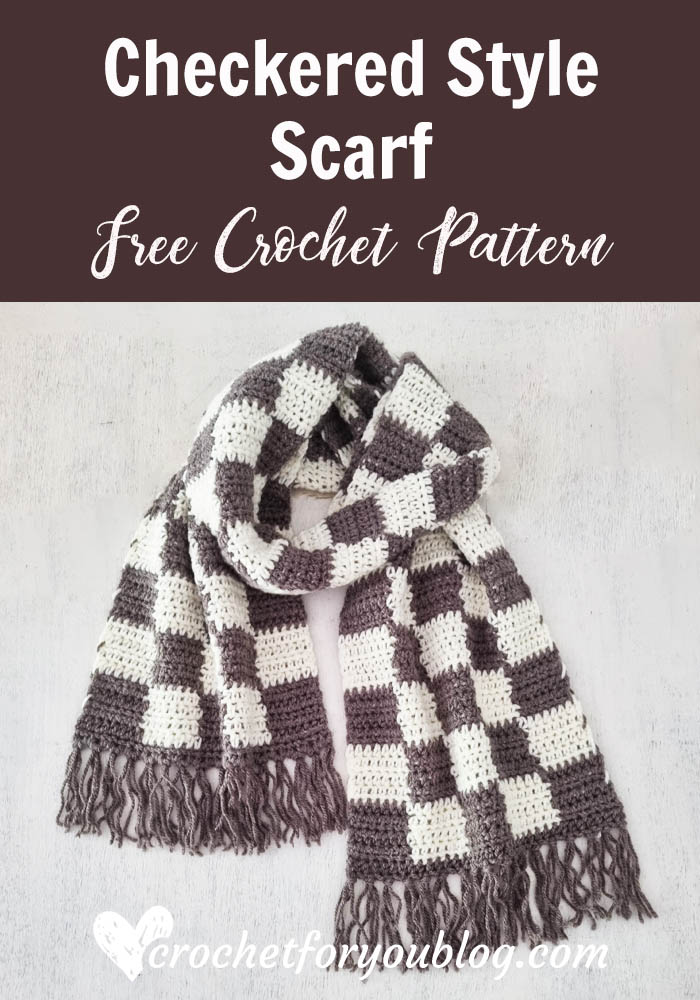
Stay cozy and stylish, this winter with crochet checkered! I just wanted to try the new texture for me and I already in love with crochet checkered style.
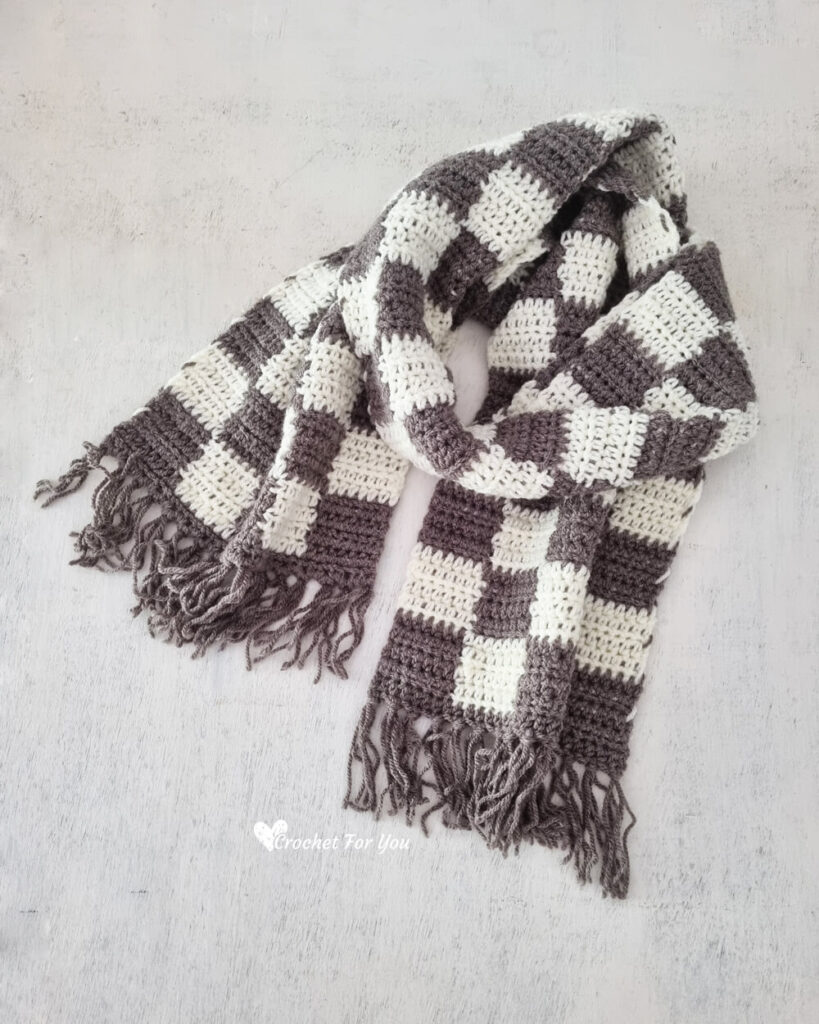
So I made Checkered Style Scarf as the first pattern of the 2024. If you are a checkered lover like me, you will love to crochet this Checkered Style Scarf.
Disclosure This post may contain affiliate links.
Add this pattern to Ravelry queue
Save on Pinterest
Watch the video tutorial below
Checkered or checkboard pattern creates with two different colors. So you are going to work with two yarns at once by switching colors. You will need to change colors and carry unused color. If you are a beginner to these methods I have included step by step photos and quick video tutorial below.
How to change colors
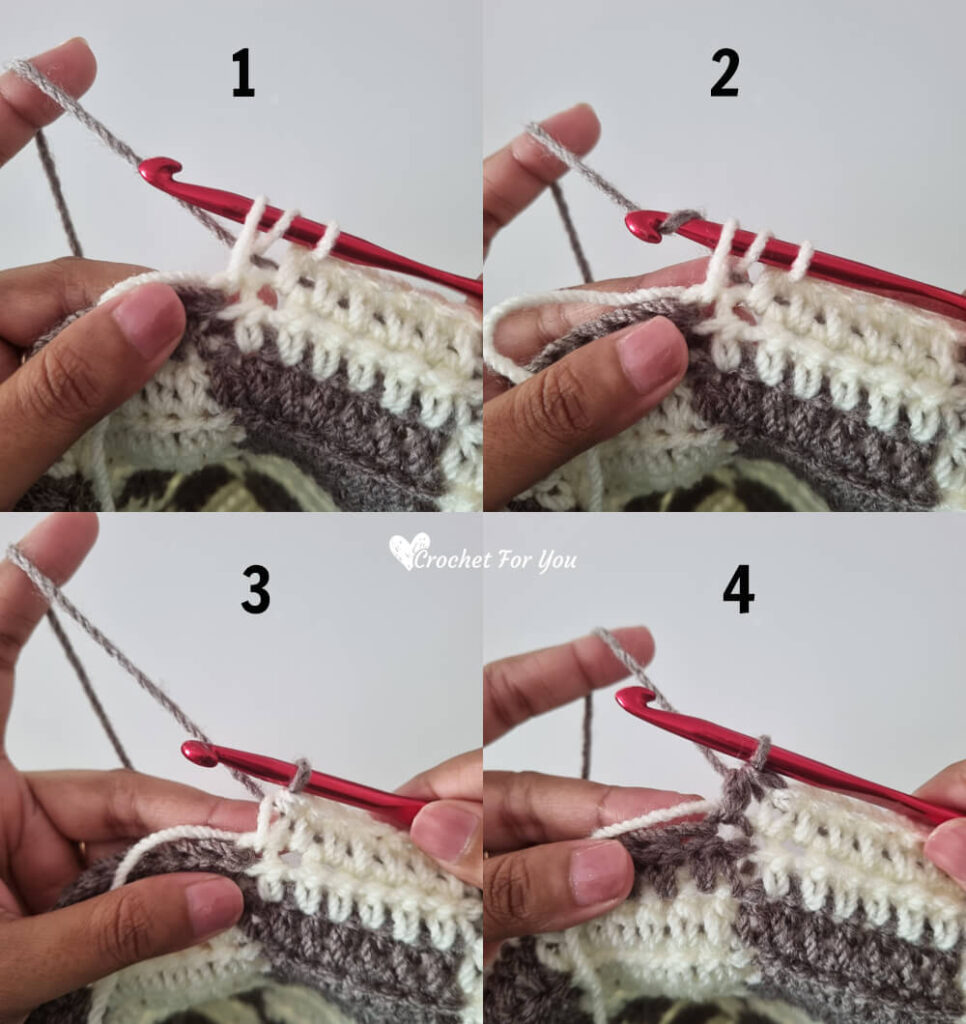
Changing color is easier method than you think. Whether you are working single crochet, half double, double or treble crochet, you will need to change the color before the last yarn over to close the stitch.
In this tutorial we are using half double crochet stitches.
when you have 3 loops on the hook with the current working yarn (image 1),
leave the currently working yarn and grab the next color, yarn over (image 2),
pull through the all 3 loops on the hook (image 3),
And continue half double crochet with new yarn (image 4)
How to carry yarn
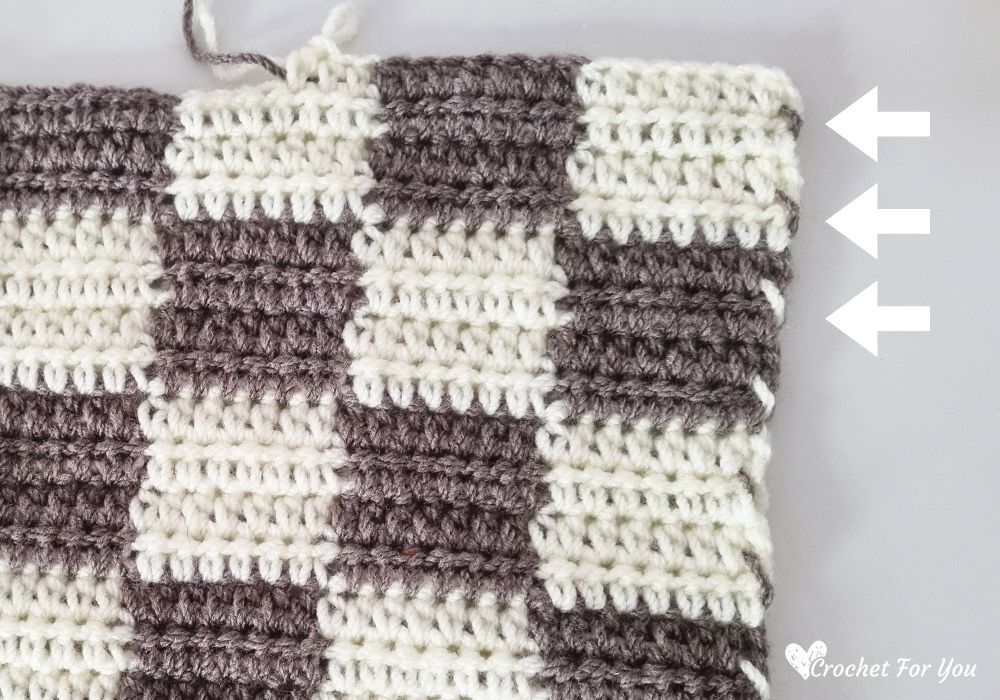
When working crochet checkered, you need to carry unused yarn along with and crochet stitches over it. After switching the color keep the unused yarn on the top of the last row and work stitches around it. So the unused color will hide through the stitches. When you are done few stitches you need to gently pull the carried yarn to avoid peaking unused yarn through the stitches.
Checkered Style Scarf Free Pattern
Skill level: Intermediate
Finished size: 9.5″ wide, 58″ long without fringe.
Material:
– #4 Medium / Worsted weight / 100% acrylic / Approx: 690 yards total
I used
– 1 and half skein of Camel (C1), 1 and half skein of Lemon Yellow (C2), Ice Yarn Favorite (100% Acrylic; 229 yards [210 meters] / 100g)
– US I/9, 5.5mm crochet hook
– Tapestry needle for weaving ends.
Gauge: 14 hdc x 10 rows = 4″ with US I-9 (5.5mm) crochet hook
Abbreviations (US Term)
- Beg = begininng
- ch = chain
- st = stitch
- hdc = half double crochet
- * to ; = repeat * to the instructions.
Notes:
Beg ch does not count as stitch.
The texture of the checkered creates with 2 color blocks by switching colors.
You will need to carry unused color along as you work each row. Work the stitch over the unused color. See how to change color and how to carry yarn instructions above.
For one block you will need to crochet 7 hdc and 4 rows.
Crochet ch 36 with C1
Row 1: ch 1, hdc in 2nd ch from the hook, hdc in each st across, turn. (35 sts)
Row 2: ch 1, hdc in first 7 sts, [change color to (C2) hdc in each of next 7 sts, change color to (C1) hdc in each of next 7 sts] 2 times, do not switch the color, turn.
Do not forget to carry the unused yarn along the side when working each row.
Row 3: with (C1) ch 1, hdc in first 7 sts, [change color to (C2) hdc in each of next 7 sts, change color to (C1) hdc in each of next 7 sts] 2 times, do not switch the color, turn.
Do not forget to carry the unused yarn along the side when working each row.
Row 4: with (C1) ch 1, hdc in first 7 sts, [change color to (C2) hdc in each of next 7 sts, change color to (C1) hdc in each of next 7 sts] 2 times, do not switch the color, turn.
Do not forget to carry the unused yarn along the side when working each row.
Row 5: with (C1) ch 1, hdc in first 7 sts, [change color to (C2) hdc in each of next 7 sts, change color to (C1) hdc in each of next 7 sts] 2 times, change color to (C2), turn.
Do not forget to carry the unused yarn along the side when working each row.
Row 6: with (C2) ch 1, hdc in first 7 sts, [change color to (C1) hdc in each of next 7 sts, change color to (C2) hdc in each of next 7 sts] 2 times, do not switch the color, turn.
Do not forget to carry the unused yarn along the side when working each row.
Row 7: with (C2) ch 1, hdc in first 7 sts, [change color to (C1) hdc in each of next 7 sts, change color to (C2) hdc in each of next 7 sts] 2 times, do not switch the color, turn.
Do not forget to carry the unused yarn along the side when working each row.
Row 8: with (C2) ch 1, hdc in first 7 sts, [change color to (C1) hdc in each of next 7 sts, change color to (C2) hdc in each of next 7 sts] 2 times, do not switch the color, turn.
Do not forget to carry the unused yarn along the side when working each row.
Row 8: with (C2) ch 1, hdc in first 7 sts, [change color to (C1) hdc in each of next 7 sts, change color to (C2) hdc in each of next 7 sts] 2 times, change color to (C1), turn.
Do not forget to carry the unused yarn along the side when working each row.
Row 9 to 125: repeat rows 2 to 8 continously.
Row 126: change color to (C1), hdc in each st across. (35 sts)
Fasten off and weave the end.
Add Fringe
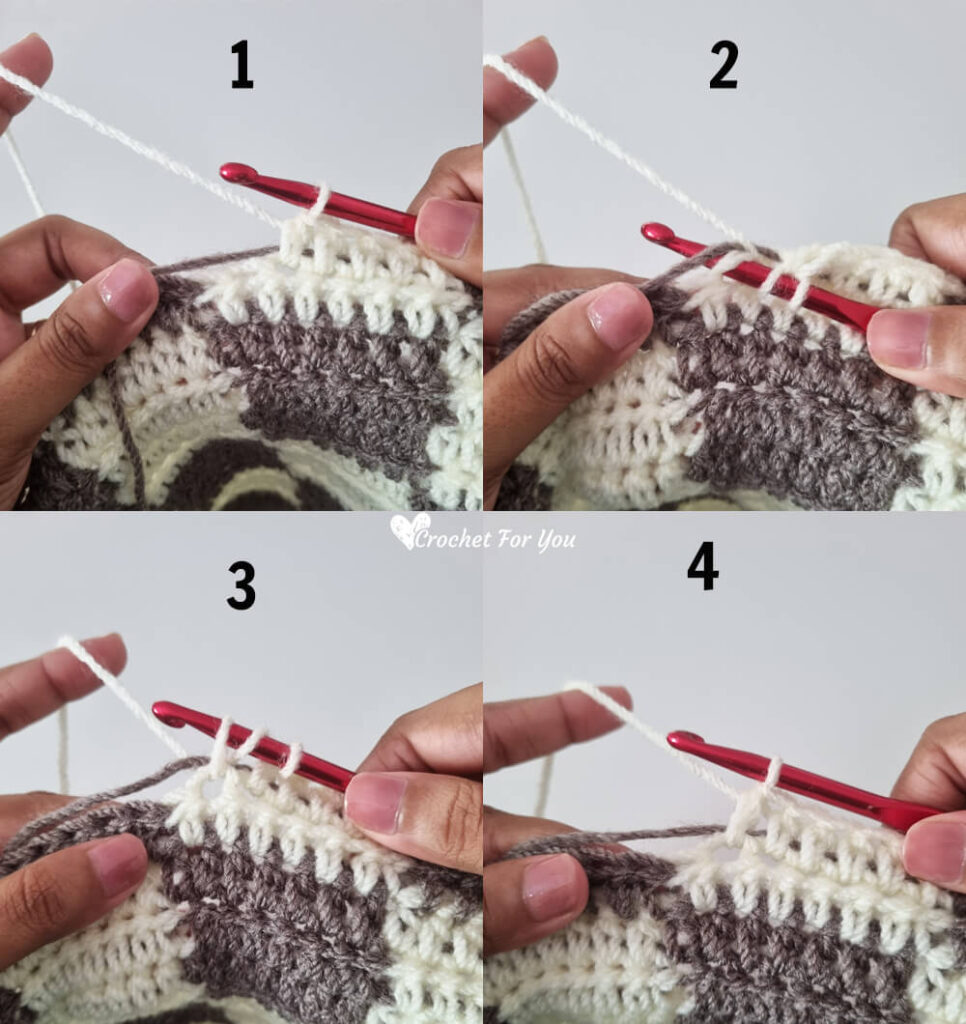
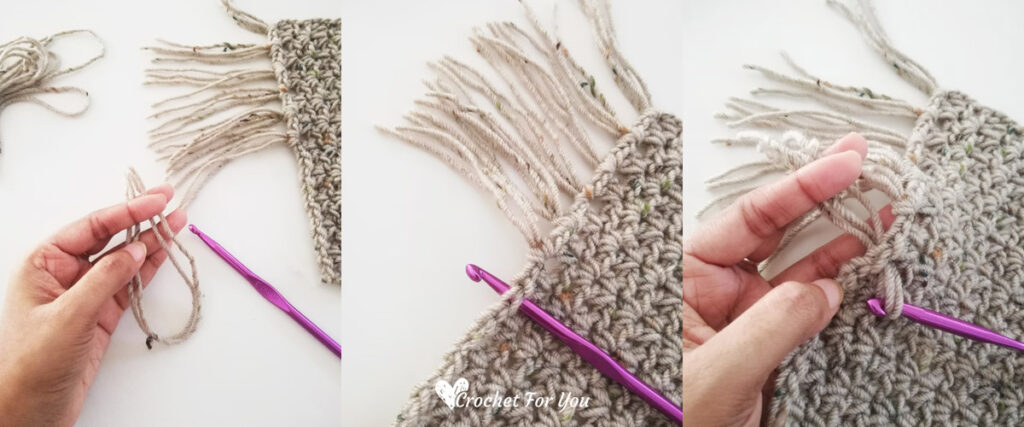
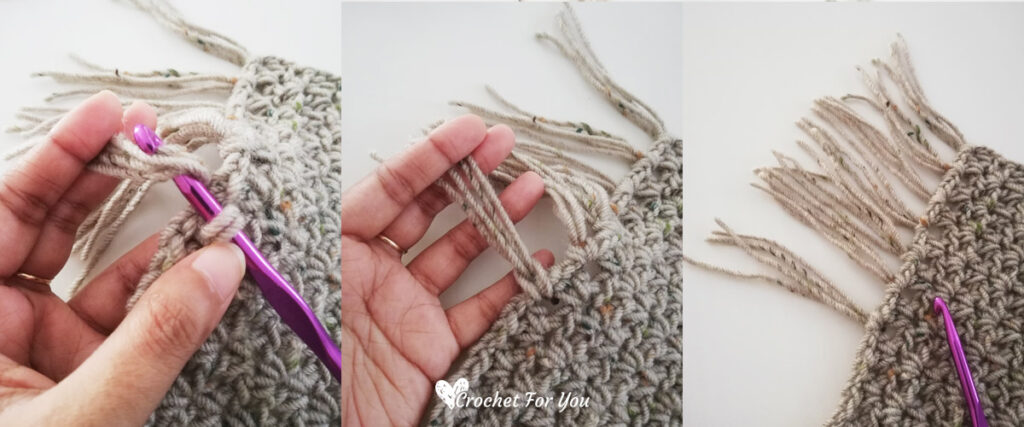
Finally, add fringe if you want. See the photo tutorial below I captured when making Half Double Crochet V Stitch Scarf
Cut 8″ strands of yarn, 2 strands together (if you want, you can add more strands), fold the yarn in half (image 1), insert the hook into the space of bottom edge of the scarf (image 2) and pull folded loop through the space (image 3)
Video Tutorial
Hope to see you soon with a new FREE pattern
Until then, Happy Crocheting!!
Share your finished projects of this pattern on Crochet For You FB page.
Happy hooking with Crochet For You!!
Let’s connect and share
Facebook | Pinterest | Twitter | Instagram
All contents include photography and patterns are copyrighted Crochet For You by Erangi Udeshika.
Do not copy, edit, distribute or republish patterns and images in this blog in part or whole as your own. Please, share a direct link to the pattern with others and anywhere else. You are welcome to make and sell finished items using my patterns.
Visit Copyright / Terms of use for more info.
Thank you.
