Cozy Cable-Look Crochet Scarf Free Pattern
The Cozy Cable-Look Crochet Scarf is beautifully textured with a simple cable look pattern. This scarf is a great project if you are crochet cable lovers but not yet ready to do complicated cables.
Add this pattern to Ravelry queue
Save on Pinterest
The cable look pattern is created using front post stitches in the normal way and has the same texture on both sides. I used a larger hook for more draping. Add fun little pom poms to both ends to give more cozy look.
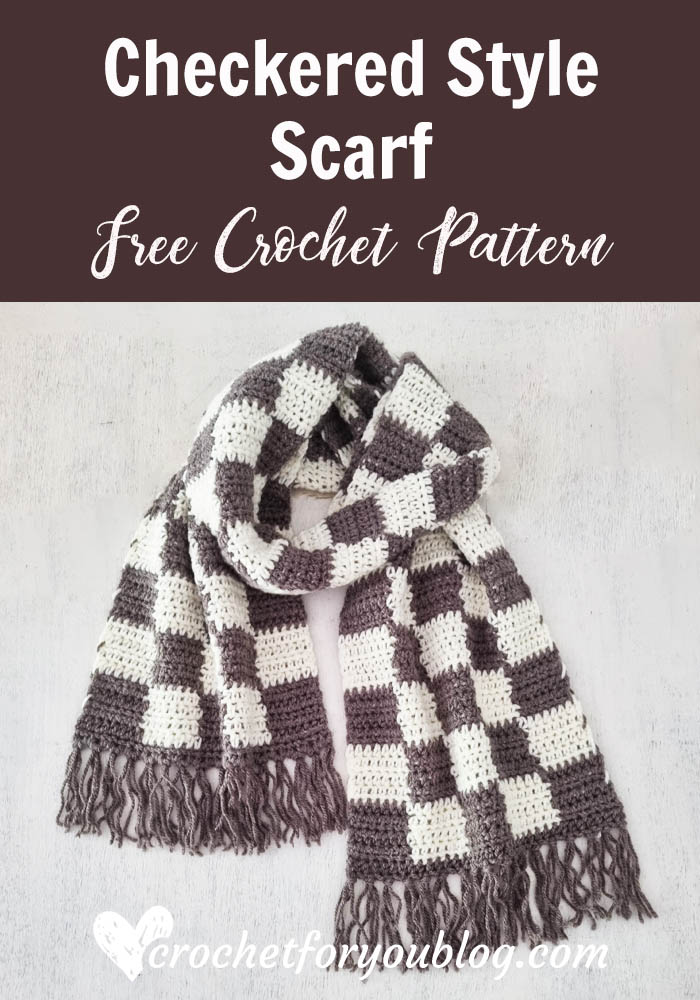
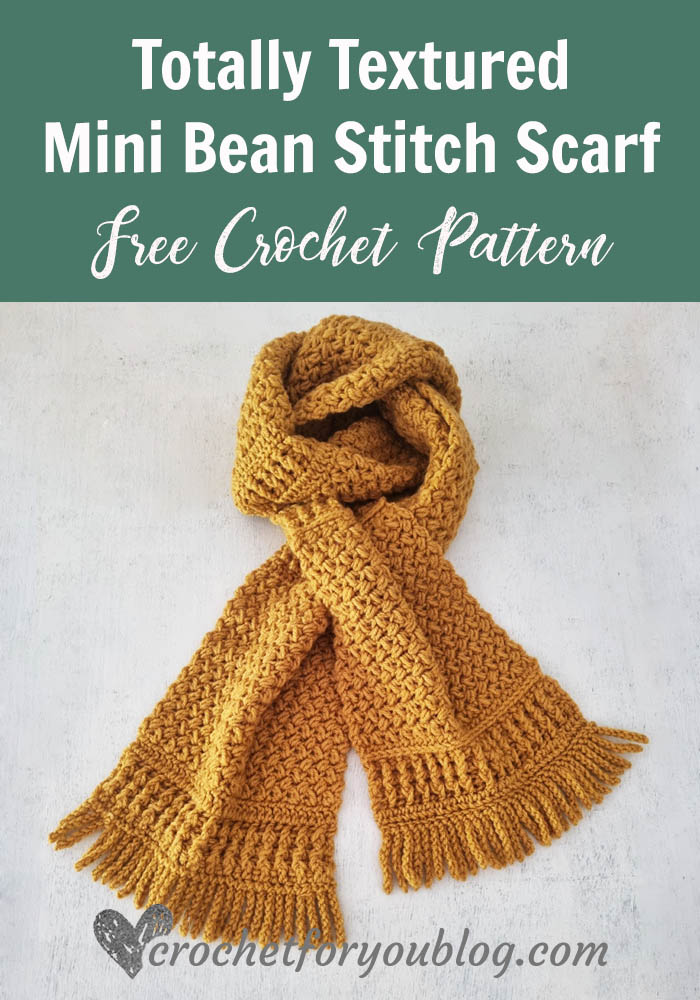
More Cozy Scarf to Try!
Quick and relaxing project
The pattern is easy to remember for a relaxing crochet project. It is a one row repeat, once you grab the rhythm of the pattern you can work this scarf while watching, listening to your favorite show.
Cozy Cable-Look Crochet Scarf Pattern
Skill level: Intermediate
Finished size: 6″ wide, 60″ long without pom pom.
Material:
– #4 Medium / Worsted weight / 100% acrylic / Approx: 670 yards total
I used
– 2 and half skeins of Ice Yarn Softly Baby, Light Beige (50% Acrylic, 50% Polyamide)
– US J-10, 6mm crochet hook
– 2 pompoms to attach
– Tapestry needle for weaving ends.
Gauge: 13 hdc x 8.5 rows = 4″ with US J-10 (6mm) crochet hook
Abbreviations (US Term)
- Ch – chain
- Sc – single crochet
- St – stitch
- Dc – double crochet
- Fpdc – front post double crochet
- Sk – skip
- Ch sp – chain space
- * to ; – repeat * to the instructions.
Special stitches:
- V-st – (1 dc, ch 1, 1 dc) in indicated stitch
Leaving about 10” long yarn tail, crochet ch 26+1
Row 1: sc in second ch from the hook, sc in each st across, turn. (26 sts)
Row 2: ch 3 (count as dc), sk next st, *(2 dc in next st, ch 1, 2 dc in next st), sk next 2 sts; repeat * from across until last 2 sts remain, sk next st, dc in last st, turn. (26 sts)
Row 3: ch 3 (count as dc), sk next dc, *fpdc in next dc, v st in ch-1 sp, fpdc in next dc, sk next 2 dc; repeat * from across until last 2 sts remain, sk next st, dc in last st, turn. (26 sts)
Row 4 to 103: repeat row 3 continuously.
Final row: ch 1, sc in each st (including ch-sp) across.
Fasten off and cut the yarn leaving about 10” long yarn tail.
Attach pom-pom to both ends
Using the yarn tail we left at the two sides and the tapestry needle, weave through the stitches in the edge and pull the yarn tightly to gather (image 1 & 2). Sew with a few more stitches. Attach the pom-pom with a few more stitches (image 3 & 4).
Hope to see you soon with a new FREE pattern
Until then, Happy Crocheting!!
Share your finished projects of this pattern on Crochet For You FB page.
Happy hooking with Crochet For You!!
Let’s connect and share
Facebook | Pinterest | Twitter | Instagram
All contents include photography and patterns are copyrighted Crochet For You by Erangi Udeshika.
Do not copy, edit, distribute or republish patterns and images in this blog in part or whole as your own. Please, share a direct link to the pattern with others and anywhere else. You are welcome to make and sell finished items using my patterns.
Visit Copyright / Terms of use for more info.
Thank you.


