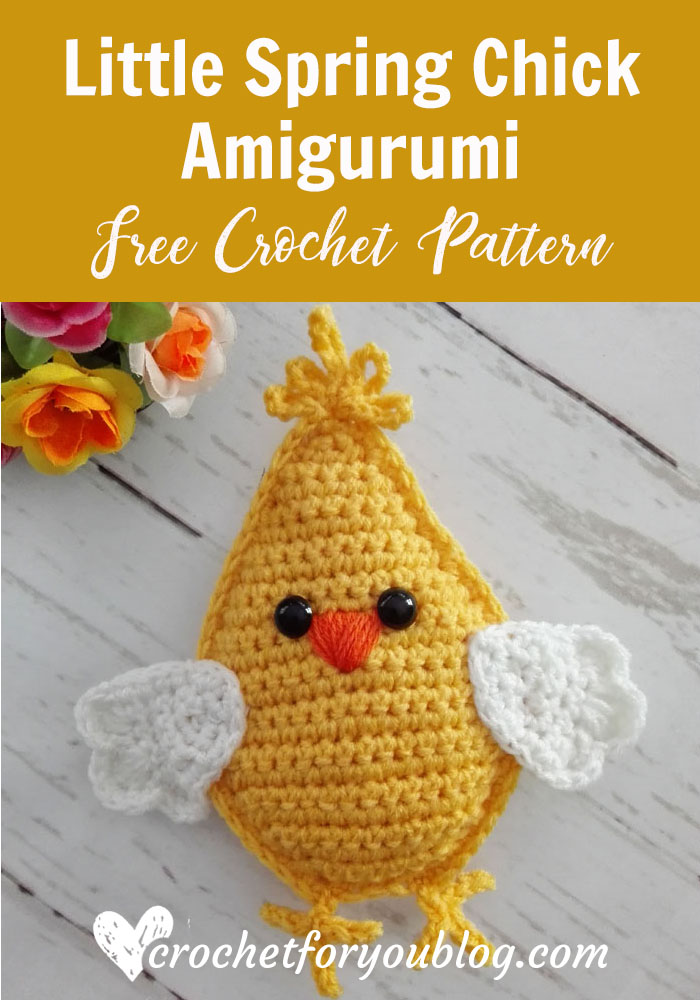
Little Spring Chick Amigurumi Free Crochet Pattern
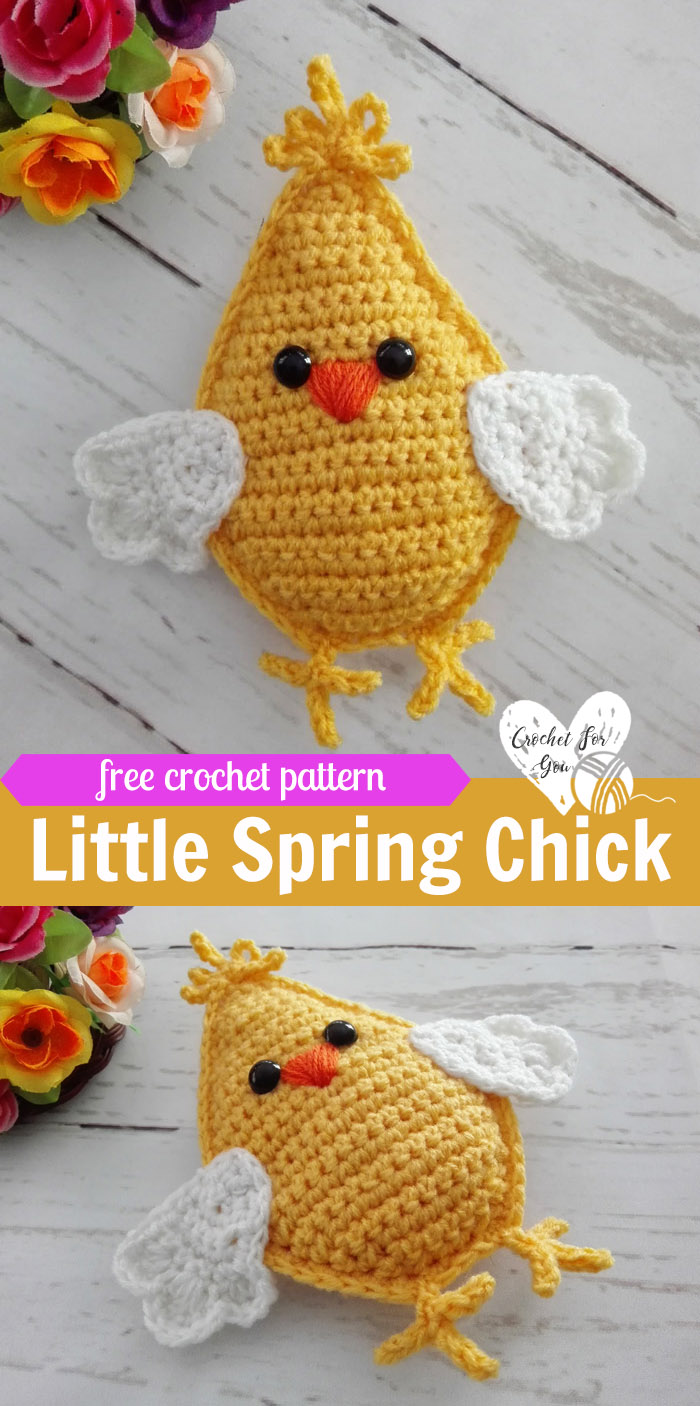
Little Spring Chick Amigurumi Cochet Pattern by Crochet For You.
Hello, my dear crochet lover friends. 🙂 This week I have a special crochet pattern for you.
You may have a question why today special crochet pattern? Here is the answer. 🙂 This is my first try to make crochet chick. And I completely, 100% happy with the final result. It turned out so beautifully than I thought. I couldn’t wait until next pattern release day on here my blog Crochet For You. So, my friends here is the pattern for Little Spring Chick Amigurumi Pattern.
I love the look of Little Spring Chick and really enjoying making it. This pattern is quick and easy to crochet as well. I hope you enjoy making one for yourself this too. 🙂
Disclosure This blog contain affiliate links.
Add this pattern to Ravelry queue
Save on Pinterest
Skill level easy
Finished size
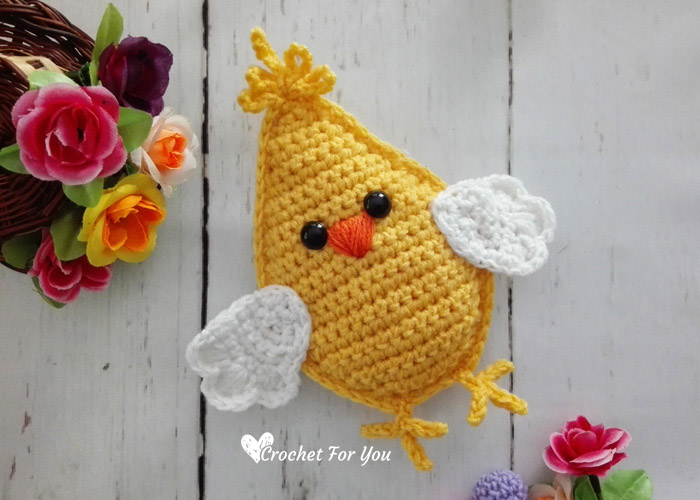
- 6″ x 7″ including wings.
Materials (I used)
- I made this chick holding two strands of #2 – Fine / Sport weight/ 100% Acrylic yarn. You will need Approx: 100 yards. (You can use DK weight yarns obtain the gauge below)
- 5 mm crochet hook
- Fiberfill
- 2 Safety eyes
- Tapestry needle for weaving ends.
Gauge: 16 sc x 16 rows = 4″ with 7 / 4.5 mm crochet hook.
Abbreviations
- ch = chain
- sc = single crochet
- st = stitch
- sl st = slip stitch
- beg = beginning
- [ ] work instructions within brackets as many times as directed
Special stitches
- Sc2tog = Insert hook in indicated st and draw up a loop. Insert hook into next st and draw up a loop. Yarn over, pull back through all 3 loops on hook at once.
Notes
- Beg ch does not count as st.
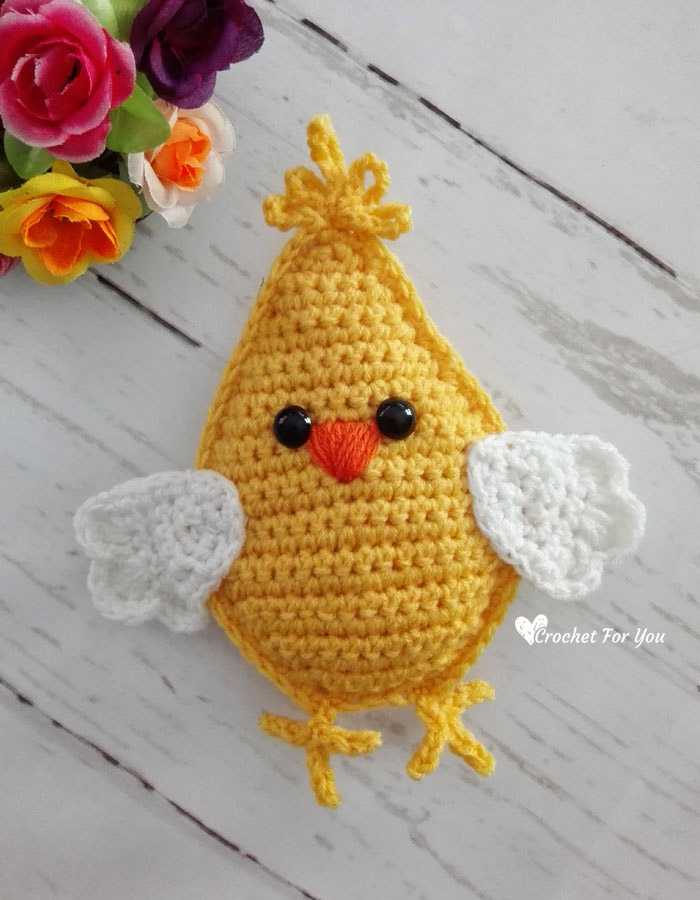
Little Spring Chick Amigurumi Pattern
Body (Make 2)
With yellow color yarn, crochet ch 2.
Row 1: 4 sc in 2nd ch from the hook, turn. (4 sts)
Row 2: ch 1, sc in each st across, turn. (4 sts)
Row 3: ch 1, 2 sc in first st, sc in each of next 2 sts, 2 sc in last st, turn. (6 sts)
Row 4: ch 1, 2 sc in first st, sc in each of next 4 sts, 2 sc in last st, turn. (8 sts)
Row 5: ch 1, sc in each st across, turn. (8 sts)
Row 6: ch 1, 2 sc in first st, sc in each of next 6 sts, 2 sc in last st, turn. (10 sts)
Row 7: ch 1, 2 sc in first st, sc in each of next 8 sts, 2 sc in last st, turn. (12 sts)
Row 8: ch 1, sc in each st across, turn. (12 sts)
Row 9: ch 1, 2 sc in first st, sc in each of next 10 sts, 2 sc in last st, turn. (14 sts)
Row 10: ch 1, 2 sc in first st, sc in each of next 12 sts, 2 sc in last st, turn. (16 sts)
Row 11: ch 1, sc in each st across, turn. (16 sts)
Row 12: ch 1, sc in each st across, turn. (16 sts)
Row 13: ch 1, 2 sc in first st, sc in each of next 14 sts, 2 sc in last st, turn. (18 sts)
Row 14: ch 1, sc in each st across, turn. (18 sts)
Row 15: ch 1, sc in each st across, turn. (18 sts)
Row 16: ch 1, sc in each st across, turn. (18 sts)
Row 17: ch 1, sc in each st across, turn. (18 sts)
Row 18: ch 1, sc in first st, sc2tog, sc in each of next 12 sts, sc2tog, sc in last st, turn. (16 sts)
Row 19: ch 1, sc in each st across, turn. (16 sts)
Row 20: ch 1, sc in first st, sc2tog, sc in each of next 10 sts, sc2tog, sc in last st, turn. (14 sts)
Row 21: ch 1, sc in first st, sc2tog, sc in each of next 8 sts, sc2tog, sc in last st, turn. (12 sts)
Row 22: ch 1, sc in first st, sc2tog, sc in each of next 6 sts, sc2tog, sc in last st, turn. (10 sts)
Row 23: ch 1, sc in first st, sc2tog, sc in each of next 4 sts, sc2tog, sc in last st, turn. (8 sts)
Row 24: ch 1, sc in first st, sc2tog, sc in each of next 2 sts, sc2tog, sc in last st, turn. (6 sts). Fasten off and weave the end.
Wings (make 2)
Leaving 10” long tail of white color yarn, crochet ch 2.
Row 1: 3 sc in 2nd ch from the hook, turn. (3 sts)
Row 2: ch 1, 2 sc in first st, sc in next st, 2 sc in last st, turn. (5 sts)
Row 3: ch 1, sc in each st across, turn. (5 sts)
Row 4: ch 1, sc in each st across, turn. (5 sts)
Row 5: ch 1, sc in each st across, turn. (5 sts)
Row 6: ch 1, sc in first st, 2 sc in each of next 2 sts, sc in each of next 2 sts, turn. (7 sts)
Row 7: ch 1, 3 hdc in next st, sl st to next st, ch 1, 4 dc in next st, sl st to next st, ch 1, 3 hdc in next st, sl st to next st.
Edging for wings
Crochet sc around the edge. Add 2 sc in random stitch on curve side to make a smooth edge. Fasten off weave the end.
Legs (make 2)
With yellow color yarn, crochet [ch 4, sl st in 2nd ch from the hook, sl st in each ch 2 across] 3 times, (see below step by step photos)

 sl st in very first ch, ch 1, sc in first st. Fasten off and cut the yarn leaving 10” long tail.
Assembly
Place safety eyes between rows 10 and 11 on one of the body piece. And stitch triangle shape beak in orange color between eyes (this is a front body peice of the chick).
Wings: Sew each wing on front body piece by inserting the yarn tail of the wing through the tapestry needle. (See the photo below)
Joining two body pieces together
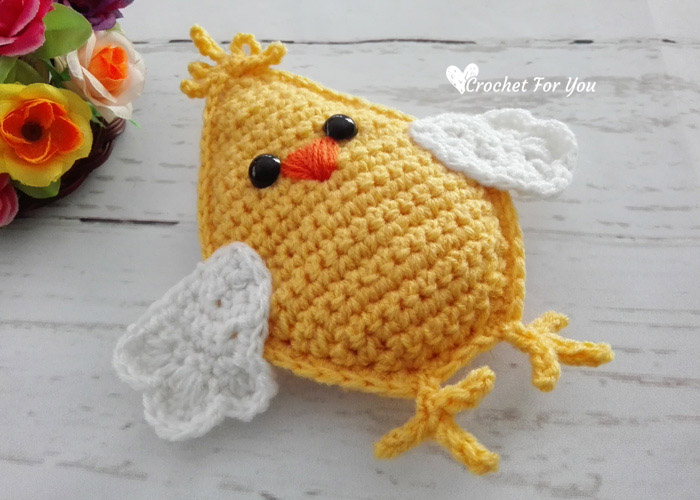
Holding two body pieces together (hold the front body piece with eyes, wings and beak, right side out), with yellow color yarn, begin with 1 sc at the top, [ch 8, sl st to same stitch (made a loop)] 2 times, ch 12, sl st to same st (made a loop), [ch 8, sl st to same stitch (made a loop)] 2 times, start to crochet sc in each around the edge, add 2 sc in random stitch on curve sides to make smooth edge. Add fiberfill while joining. Don’t forget to fill lightly. sl st to the first st and fasten off weave the end.
Legs: Insert the yarn tail of the leg through the tapestry needle, join each leg at the bottom of the chick. (See the photo below)
Hope to see you soon with a new FREE pattern ?
Until then, Happy Crocheting!!
Share your finished projects of this pattern on Crochet For You FB page.
Happy hooking with Crochet For You!!
Let’s connect and share
Facebook| Pinterest | Twitter | Instagram
All contents include photography and patterns are copyrighted Crochet For You by Erangi Udeshika.
Do not copy, edit, distribute or republish patterns and images in this blog in part or whole as your own. Please, share a direct link to the pattern with others and anywhere else. You are welcome to make and sell finished items using my patterns.
Visit Copyright / Terms of use for more info. Thank you.

6 Comments
Pingback:
Pingback:
Janet
I love your patterns! I just wish I had the time to make them all. God bless you for all the free patterns. Have a happy and blessed New year!
Erangi Udeshika
Hi Janet, thank you so much. I’m glad you like my patterns! I Wish you a wonderful and prosperous 2019. 🙂
Pixie
Thank you for your time and free patterns ?
Erangi Udeshika
You are welcome! <3